Chicken Kathi Roll (Chicken Frankie)
Updated: February 10, 2024, By Swasthi
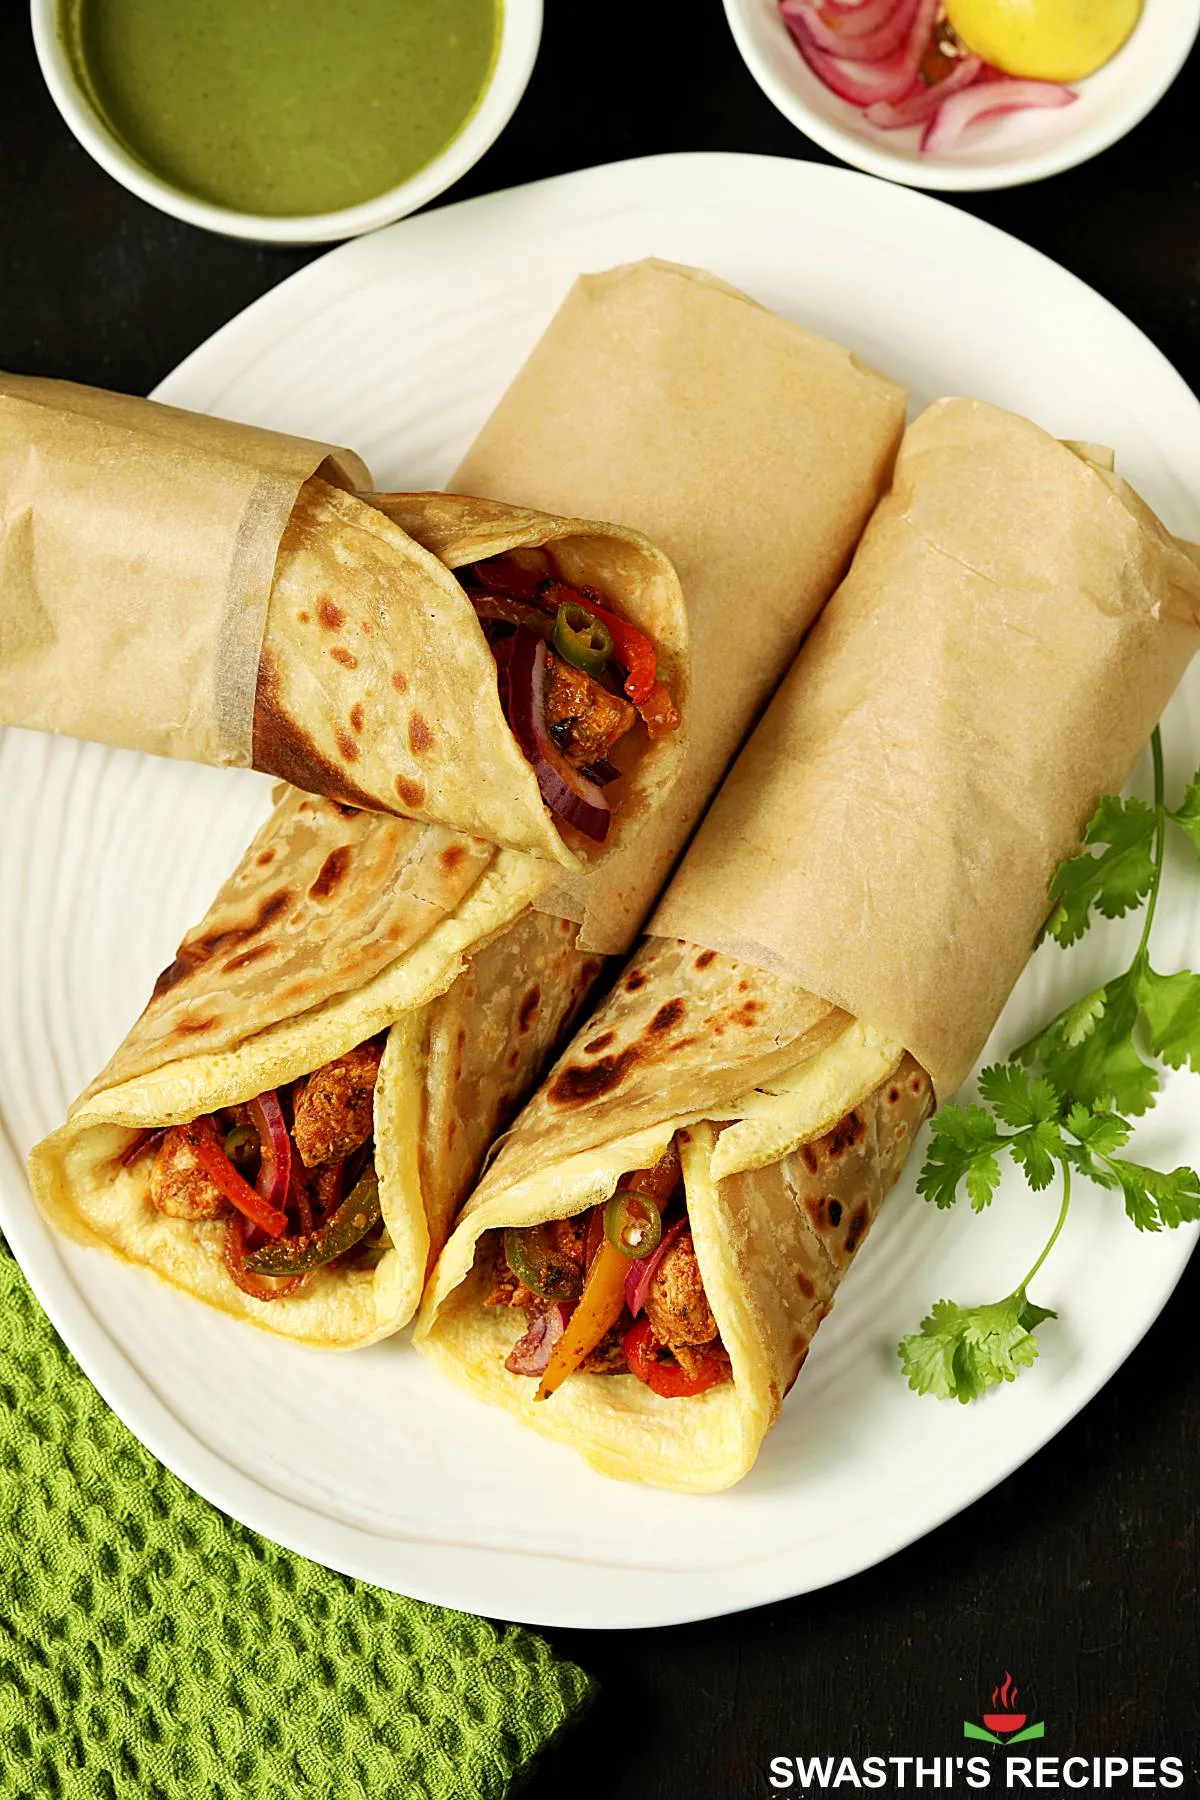
Chicken Kathi Roll is a popular Indian street style wrap with a filling of marinated & grilled chicken, onions, bell peppers and a sauce. These wraps are made with parotta, a layered flaky flatbread. Chicken Kathi Rolls are great to serve in parties, weekend meals or when you have guests home. To make these under 40 minutes, you may use store bought frozen parathas/ tortillas or any other kind of healthy flatbreads like chapati or roti.
However in this post I share how to make these at home from scratch, which includes making parotta.
About Chicken Kathi Roll
Kathi Roll & Frankie are 2 popular Indian street foods and are basically wraps with a lot of similarities. While Kathi roll originated in Kolkata, Frankie originated in Mumbai & was inspired from the doner kebab wraps.
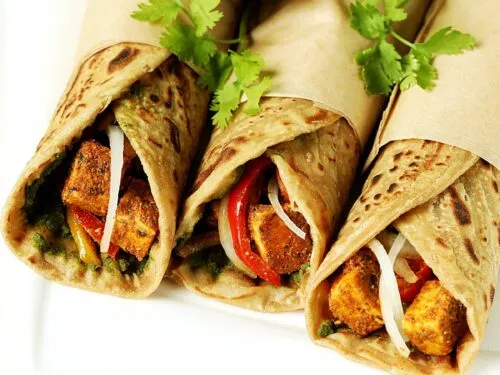
The word Kathi means stick/skewers, so these rolls have a filling made with meat on skewers, that’s cooked on charcoal/wood. For the home version we can easily make this chicken on a skillet or in the oven or air fryer. Vegetarians can make this Paneer Kathi Rolls.
The filling is wrapped in a flaky sweet parotta, that’s made with all-purpose flour, vegetable shortening/oil, sugar and salt. My recipe shared below uses part wheat flour to cut down the refined flour but they can be made using 100% wheat flour.
The precooked sweet parotta is heated with whisked eggs (omelet) to make egg parotta. To cut down the calories, you may omit the eggs.
This egg parotta is then assembled with instant pickled onions, green chilies and a dash of red chili & green chili sauce. You are free to use pickled chili/ jalapenos, onions and your favorite sauce.
Making these Chicken Kathi Rolls involves 3 steps
- Make parotta – to save time use frozen or make ahead
- Marinate & pan-fry chicken & prepare veggies (takes about 30 mins)
- Assemble – use bottled sauce (takes about 10 mins to assemble) or make Mint Chutney or cilantro chutney.
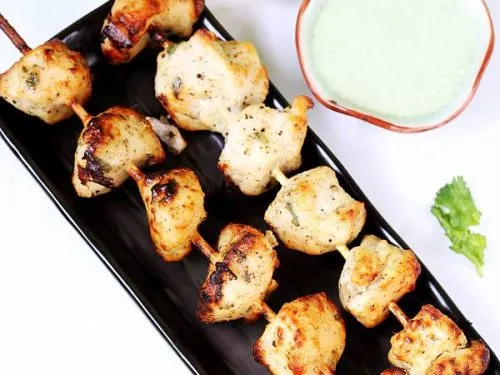
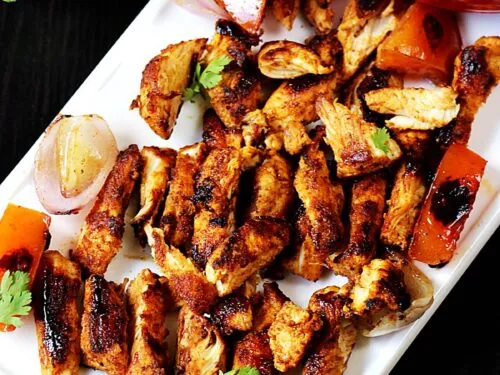
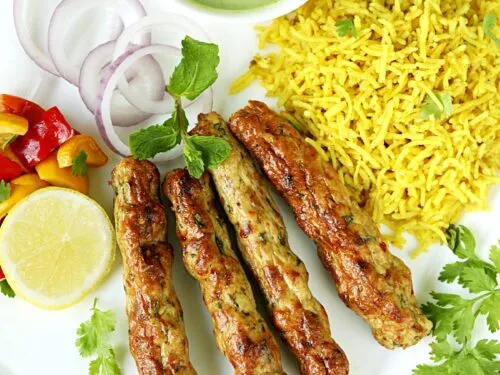
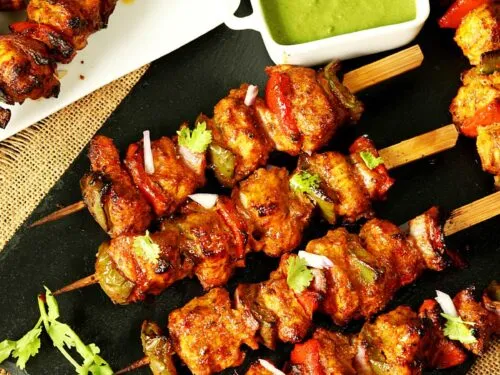
For a more non-spicy or toddler friendly filling, use this Reshmi Kabab recipe. To make these for a crowd or a party, you can make these Chicken Tikka Kebabs in oven and assemble them in the rolls here. Alternately you may also make these chicken kathi rolls using these chicken Seekh kababs.
Photo Guide
How to Make Chicken Kathi Roll (Stepwise Photos)
This recipe makes 3 large rolls.
Marinate Chicken
1. Add the following ingredients to a mixing bowl:
- 1 tablespoon oil
- ¾ to 1 teaspoon Kashmiri chili powder (cut down for low heat)
- ¾ teaspoon garam masala
- ½ teaspoon salt (adjust to taste)
- 2 tablespoons Greek Yogurt (make your own hung curd here)
- 1 teaspoon lemon juice
- 1 teaspoon kasuri methi (dried fenugreek, optional)
Mix them together and adjust salt or spices to your taste.
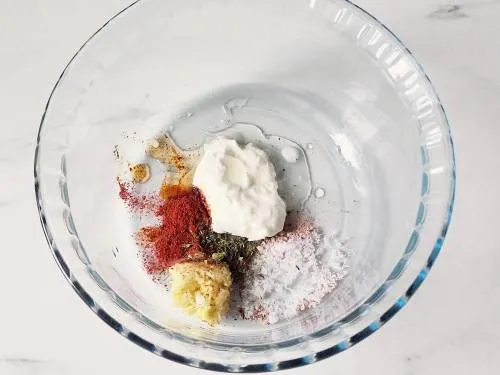
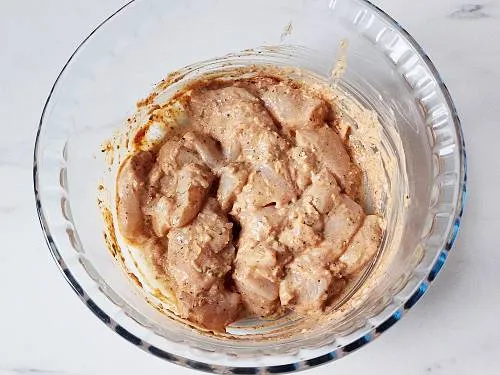
2. Add 300 grams (10.5 ounces) chicken breast, diced to ¾ to 1 inch pieces. You may pat dry the chicken first with kitchen tissues to remove any excess moisture/liquid. Mix together well and cover. Rest aside until we need it later. You can also leave it in the refrigerator for up to 48 hours.
Make Parotta
3. If you are using store bought frozen parathas, jump to the next section (step 11). Here I show how to make them & this takes about 1 hour 40 mins (1 hr resting + 40 mins to knead, roll & cook). You can find some tips in the pro tips section below. To a mixing bowl add
- 1 cup organic all-purpose flour (maida)
- ¾ cup organic wheat flour (atta)
- ½ tsp salt
- 2 teaspoons sugar dissolved in ½ cup warm water (omit if you don’t prefer)
- 2 tablespoons Ghee or oil
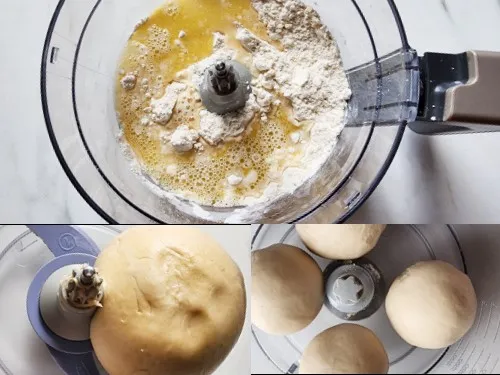
4. Knead the dough until really soft and non-sticky. Smear oil or water, cover and rest for 1 hour. Later knead it again for 2 mins and divide the dough to 4 portions.
5. Sprinkle all-purpose flour and begin to roll the dough as thin as possible, ignoring the shape. Spread oil generously and sprinkle little flour (not a lot).
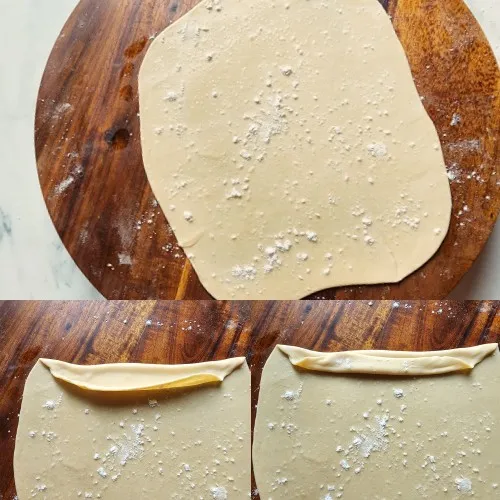
6. Begin to make pleats from one side, holding the edges as shown in the above pictures. Continue making pleats until you are done like shown below.
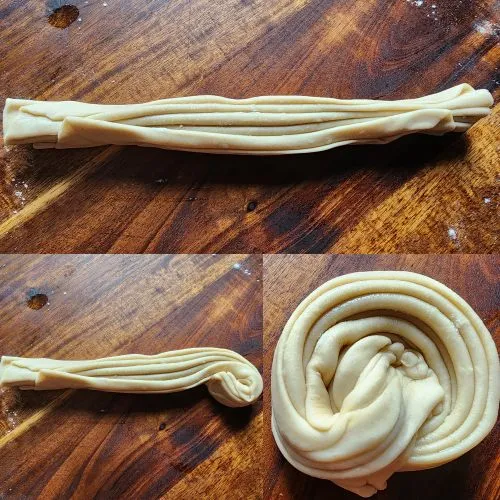
7. Starting from one end, begin to roll it inside to make a spiral as seen in the above picture. Tuck in the other end either on top or at the bottom as seen above.
8. Flatten the disc and sprinkle flour on the rolling board and on the disc.
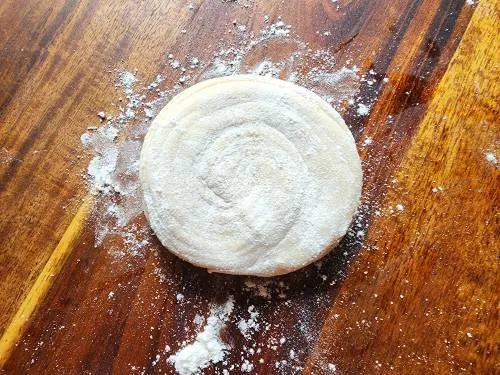
9. Begin to roll it to a 8 to 9 inch parotta. It should not be too thin or too thick. Make all the parottas this way.
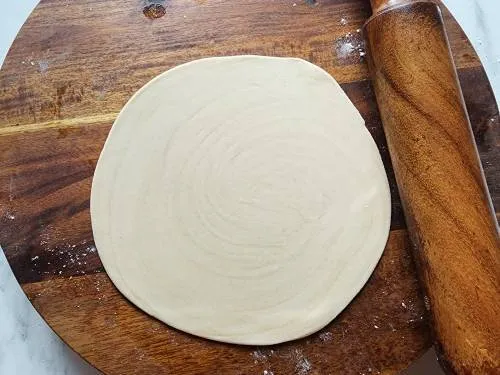
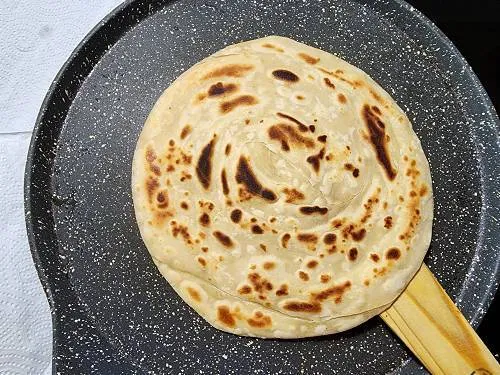
10. Heat a pan on a medium to medium-high flame (not very high). Dust off the excess flour from the parotta and place it on the pan. Let it cook until you see bubble coming up, turn it to the other side and spread a generous amount of oil or ghee. Press down with your spatula to cook all over including the edges. Remove when it has golden spots all over. Remove to a wired rack. Toast all the parottas and stack them.
Cook the Chicken Filling
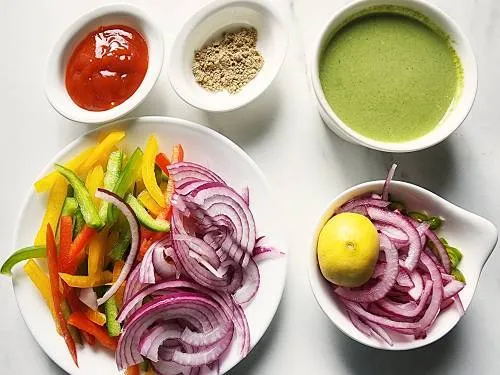
11. Prepare the following
- 1 cup bell peppers sliced very thin (sub with carrots, zucchini)
- ¾ cup onions sliced very thin
- Mix together ⅓ to ½ cup sliced onions, 2 green chilies chopped thin & juice of 1 small lemon
- 1 teaspoon chaat masala (optional)
- 2 to 3 tablespoons Red chili sauce / Mint chutney or Cilantro chutney or Ketchup
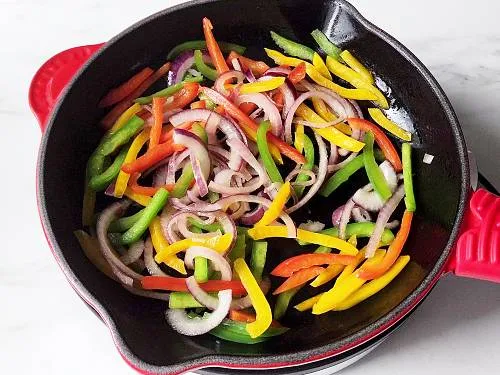
12. Heat half tablespoon oil in a wide pan/ skillet and saute onions and bell peppers for 3 to 4 minutes until they lose the raw flavor. Remove them to a plate.
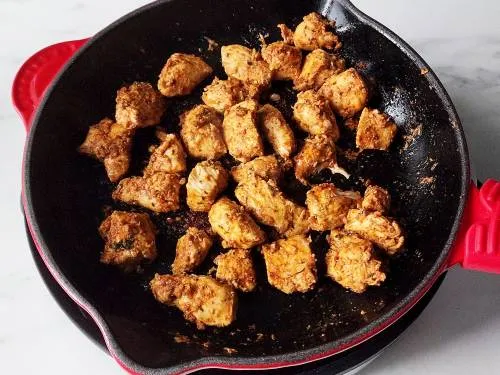
13. Pour another tablespoon oil. Place the chicken in the pan and fry, turning them to the other side at 3 mins mark. It takes about 6 to 7 mins on a medium heat (for my 24 hour marinated chicken). This may be different for you. You can also oven bake or air fry this. I feel making this in a skillet is faster and easier if you are making 3 or lesser rolls.
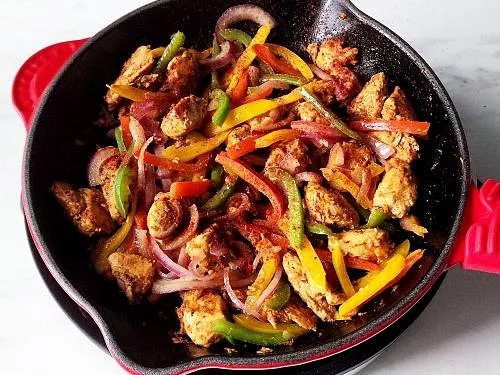
14. When they are cooked through completely, add onions and bell peppers. You know the chicken is cooked through, when your instant thermometer inserted in the thickest part registers 165 F / 73.9 C. If you don’t have a thermometer, just try to cut the chicken with a spatula, it should be soft. Taste test and add a sprinkle of salt, garam masala and red chili powder if you want. Mix well and turn off. Cool down the chicken completely to prevent soggy chicken rolls.
15. Meanwhile, heat a non-stick pan with 1 tsp oil. When it is medium hot and pour the beaten egg.
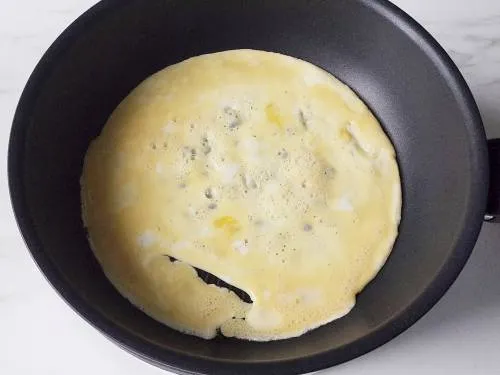
16. Place the pre-cooked parotta and press down with a spatula until the egg is cooked through. Do not cook on a high heat as it overcooks the eggs from outside without cooking inside.
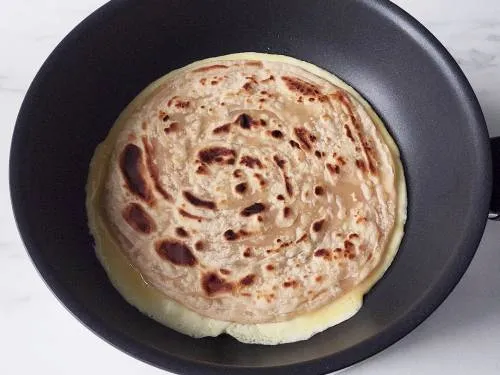
17. Turn the parotta to the other side and cook including the edges.
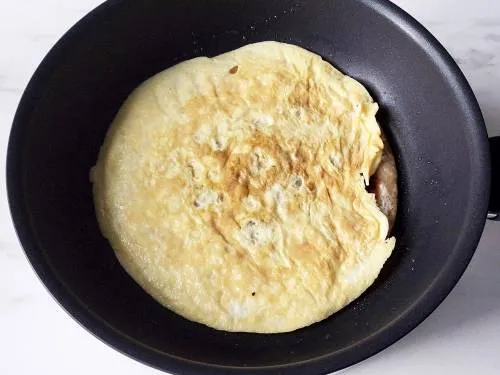
Assemble Chicken Kathi Roll
18. Place the egg parotta on a board or serving tray/plate. Add chicken in the center, followed by some onions, green chilies (soaked in lemon juice), chaat masala and red chili sauce/ green sauce or mint chutney.
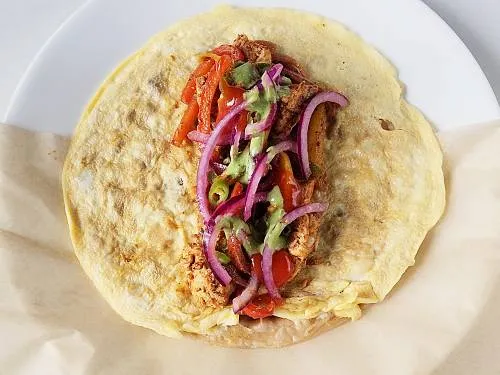
19. Bring the sides to the center.
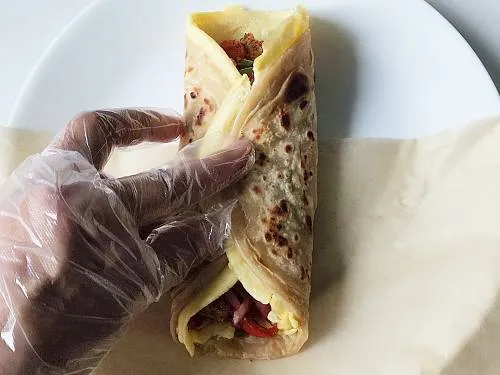
20. Wrap them in a parchment paper.
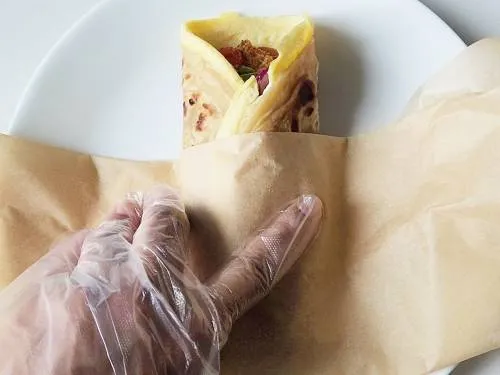
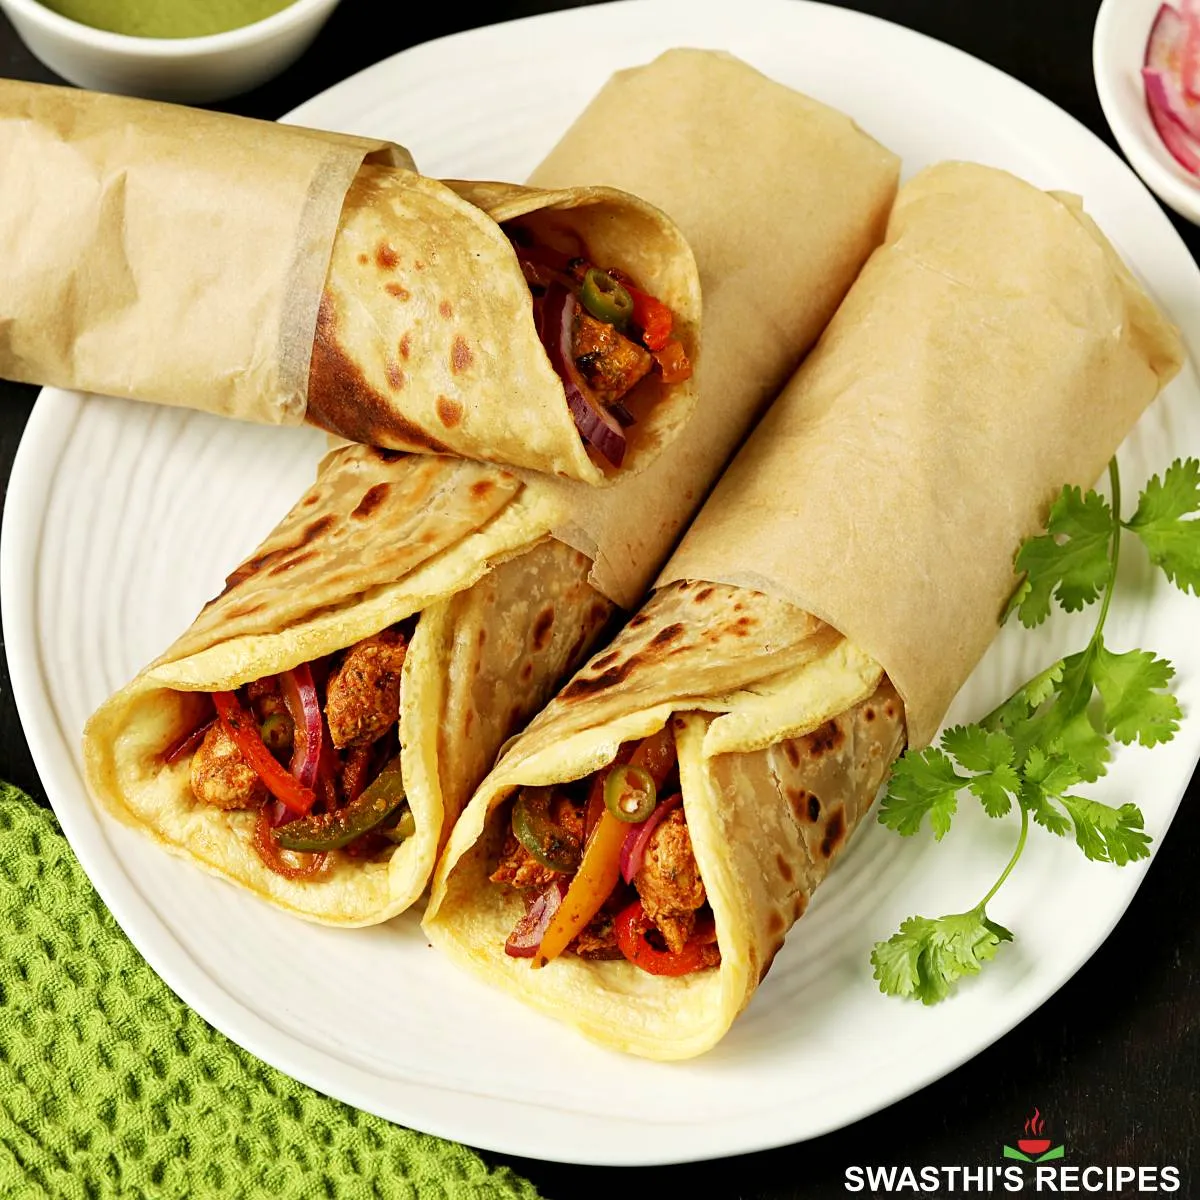
Serve Chicken Kathi Rolls with Mint Chutney, Cilantro Chutney or with ketchup or Asian sweet chili sauce.
Pro Tips
- It is essential to use thick Greek Yogurt else your marinade won’t be thick enough to hold the chicken. After marinating, if it looks slightly runny, simply add a bit of ground spices like coriander powder and roasted cumin.
- To omit red chili sauce/ chutney for dressing, add a tbsp or 2 of tomato puree like passata towards the end of stir frying the chicken. This adds some moisture and tang to the chicken.
- Eggs are optional and can be left out. We prefer using only 1 egg per roll and find 2 to be very heavy. However if you are using 2 eggs, make sure you use a medium sized pan and the egg is half set before placing the parotta. This avoids mess.
Tips & Notes on Parotta
- Please note the chicken filling makes only for 3 large rolls but the parotta recipe makes 4 parottas. If you are making for kids, you can make 2 large rolls and 2 small rolls for kids (add more fresh veggies to cut down the spice levels, a drizzle of Greek yogurt or cream cheese instead of sauce works well)
- If you want you may use only all-purpose flour. I like to use a bit of wheat flour for an extra flaky and nutty flavor. This way they are less chewy than the 100% all-purpose flour parottas. You can also make these healthier with only wheat flour or white wheat flour.
- It is essential to rest the dough else it will bounce back a lot while rolling.
- I prefer to use all-purpose flour (instead of fats) while rolling the parotta for ease and to cut down the excess oil/ghee. But be generous with spreading oil before pleating.
- These parottas can be made ahead and stored for 3 to 4 days.
- This recipe is not to make malabar parotta, laccha paratha or any other flaky layered versions which require plenty of oil. But they will make good moderately flaky wraps for a home version.
Related Recipes
Recipe Card
Chicken Kathi Roll (Chicken Frankie)
For best results follow the step-by-step photos above the recipe card
Ingredients (US cup = 240ml )
Chicken Marinade
- 300 grams (10.5 ounces) chicken breast
- ¾ to 1 teaspoon Kashmiri chili powder (cut down for low heat)
- ¾ teaspoon garam masala (more to adjust if you want)
- ½ teaspoon salt (adjust to taste)
- 2 tablespoons Greek Yogurt (hung curd)
- 1 teaspoon lemon juice
- 1 teaspoon kasuri methi (dried fenugreek, optional)
- 1 tablespoon oil
To stir fry
- 1½ tablespoon oil (divided, more to fry eggs)
- ¾ cup onions sliced very thin
- 1 cup bell peppers sliced very thin
To make egg parotta (Optional)
- 3 to 6 eggs (use as required, read notes)
To Assemble
- 3 parottas/ paratha/roti/chapati (Frozen store bought or make from the post above)
- ⅓ to ½ cup onions sliced
- 2 green chillies chopped thin
- 1 small lemon
- 1 teaspoon chaat masala (optional)
- 2 to 3 tablespoons Red chili sauce / Mint chutney or Cilantro chutney or Ketchup
Instructions
Preparation
- In a bowl, stir together all the ingredients mentioned for marinade except chicken. Mix well and taste test. Adjust salt and spice levels.
- Pat dry chicken with kitchen tissues if needed and add it to the marinade. Mix well and rest until you prepare the rest. You can marinate this up to 48 hours in the refrigerator.
- When you are ready to make the Chicken Kathi Rolls, chop onions, chilies and bell peppers.
- Add the sliced onions and green chilies (called to assemble) to a small bowl. Sprinkle little salt and squeeze the lemon juice. Cover and rest aside until we need them to assemble later.
Pan-fry/ Stir fry the chicken
- Heat half of the oil in a skillet and add the onions and bell peppers. Sauté them on a high heat until they lose the raw flavor, for 3 to 4 mins. Remove to a plate.
- Add the rest of the oil and spread it all over the skillet. Place the chicken in the pan and fry, turning them to the other side at 3 mins mark (total – 6 to 7 mins).
- When they are cooked through, add the previously stir fried onions & bell peppers. Taste test and add a sprinkle of salt, garam masala and red chili powder if you want.
- Mix well and turn off. Cool down the chicken completely to prevent soggy chicken rolls.
- If using frozen parathas, cook them as per the instructions on the pack.
- Optional if using eggs: Heat a non-stick pan with 1 tsp oil and pour 1 to 2 beaten eggs per roll. Wait for the egg to set a bit and then place the pre-cooked parotta and press down with a spatula until the egg is cooked through. If in doubt, turn the parotta to the other side and cook again until slightly puffy.
- Remove to a tray and cool down slightly before wrapping. If you want more egg parotta, make the same way as mentioned above.
Assemble Chicken Kathi Roll
- Place the paratha on a tray/plate. Add chicken in the center, followed by some sliced onions, green chilies, chaat masala and red chili sauce/ green sauce or mint chutney. Bring the sides to the center and wrap them in a parchment paper if you want.
- Follow the same above steps and make more chicken kathi rolls.
Notes
- Eggs may look unnecessary but they add a great fluffy texture to your rolls. If you use 2 eggs per parotta, cook them on a medium heat and make sure eggs are half set before you place the parotta. Avoid using a very large pan.
Video
Watch Chicken Kathi roll Video
NUTRITION INFO (estimation only)
© Swasthi’s Recipes
About Swasthi
I’m Swasthi Shreekanth, the recipe developer, food photographer & food writer behind Swasthi’s Recipes. My aim is to help you cook great Indian food with my time-tested recipes. After 2 decades of experience in practical Indian cooking I started this blog to help people cook better & more often at home. Whether you are a novice or an experienced cook I am sure Swasthi’s Recipes will assist you to enhance your cooking skills. More about me
Follow Swasthi’s Recipes

Comments
Made this for lunch with my partner and we enjoyed it so much we made it again for dinner!
Well explained recipe
Thanks for your guidance and perfect recipe. I will be making for my cloud kitchen, and I am sure it will work well. God bless you and give good health and prosperity.
This recipe was very helpful to me. Made everything from scratch as shown in the page and the rolls were delicious. Thank you for posting.
Glad you like it Amisha. Thank you
Hey, I cannot wait to try some of your recipes, this being my first tonight ? (I’m a veggie but live with a carnivore!) with the chicken do I need to cut it into smaller pieces or keep it as a whole breast piece ?
Hi Lauren,
Thank you! Yes you need to cut to bite size pieces for full-flavor. If you can’t, simply marinate the whole breast with a few slits over it. Rest overnight and cook. You can cut to pieces after cooking. Hope this helps
Thank you Swasthi??
Welcome Raj. Thank you
Do you have any recommendation for a good brand of parathas without preservatives? All I find is with some additives. Thank you, please advice I can’t eat foods with preservatives.
Hi Raphael,
I don’t have a favorite brand for that. Most of the store bought parathas use additives. I think you should check in your location if there are any bakeries or food stores selling local made foods. Those may not have preservatives. Hope this helps
Thank you for inspiring us to cook. I have been trying out your recipes since last year and my cooking skills have improved immensely. I am a vegetarian but cook meat for my family. I have tried many recipes from your website and my family loves them. This is the first time I am commenting to convey my heartfelt wishes and thank you dear Swasthi. These chicken rolls look delicious and will be trying out soon.
Anvi,
That’s lovely to read! You are most welcome and so happy to know the recipes are helping you. Thanks for writing.