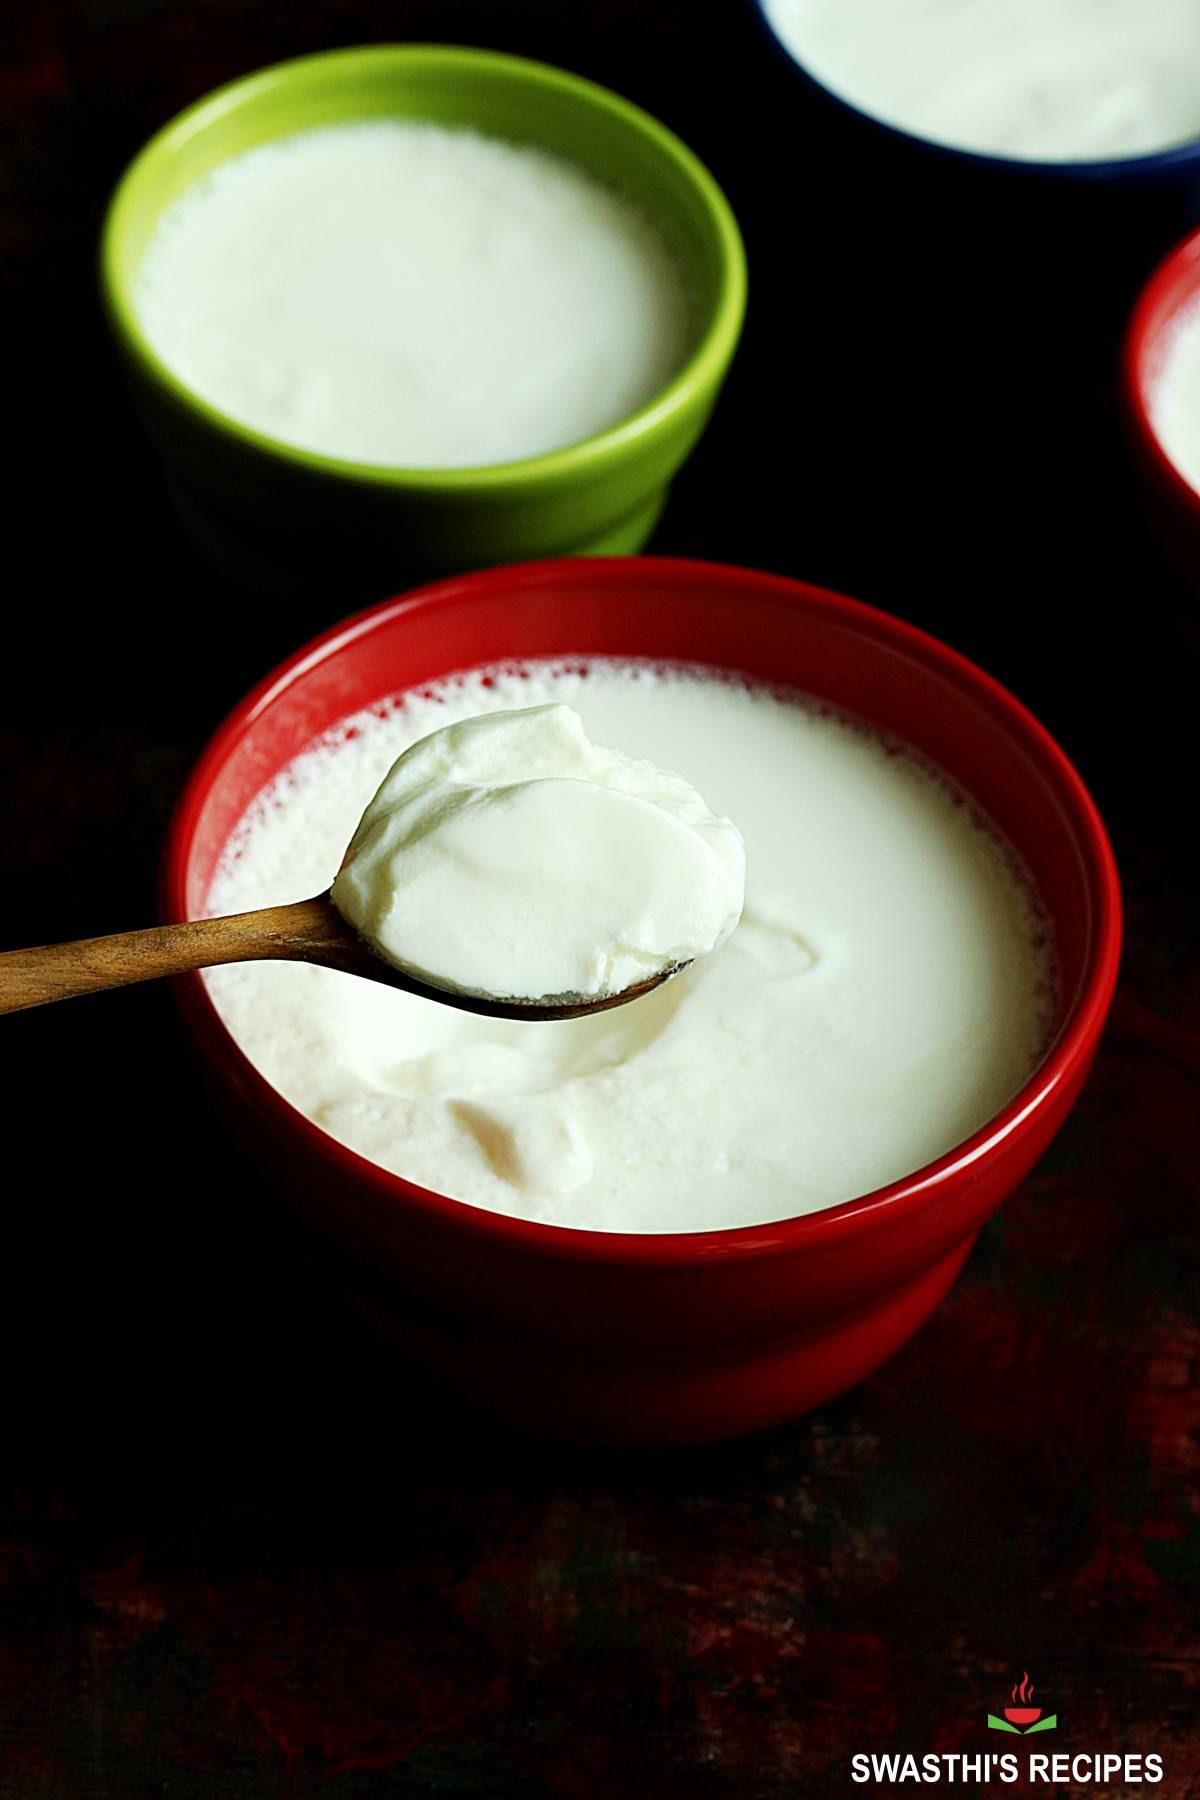
How to Make Curd (Dahi – Indian Yogurt)
Updated: August 20, 2023, By Swasthi Shreekanth
How to make Curd aka Dahi at home with just 2 ingredients. Curd known as Dahi in Hindi, is a traditional yogurt made and enjoyed in India for a millennia. Well known for its probiotic qualities, regular consumption of Curd is believed to improve the overall health and well-being. Making Curd at home is super simple and you don’t need any special equipment. I will show you how easy it is to make Indian Yogurt with my step by step guide! You will also find lots of practical tips and tricks to troubleshoot all Curd making problems.
What is Curd?
Curd is a traditional fermented dairy product that originated in Indian Sub-Continent. The word “dahi” may have derived from the Sanskrit word “dadhi” that translates to “sour milk or fermented milk”. So Curd is a traditional fermented food made with milk and a bacterial culture.
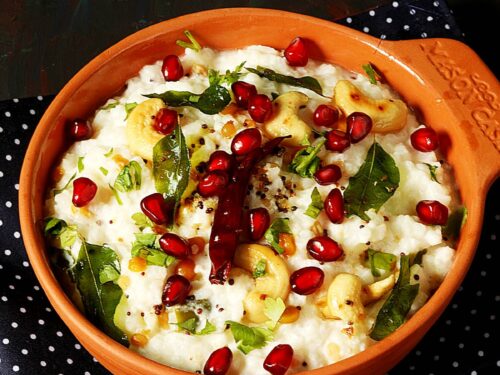
We Indians grew up eating curd almost every day in some or the other form. We serve it at the end of every meal either on its own or in the form of Curd Rice, Chaas/ buttermilk, Lassi etc.
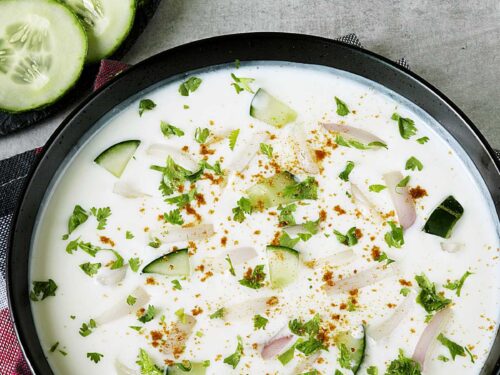
A lot of Indian dishes like Raita, Kadhi, Dahi Vada and curries are also made using Indian yogurt. We also use it as a tenderizer in a lot of meat based recipes like Kebabs and Biryani. Using the same, we also make Hung Curd for Shrikand. So Curd is a staple in Indian cuisine.
I have grown up enjoying farm fresh milk and homemade curd (Indian yogurt) while I was in India. When I relocated to Singapore, dealing with commercial processed milk (homogenized & pasteurized) was a new experience to me.
Making curd with raw fresh milk that is not processed at all is super easy! But if you are using homogenized and pasteurized milk then you may encounter tons of problems like slimy yogurt, sour yogurt or curd in which whey separates or yogurt which does not set at all etc.
I too had all of these troubles. Over the years after making several failed batches I learnt a lot about making the perfect thick and creamy curd using processed milk.
In this post I have shared all my experiences as tips to get the curd right (thick, creamy & delicious). If you are one among those lucky people who do not have any hassles in making it, this post may not be for you.
I have also shared how to make curd without a starter using chilli stalks.
Photo Guide
How to make Curd (Stepwise Photos)
If you have a instant pot, follow my recipe card to boil the milk.
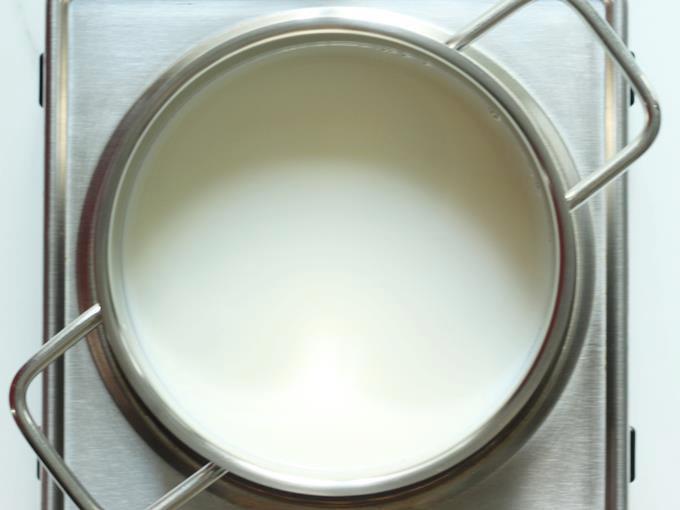
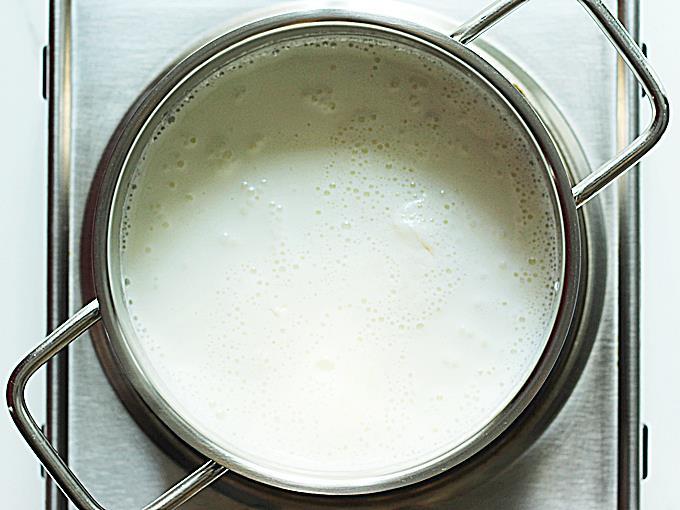
1. Rinse a large pot and pour the milk to it. Rinsing the pot reduces the chances of milk solids settling at the bottom. Bring milk to a boil on a low to medium flame.
2. If you do not like cream layers on the curd, then keep stirring to reduce the formation of layers of cream. We do not mind the cream so I avoid this step.
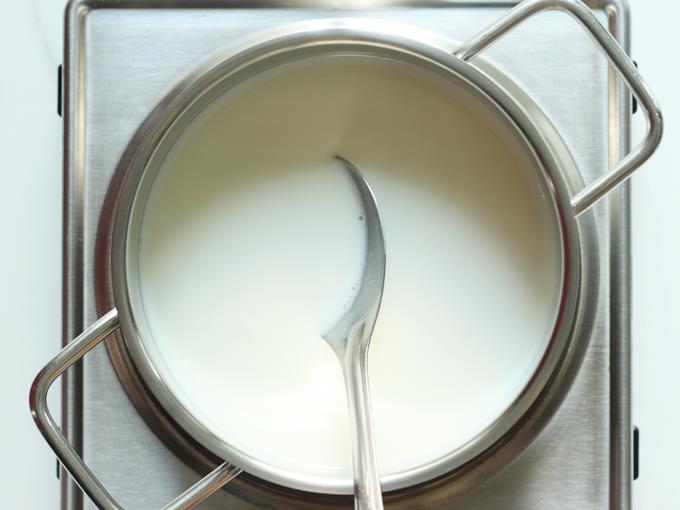
3. I usually boil the milk on a medium flame.
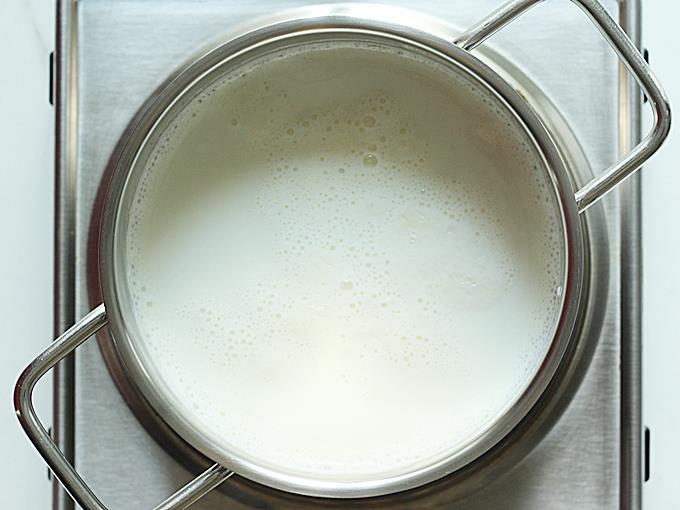
4. When the milk comes to a boil, then reduce the flame to very low and allow to simmer for 10 to 15 mins. This enhances the flavor and also makes the curd thick.
5. Remove from the stove and allow to cool down to luke warm temperature. A lot of Indians simply dip their finger to test the temperature. Your finger should feel warm and not hot. Hot temperatures kill the cultures so we don’t want the milk to be hot.
If using a food thermometer, milk should be ideally at 110 to 115 F (or 43 to 46 C). Immerse your thermometer into the milk and check it.

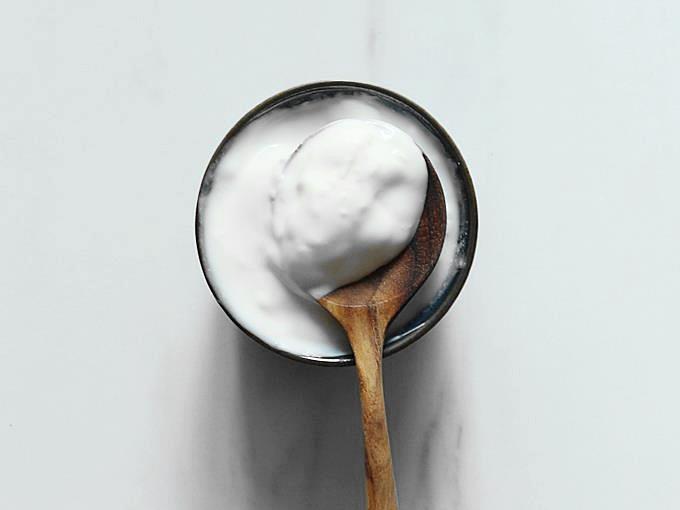
6. Decide on the amount of starter to use depending on the milk and kind of starter. For 1 liter milk you may need 1 teaspoon to 1 tablespoon depending on a lot of factors. I have explained this above the recipe card below. Please read that.
7. Add the starter when the milk comes down to warm temperature. 1 tsp to tbsp depending on the kind of milk, weather conditions and starter. Read the tips on how to make thick curd by frothing milk from the end of this post.
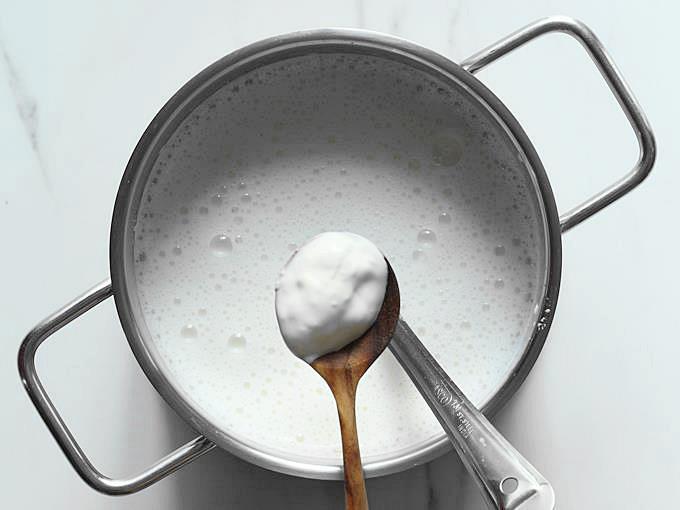
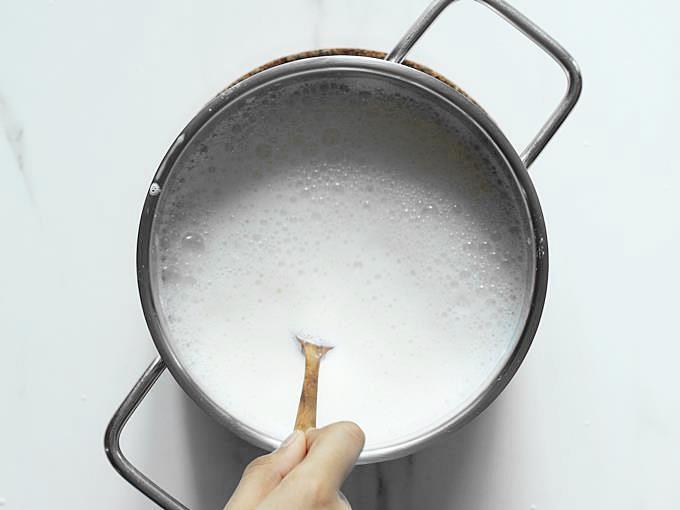
8. Mix very well until the curd has blended well with the milk.
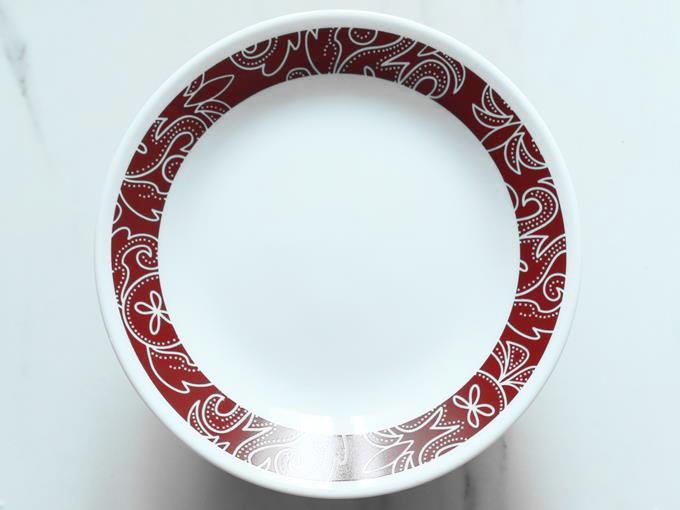
9. Transfer it to a bowl. You can also set the curd in the same bowl or in a clay pot.
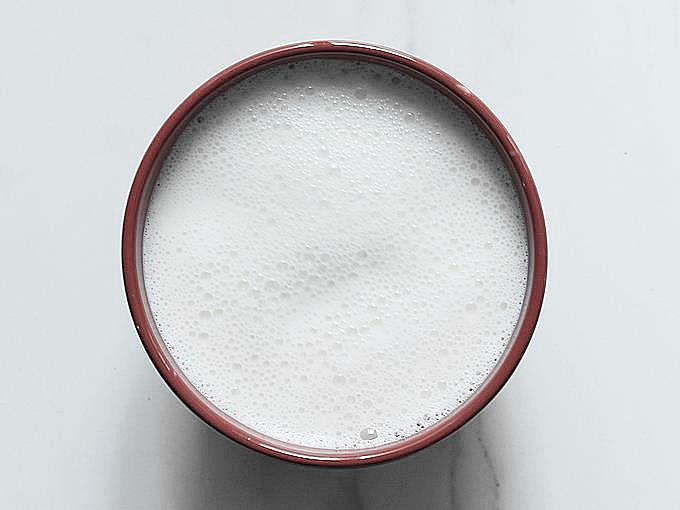
10. Cover with a lid and keep in a warm place until set for 6 to 10 hours depending on the weather. Avoid disturbing or moving the bowl before the curd is set. Some people use a broken red chili to set the yogurt well. If needed break a red chili and just put it in the milk. This will not make the curd spicy or hot.
Pro Tips to make Thick Curd
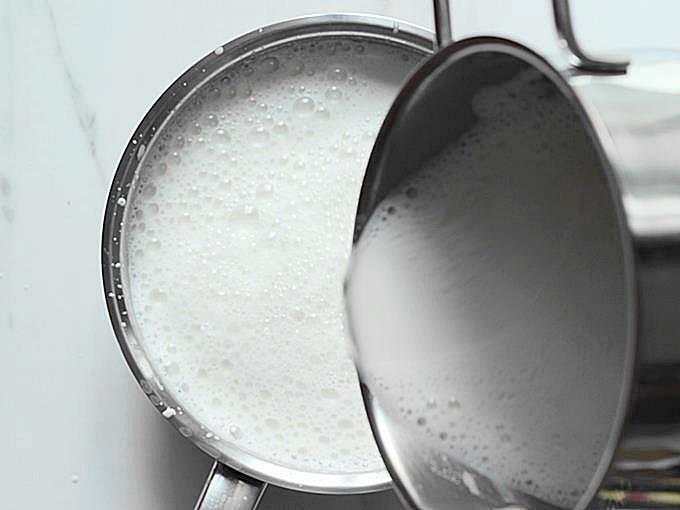
This is a tip which we follow to make thick curd at home. This method is also good if you do not like cream layers on the curd. This technique breaks down the cream layer and disperses the fats to the milk making the curd rich and tasty.
When the milk is still hot, froth up the milk by pouring it to another bowl or pot. To and fro, a few times breaks down the cream and the milk froths up very well.
Add the culture or starter when the temperature of milk is slightly higher than warm but not hot. Stir well.
Then quickly pour to the bowl, cover and rest in a warm place. Towards the end of the process the milk should still be warm. To get this right, you will have to try a few times. But this method surely gives thick and more tasty homemade curd.
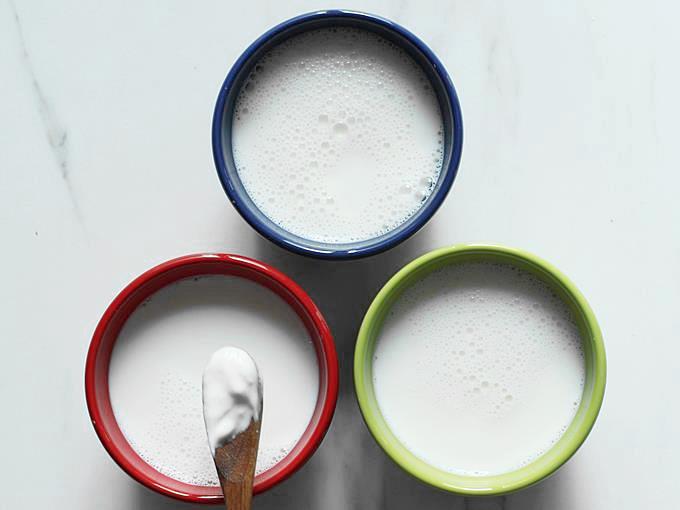
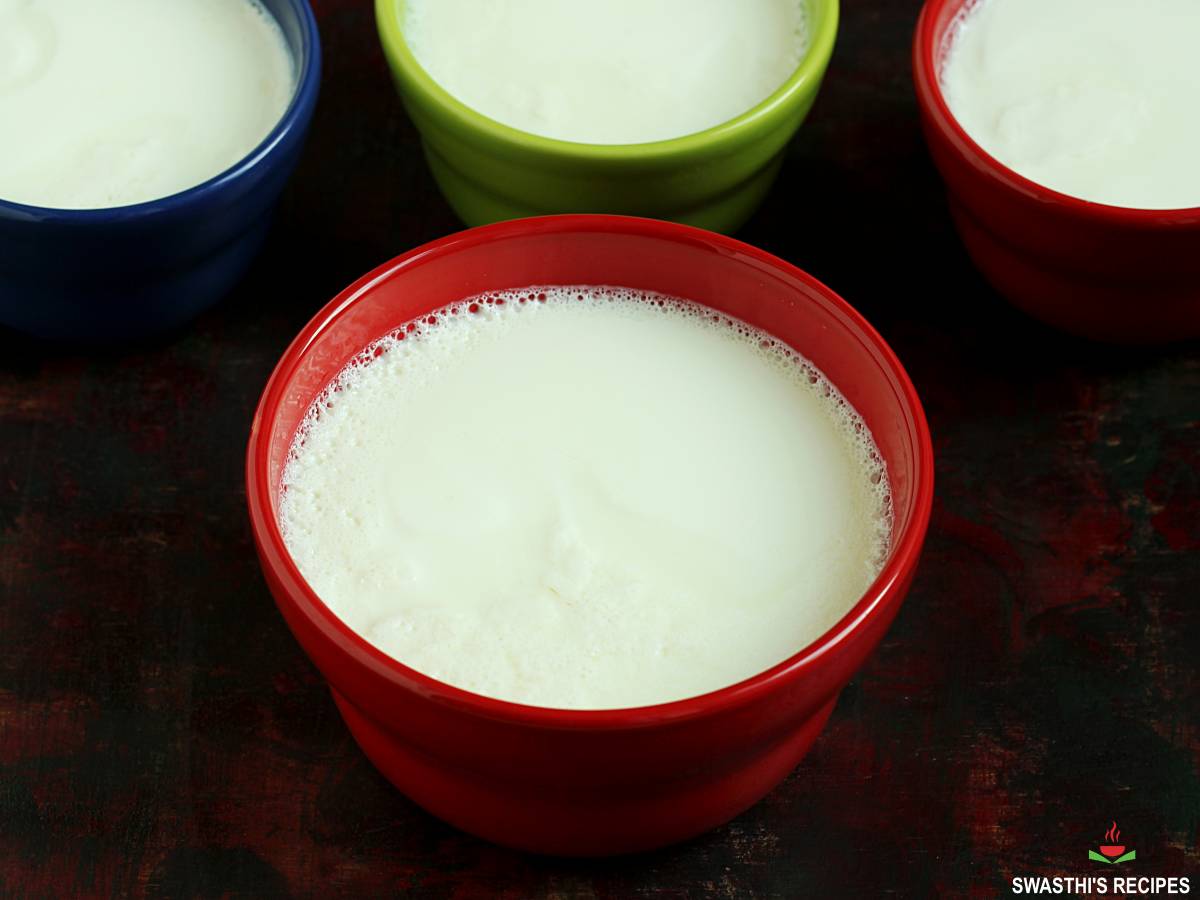
How to make in Individual Bowls
The process is the same but to ensure the curd is set well, I add an extra quarter tsp of curd to every half cup milk. This method of setting curd in individual bowls is preferred by many as scooping out little curd every time from a large bowl disturbs the entire bowl and leaving behind lot of whey.
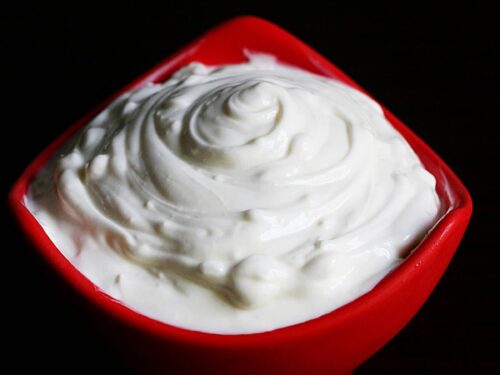
After refrigeration curd becomes slightly more thick.
More Tips
1. Always use full fat milk or whole milk only. As diluted milk or low fat milk will not set your dahi well and makes it watery with more whey.
2. Why does your curd become sticky or slimy?
- using starters like greek yogurt or any sticky one will yield a sticky curd. (I use Nestle Asli as the starter, the results are non-sticky).
- It depends on the milk too (depends on the feed of the cows), some milk yields a sticky curd. Especially the milk from the grass fed cows turn slimy. Just try with a different brand.
3. How much curd or dahi to use as starter purely depends on 3 basic factors.
- The kind of milk you are using – homogenized or non homogenized. Homogenized milk require more starter. As the milk is processed and the particles are broken down to minute in order to keep them apart which helps in increasing their shelf life. Dahi does not set well if you use less starter for homogenized milk.
- On the other hand, non homogenized milk needs less starter as they tend to set well and faster. Adding more will make your curd sour. So adjust the amount of starter accordingly. (I have mentioned the quantity in the ingredient list).
- The kind of starter you are using – gelatin or non gelatin. If your starter has gelatin in it, you have to use more starter. If the starter is a non-gelatin one, you can use lesser. (quantities mentioned in ingredients)
- The Season – if you are making yogurt in winters, need to use more starter. Adjust the quantity as per the season.
Places where Curd or Dahi can set well
- Place the bowl of milk in the casserole or a thermocol box.
- Wrap a warm cloth or woolen scarf to the bowl and keep inside the kitchen cabinet or shelf.
- Can place inside a big rice storage container.
- You can also place in oven with the light bulb on. If you have a oven with settings to make yogurt. Turn it on and place it until set.
UPDATE: Many readers have been asking
How to make Dahi Without Culture?
How to make curd without using curd / dahi ?
There is a age old method of making curd without using curd followed by rural women in South India. These women used to make their own culture to use as a starter. I have tried making this to check if it really works and yes it does.
Bring milk to a boil. Let the temperature come down to warm. Then add 8 to 10 stalks or stems of red chilies for every 1/2 to 3/4 cup of the warm milk. Set this aside in a warm place until set.
How long? it certainly depends on the climate. It took me 5 hours to set the curd. But this may not be good to use directly. I am not sure if it is healthy to eat.
So I did make fresh yogurt using the one I made earlier as starter (curd with chili stalks). I added 1 tbsp of the above set dahi to one cup milk and set aside for 8 hours. Then I got thick curd.
Related Recipes


Recipe Card
How to Make Curd (Dahi – Indian Yogurt)
Ingredients
- 1 liter milk full fat or whole milk
- 1 teaspoon curd /dahi or yogurt as starter (increase to ¾ to 1 tbsp. if you are making this in winters)
Method
- Rinse a pot well. This reduces the chances of milk solids getting stuck to the bottom.
- Pour milk and bring it to boil on a medium to low flame.
- To get thick curd, once it comes to a boil simmer the milk for 15 mins on a very low flame.
- Keep stirring in between else the milk will get burnt and smell bad.
- Simmering step is to get a very thick curd. You can skip this if you are ok to have a moderately thick yogurt.
- Allow the milk to cool down.
- If you are intending to use a curd culture that has come down to room temperature, then allow the boiled milk to come down to luke warm temp.
- But if you are using the culture directly from the fridge, then the temperature of the milk must be mildly warmer than the luke warm.
- Immerse your clean finger in the milk and check. or Your food thermometer should ideally read 110 to 115 F (or 43 to 46 C). Immerse your thermometer into the milk and check.
- Add a tsp of curd to the warm milk and stir well. You will have to experiment with the amount of starter to use.
- In India, my mother uses less than half tsp for 1 liter milk as it is not homogenized milk. But in Singapore I use about 1 tbsp or even more for 1 liter. It depends on the milk, climate and starter.
- Cover & move the bowl to a warm place.
- Allow it to set for 6 to 10 hrs depending on the climate.
- If you wish to set the curd well, you can break a red chili and drop it in the milk. it is optional and does not make the dahi or curd spicy or hot.
- If you live in a cold place, then keep it in a casserole or thermocol box or oven with the light on.
- Next if you intend to make curd in small bowls, check the step by step instructions after the recipe card.
- When the curd is set, move it to refrigerator.
- Ensure your sealing ring and instant pot are clean and are free from any kind of strong flavors from the previous cooking. Pour 1 cup water to the steel insert of your instant pot.
- Pour 4 cups of milk to a stainless steel bowl. Place a trivet and then place the bowl of milk over it. Do not cover the bowl.
- Secure the instant pot with the lid and position the steam release value to sealing. Press pressure cook button and set the timer to “zero”.
- The Instant pot beeps when it is done. Let the pressure release naturally. Carefully remove the bowl and let the milk cool down to warm temperature.
- When the milk is warm, place your clean finger to ensure it is not too hot. It must be warm. Stir in half teaspoon yogurt and place the bowl back on the trivet in the instant pot. The pot should not be too hot.
- If you live in a cold region or during winters, you may turn on instant pot & press the yogurt button. But during other times, you don’t need to turn on the instant pot at all. I usually place the bowl in the instant pot without turning it on. The residual heat from the previous cooking will be enough to set the curd.
- It will take 6 to 8 hours for the curd to set well. Remove the bowl and place it in refrigerator.
Notes
- If you are new to making curd, I suggest reading the entire post for more details.
- Frothing the milk will make it thicker. Please scroll down to know the details.
- Do not add yogurt to hot milk. It will coagulate the milk.
- Using sour starter will yield a sour dahi.
- If the milk does not set well, try again with fresh milk in different ways by increasing the culture, keeping it in a warmer place, adding your culture to warmer milk.
- Making good curd at home comes by experimenting & experience. Try different ways with different starters, different brand of milk and even in different places in your kitchen.
Private Notes
Tried this recipe?
Mention @SwasthisRecipes or tag #swasthisrecipes!Recipe post first published in November 2014. Updated and republished in July 2021.
About Swasthi
I’m Swasthi Shreekanth, the recipe developer, food photographer & food writer behind Swasthi’s Recipes. My aim is to help you cook great Indian food with my time-tested recipes. After 2 decades of experience in practical Indian cooking I started this blog to help people cook better & more often at home. Whether you are a novice or an experienced cook I am sure Swasthi’s Recipes will assist you to enhance your cooking skills. More about me
Follow Swasthi’s Recipes
Comments
Using the chile pods or stalks to set the curd would be very healthy! And resourceful. South Indian women are smart!
Have u ever made kefir?
I thoroughly enjoyed reading & researching this recipe & better undertsanding the impact of milks & starters on yoghurts/curds.
In India, Water buffalo milk is very common, so making curd/starter using chili stalks is very different.
In your article you mentioned successfully testing this method – could you please elaborate on the brand / type of milk & the name of the chilis where the stalks came from during the testing.
Living in South Africa means that I have to find similar products to try your recipe.
It is the correct procedure, If a starter culture not available tamarind flake will also work
Love this! I was never sucessful in making Indian style dahi. Not sure if it was the process or the temperature but your detailed write up helped me hugely. I was able to get it right in the second trial. We had stopped eating dahi because the store bought we get here is too thick, could be additives or milk solids. My homemade never came right. This time I used a store bought starter but followed all your steps. I used a whisk to mix well instead of frothing & it was yummy well set dahi. Thank you Swasthi
What should be the minimum and maximum temperature within which it should be stored to set the curd? I live in a cold country where temperature barely goes over 25 DC inside that too in summer and in winter it is about 20 DC indoors with heating on.
Waiting patiently for some of your recipes. I just joined.
Thank you very much for this recipe it works superb 😊
Hi Swasthi,
I hope you are doing well 🙂
I would like to thank you a lot because you helped me to learn many simple and new dishes. Whenever, I am in doubt, I always come to your page. You are saviour for those who are new in terms of cooking or who wants to make new dishes in a simple and easy way.
Hello Preksha,
Doing good and thank you so much for asking and for writing. Your comment made my day and I am very happy to read that!
Great explanation
Thanks for detailed explanation on how to make curd. I was wondering what u mean by gelatin and non-gelatin.
Very good recipe 👌
Hello. Your curd and all other recipes are really well in detail and simple to understand. This is very helpful for my teaching project. Is it fine if I use these for my presentations? (Since the website is not allowing me to copy anything)
Which brand milk do you use in singapore for setting the curd?
Hi Hira,
Currently I am using Arla organic with yogourmet yogurt starter (only for first time starter, because other Indian yogurts made slimy yogurt). It won’t be like the Indian yogurt but tastes okay and it sets well. In the past I used farmfresh, pura and meji. Pura and meji are homogenized so I stopped a few years ago. Arla has lactase added to it so see what works for you. If you don’t like Arla try farmfresh fresh milk. I don’t use UHT (because of aluminum) but heard it works better than all of these.
Great recipe. We used to live in Sri Lanka and our cook made an amazing curd called Sweet French Curd in a clay pot. She added vanilla, cardamon and maybe other herbs or spices along with a bit of gelatin, and it took about 8 hours to make. I can’t find the recipe anywhere. Do you have anything similar?
Thanks David. No I don’t have that recipe.
The tip about starter making was new….Thanks a lot..You have great indepth knowledge.
You are welcome Anita. Thanks for reading
First time making. The recipe and instructions were easy to follow. I loved the step by step instructions with the pictures. It was so easy to make. It tastes so nice. I will definitely be making this from now on. Thank you
That’s nice to know Laura. Thank you!
Indian curd and yogurt same thing!!!! Only difference is the type of cultures used as a starter. Making it at home is a learning and I wonder how different cultures have various ways to make it. First time learning so many things from this post and need to try out soon.
Thanks Melissa.
Wow this is a great recipe! Can’t believe how simple this is, yet the yogurt is so tasty! I tried the red chili and it worked like a charm. I also read elsewhere the stalks of green chili peppers have yogurt cultures and it is used as a starter. But it is hard to find fresh stalks in this cold weather so I tried the red chili and used yogurt option on my instant pot. I am never going to buy it again.
Thanks for trying Sam. Yes you can use green chili stalks but they are for different purposes.
I would give this 10 stars! We made it for last week and we are still raving about it this morning, while serving it over our breakfast cereal.
Nice to know Har. Thank you for sharing back
Your instructions were flawless. I made curd for the first time and my partner is proud. Thank you!
Glad to read this Rhea. Thank you
1) What kind of starter for home made dahi be used, if starter is not
easily available at home ?. It needs to be safe & healthy.
I used green/ red chillies to make starter. It does not work.
Used limbu / lemon to create starter. It also did not work.
Are their SAFE & hygienic ways to use other strarters ? Can we get curd culture which is easily available for home made curd making ? How about Kefir ?
Please respond.