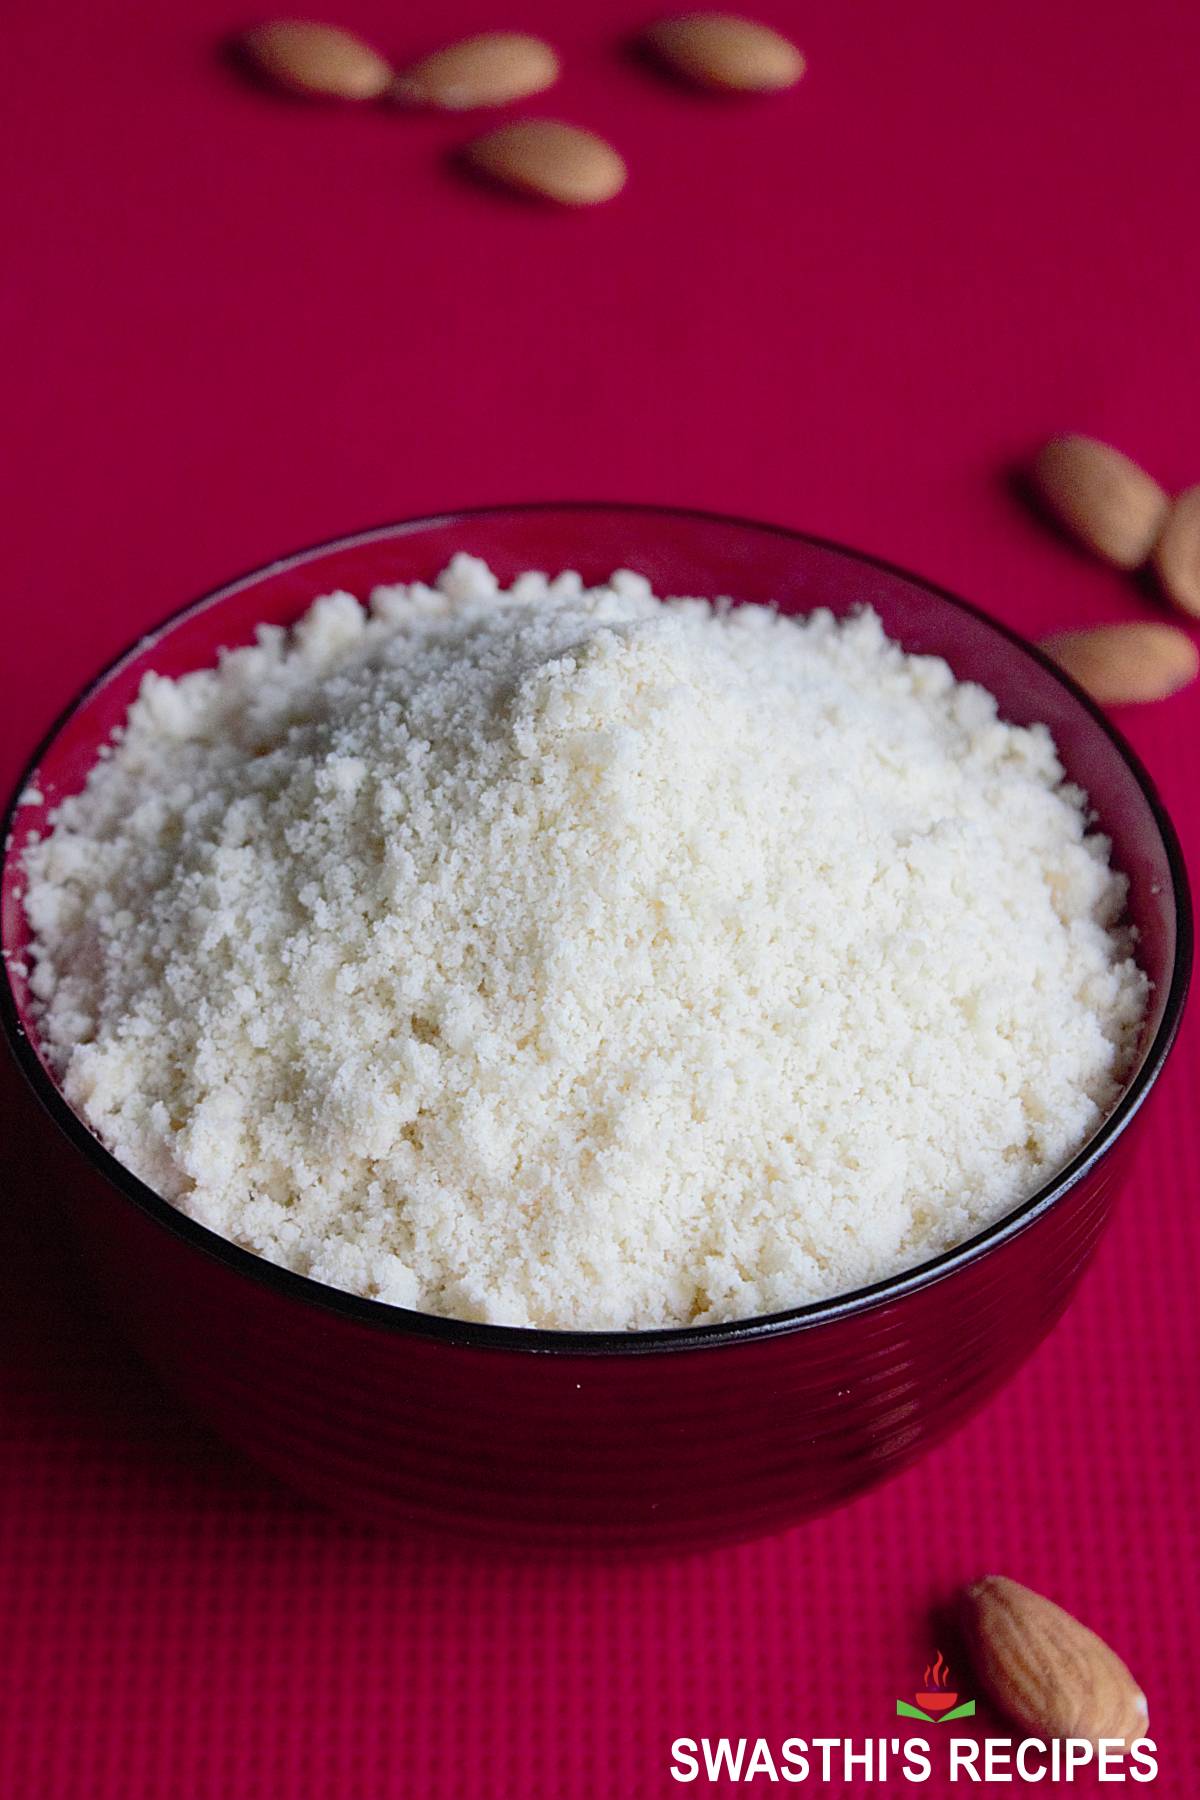
How to Make Almond Flour
Updated: August 20, 2023, By Swasthi Shreekanth
Making Almond Flour at home is easier with this simple step-by-step guide. Homemade Almond Flour is so much cheaper and fresher than your store bought flour. There are 2 ways you can make Almond Flour at home. One way is to start from scratch with whole almonds (with their skin intact). The other one is to make with store bought blanched almonds or silvered almonds.
In the first method we blanch the whole almonds first, then dry them well to remove any traces of moisture. Lastly grind them to flour in a grinder. The second method just needs to add the blanched or silvered almonds to a grinder & pulse them to get fine flour.
The main difference between the 2 is that we need to blanch almonds at home for the first method. Though it takes some time, this method yields better almond flour which smells fresher. Since blanching is easier I prefer to follow this method.
Sometimes store bought blanched or silvered almonds end up being rancid as they have a limited shelf life. So for best quality flour start with whole almonds with their skin intact.
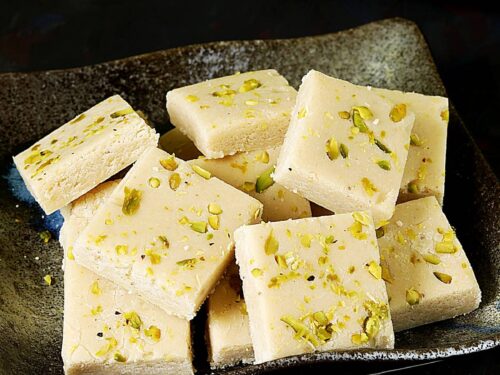
I use a lot of this flour in my bakes and sweets like Badam burfi, Badam halwa and Almond kheer. Though it is easily available in any grocery and food stores, I have made this for many years from scratch to make my toddlers’ cereals, drinks and porridge.
This post comes handy for those of you who are not accessible to store bought almond flour. Here is a quick conversion of whole almonds to flour:
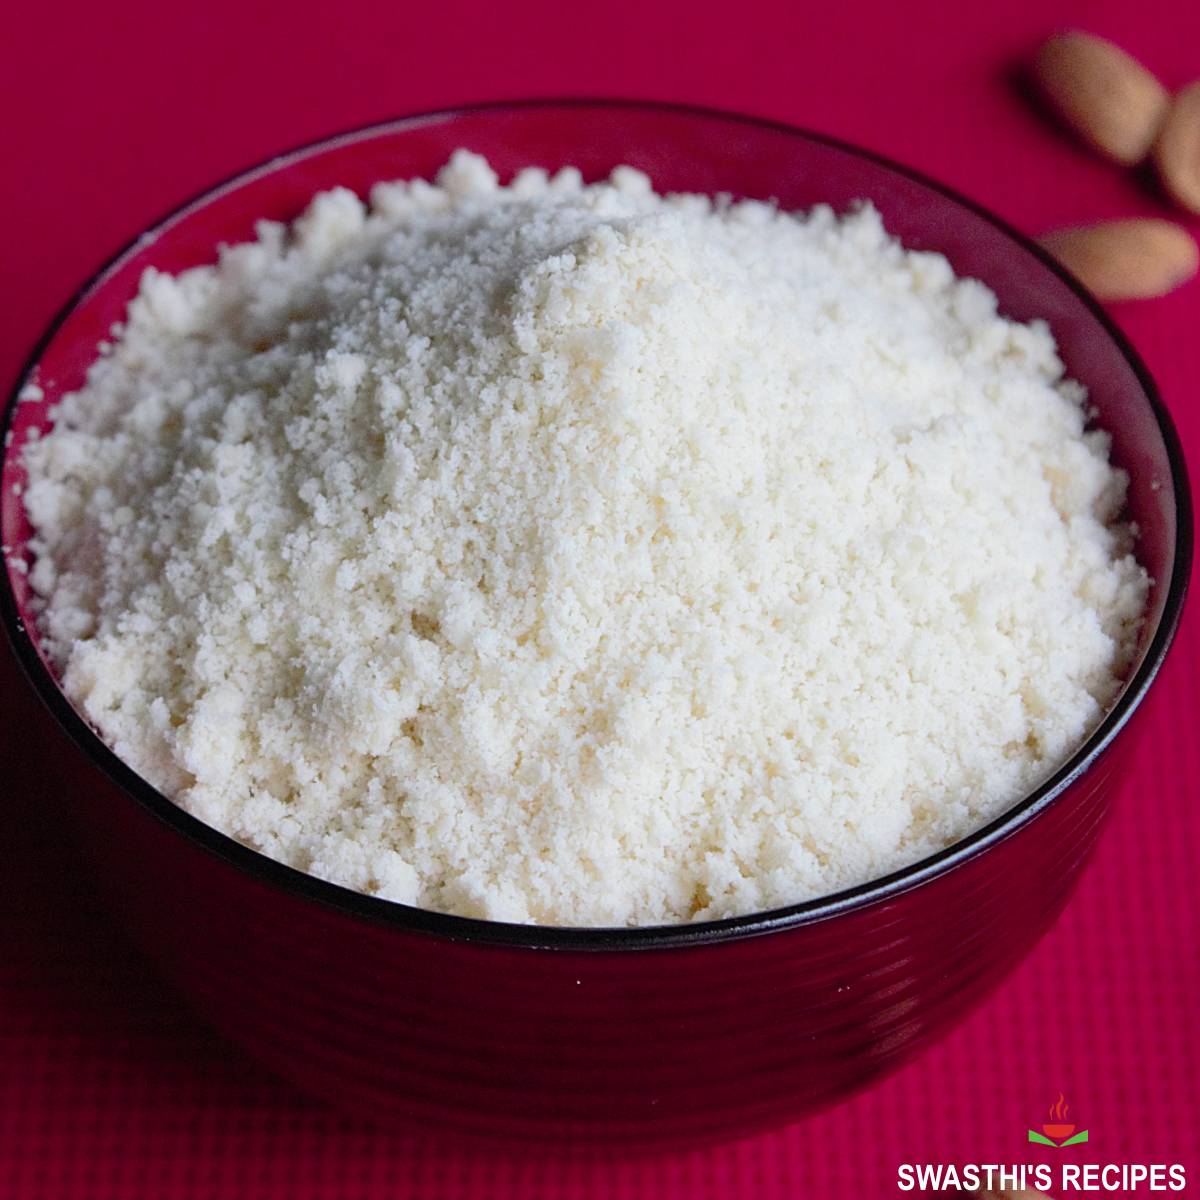
Almonds to Almond Flour conversion
1.5 cups almonds yield 2 cups plus one tablespoon of almond flour. To make 1 cup of flour , use 3/4 cup almonds.
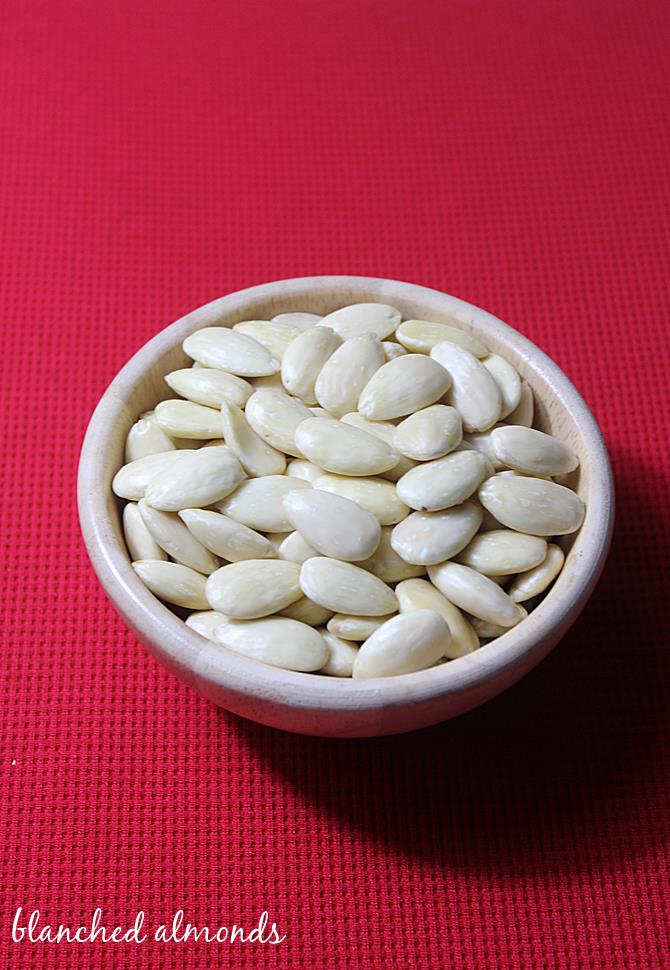
Photo Guide
How to make Almond Flour (Stepwise Photos)
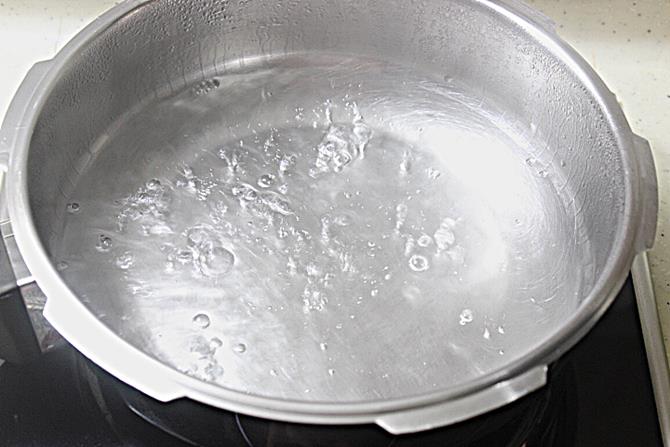
1. Bring water to a rapid boil in a large wide pan and off the stove.
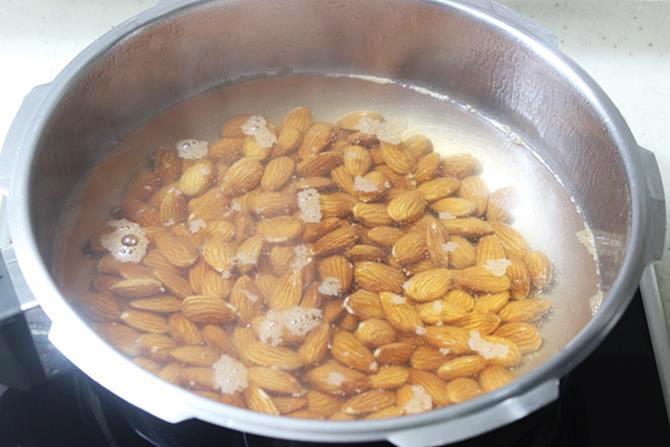
2. Add almonds to the boiling water, spread them evenly. Leave them in the water just for one to 2 minutes.
3. Drain them off in a colander, rinse under clean running water.
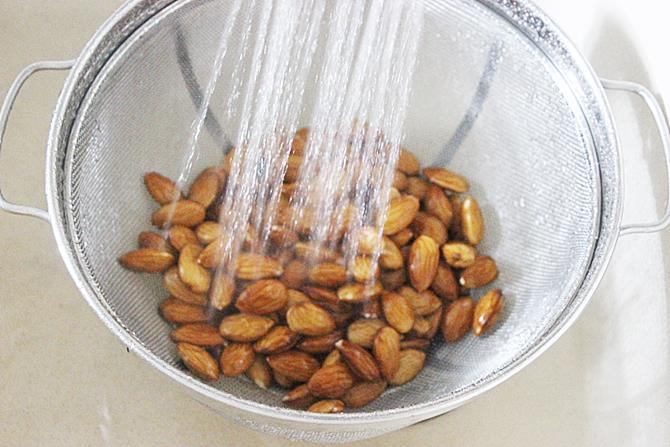
4. Drain them again. Spread them on a cloth. You see the skin would have been loose now.
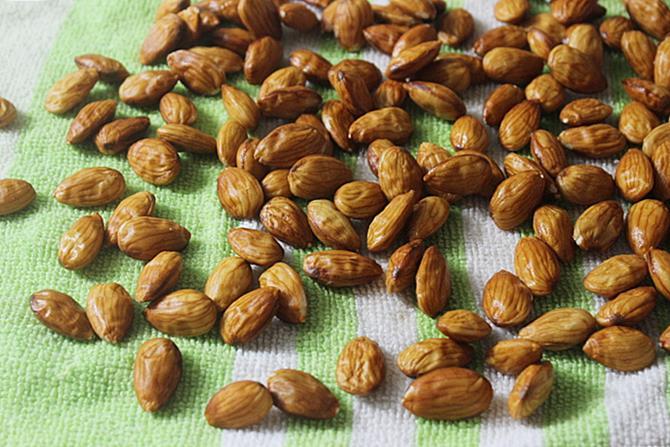
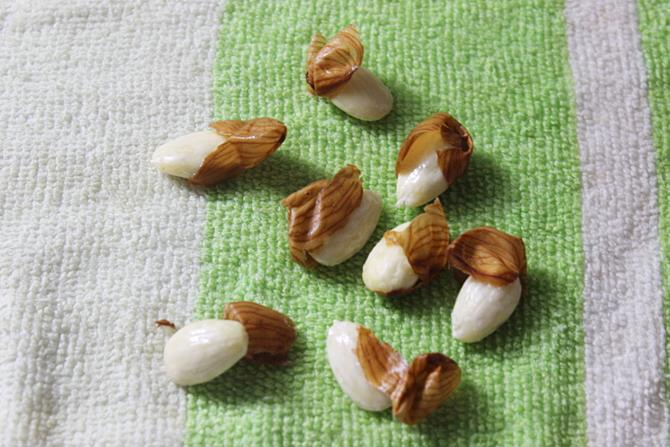
5. Peel off the skins. They just come out without much effort. Pat them dry with the dry side of the napkin.
Toast almonds and grind
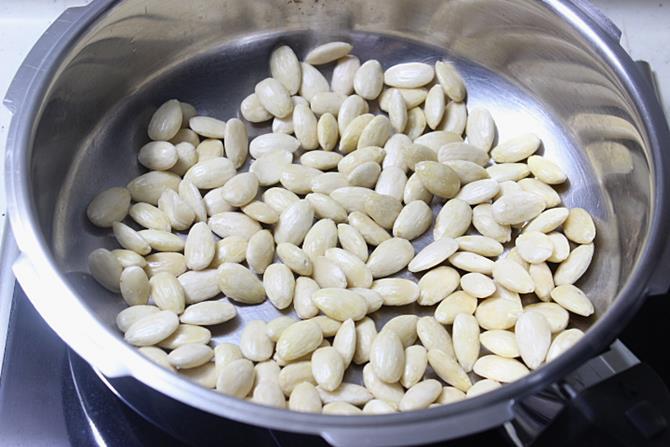
6. Transfer these to the wide pan, make sure the pan is dry. Dry roast them on a medium flame till they look moist free or dry. Do not discolor them. It took about 5 minutes for me to toast. Cool completely. If you want you can also simply sun dry or dry them in your air fryer or oven on a very low heat.
7. Add to a dry grinder jar. I use a Indian grinder that comes with a steel jar.
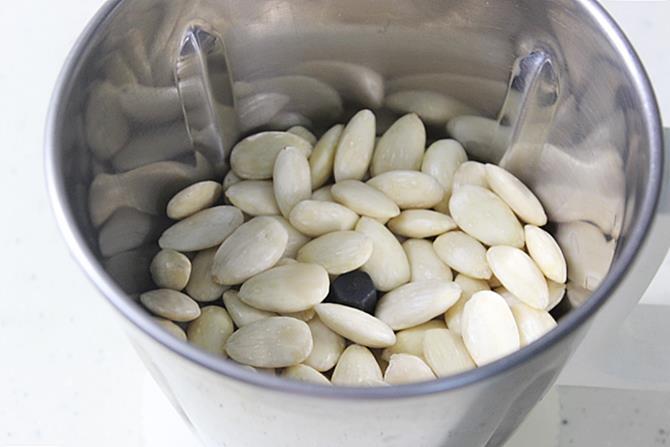
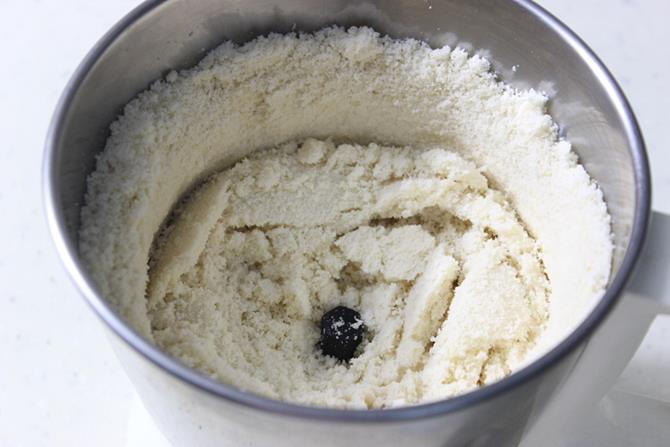
8. Pulse them in intervals of 30 to 40 seconds, so they don’t release oil. Do not let the grinder become hot or warm as the almonds will begin to release oil immediately. If you want almond meal grind to a coarser meal and to make flour grind it finer. If you want you may sieve it.
Store in an air tight jar and refrigerate if you stay in a high humid climate.
Related Recipes


Recipe Card
How to Make Almond Flour
Method
- In a large and wide pan, bring water to a rapid boil. Switch off the heat.
- Immediately add almonds to the pan, Spread evenly. Do not crowd them.
- Let them rest for a min or two. Drain them in a colander. Rinse under running water.
- Drain them to a colander and transfer to a clean kitchen cloth.
- Spread them. The skin will loosen on its own. You can just remove the skin easily. Peel them or (You can hold each almond in between your thumb and forefinger and squeeze it off inside the napkin to prevent it popping elsewhere in the kitchen.)
- Transfer these to a wide pan, and lightly roast them on a low heat until they look moist free. Keep tossing them to prevent discoloring. Cool them.
- Add them to a grinder and pulse them in intervals of 30 o 40 seconds. Do not run the grinder too long else the almonds may begin to release oil. If you want you may sieve this.
- Transfer almond flour to a air tight glass jar and store it in a dry cabinet or in the refrigerator. You can also freeze this for 3 months.
Notes
- The almond skin looks loose once you finish the blanching, so can peel the skin very easily. But If you have any problem peeling the skin, can just give a quick rinse again with cold water and quickly transfer and pat them on a dry cloth.
- Leaving the almonds in hot water for longer can make them soft and is difficult to dry them well.
Private Notes
Tried this recipe?
Mention @SwasthisRecipes or tag #swasthisrecipes!This recipe was first published in 2012 July. Updated and republished in August 2023.
About Swasthi
I’m Swasthi Shreekanth, the recipe developer, food photographer & food writer behind Swasthi’s Recipes. My aim is to help you cook great Indian food with my time-tested recipes. After 2 decades of experience in practical Indian cooking I started this blog to help people cook better & more often at home. Whether you are a novice or an experienced cook I am sure Swasthi’s Recipes will assist you to enhance your cooking skills. More about me
Follow Swasthi’s Recipes
Comments
Can a food processor be used? I do not have a grinder?
Not sure
This almonds based recipe looks amezing. Buy the best quality almonds Ariga Foods
Nicely explained
Thank you for this fantastic guide. I made my first batch of almond flour last month for my 10 month old baby. It smells good even today after 45 days. This time I want to make a larger batch. Do you think it keeps good for longer? Any advice?
Anitha,
Yes it keeps good for longer periods. Though I have mentioned shorter periods in the post. I freeze it up to an year and it keeps good. It never goes bad as long as you dehydrate/roast them well and don’t overgrind. If you overgrind it can go rancid soon. Hope this helps
Is it okay to use if I ground it too much? It is a little oily when I handle it.
Yes you can use it
Thanks for this recipe. I made 2 cups of almond flour to try burfi from your website. It has turned out good but a bit grainy. Should I grind it again after sieving or is it okay to use in the burfi? Please advice
Hi Diti,
It’s okay to use if it is like semolina. But larger bits won’t be good in a burfi. You may sieve it if you want.
how long can i store this?
You can store it in a glass or steel jar in the refrigerator for 2 months.
Wow very useful post. Can i mix this powder in bufellow milk for my 18 months baby during boiling. Please tell me da qty tomorrow i will defenetly try dis with some cashews also. All ur recipes are very nice n very great explanation
Hi Lakshmi
Thank you. yes you can use 1 tsp powder. You may like to read this detailed post on badam milk powder
Thanks a lot. Very good info on blanching alminds
Welcome Prabha
Thanks so .much – this is the only place that I found the almonds to almond meal ratio, so necessary if you are trying to convert a recipe from store-bought meal to homemade.
Welcome Cynthia
Yes its true.
Thank you so much for the pics and easy instruction. I have a bunch of recipes that call for almond meal and it would be too costly to buy from the store. Now I will make my own..
Welcome Racheal
Congratulations. This is the best method to date I have found and used successfully for blanching almonds. Extremely easy to do. Once congratulations and thank you.
Thank you so much
thanks
Very useful post dear. Thanks for sharing.
Very useful Post….Thanks for sharing:)
thanks for sharing it swasthi..