Jeera Rice Recipe (Cumin Rice)
Updated: August 28, 2022, By Swasthi
Fluffy Jeera Rice that will elevate any meal! This Jeera Rice is a quick way to add flavor and texture to your plain boring white rice & miraculously it tastes delicious with just anything. Fluffy soft Naan or fragrant Indian Cumin Rice is a must when you plan to make an Indian restaurant style curry.
I know you can always serve a curry with plain rice but this Jeera Rice is simply superb and enhances your palate. In this post I share 2 recipes to make a fluffy, non-sticky and aromatic Jeera Rice every time.
About Jeera Rice
Jeera is the Indian word for cumin seeds. So Jeera Rice is simply rice cooked with cumin seeds & ghee or butter. Other whole spices like cardamoms, bay leaf, cloves, cinnamon & mace are also sautéed in ghee to impart deeper flavors. The resulting dish is super fragrant with a warm & earthy aroma infused by the cumin seeds.
A lot of spices go into cooking authentic Indian food & cumin plays a key role. It not only flavors & add texture to the foods but also enhances the nutritional values. These tiny seeds are a good source or iron, zinc, copper & many other nutrients.
Table of contents
Cumin /jeera has natural medicinal values & work great on the digestive system. Indians have been serving this rice with everything heavy like curries & dal, considering the medicinal values of jeera. Indian curries are usually heavy in fats so Jeera Rice may help in digestion.
After Biryani, Jeera Rice is one of the most ordered rice dishes in Indian restaurants. It is eaten with curries, dal and even with a simple Raita.
My Recipes (homestyle & restaurant)
As I said there are 2 ways you can make Jeera rice – Homestyle method and restaurant method. I follow the first method more often as it cooks in one pot & is convenient to make for the school & office boxes in the early mornings. I reserve the second one for occasions especially when I have guests or making a special restaurant style curry.
1. One pot Jeera Rice : This is good for a home preparation as it is quick to make even by newbies. In this method, the spices along with cumin are tempered in ghee or oil on a low heat until aromatic. Then basmati rice is fried/ sautéed along with the spices and later cooked with water.
This way of making jeera rice is as simple as cooking plain rice but you just makeover with some spices added to it. You will have some fragrant, fluffy & non-sticky rice to serve with your everyday sides.
This one pot dish can be made in a regular pot, traditional pressure cooker or Instant pot. I have instructions for all of them in the recipe card below. So this jeera rice is always my choice to go with
Chana Masala
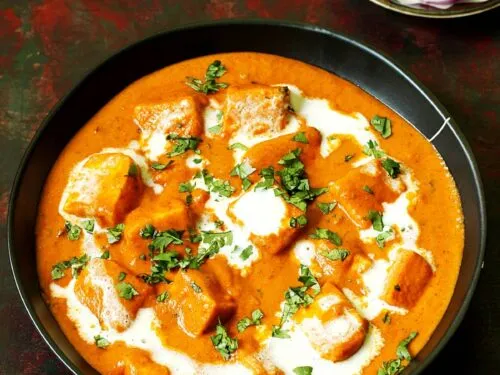
Paneer Makhani
Aloo Gobi
Rajma Masala
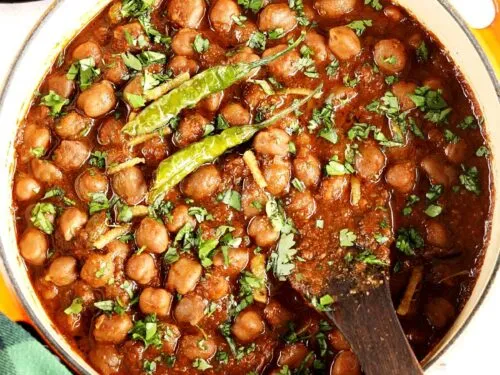
Punjabi Chole
2. Restaurant style Jeera Rice : This is great to make when you have some precooked rice and you want to use up by flavoring it. Often this method is followed in the Indian restaurants as it is convenient for them to cook plain basmati rice in large quantity.
Then temper the rice as needed to make different dishes like jeera rice, pulao, fried rice, lemon rice etc. I have shown this method of making restaurant style jeera rice in the step by step photos as recipe 2. Serve this jeera rice with
Paneer Butter Masala
Paneer Tikka Masala
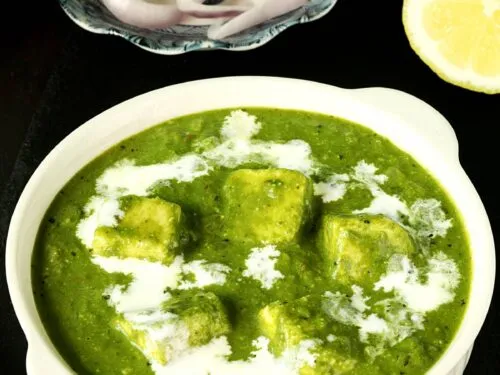
Palak Paneer
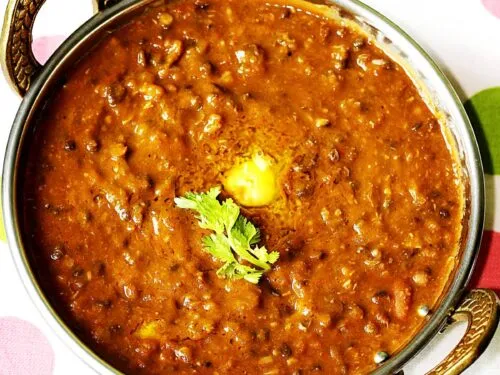
Dal Makhani
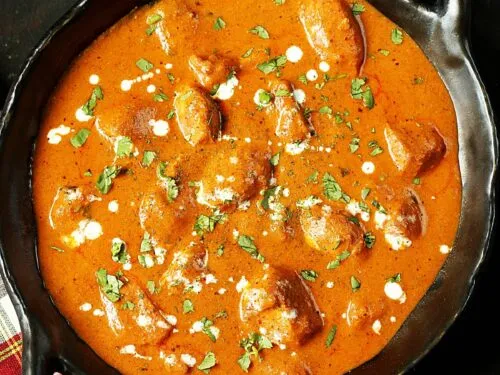
Butter Chicken
Photo Guide
How to make Jeera Rice (Stepwise photos – recipe 1)
Temper spices
1. Rinse 1½ cups aged basmati rice thrice and soak in 3 cups water for 20 mins. You can also follow the instructions on the pack. Drain to a colander and keep aside. If you are not using aged premium quality basmati, please do not soak. Just rinse, drain and start to cook.
2. On a low to medium flame, heat 2 tablespoons ghee or oil in a pot or pressure cooker. (Alternately use a instant pot on saute mode). Add the following whole spices:
- 1 bay leaf (Indian tej patta)
- 2 inch cinnamon piece
- 4 cloves
- 4 green cardamoms
- 2 teaspoons jeera (cumin seeds)
- 1 strand of mace (javitri) (optional). You can also omit all the whole spices mentioned above and just use jeera but you will miss those other flavors.
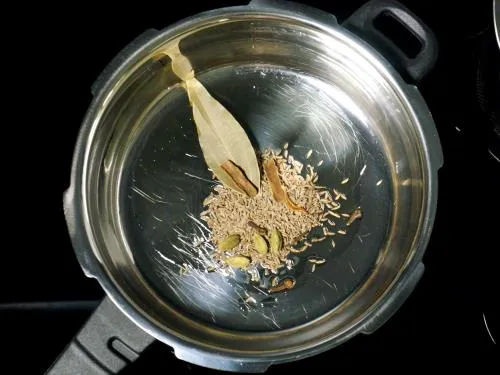
3. Let them sizzle for 2 mins, until jeera gets roasted well and begins to smell aromatic. This is the key step to bring out the flavor from jeera. Optionally add ¼ cup sliced onions and saute for 5 to 6 mins, until golden.
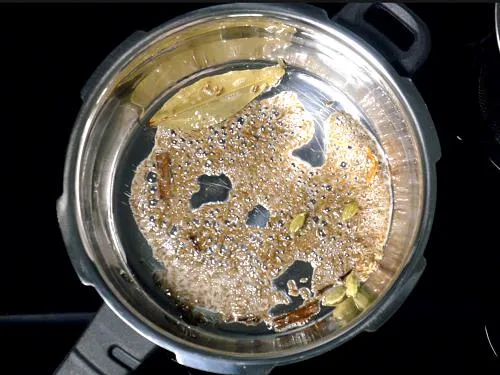
4. Add green chili and drained basmati rice.
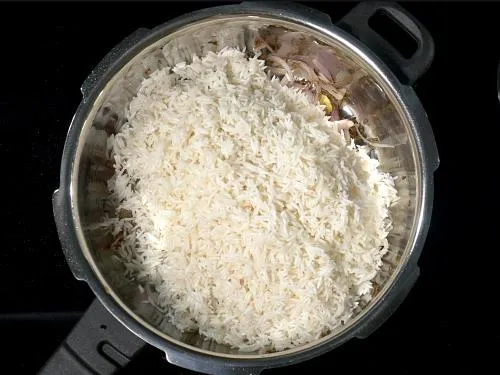
5. Fry for 2 to 3 mins on a high flame, stirring only 3 to 4 times. Do not stir vigorously the rice grains can break.
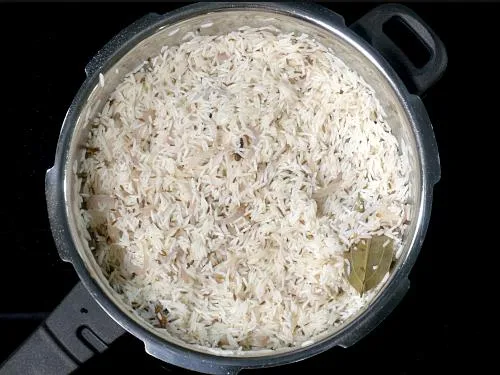
Pour water
Caution: If you are not using aged basmati rice, please cut down the water as required depending on the kind. Start with 1½ cups only and add more as you cook.
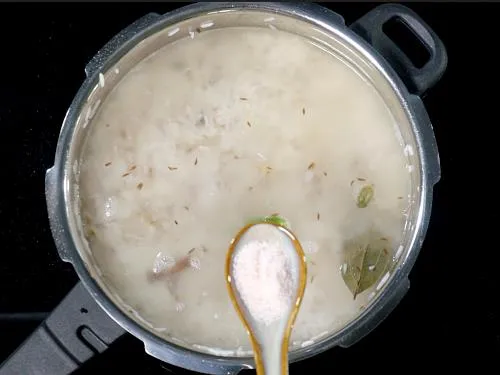
6. Add ½ to ¾ teaspoon salt. Pour hot water as follows depending on the cooking method you follow.
- Instant pot – 1¾ cups or
- Stovetop pressure cooker – 2½ cups or
- Regular pot – 3 cups
Mix well and taste test to adjust salt. The water should taste slightly salty.
Cook Cumin Rice
7. Cook according to your method
- Stovetop pressure cooker: Cover and pressure cook on a high flame for 1 whistle. Let the pressure release/drop naturally.
- Instant pot : Press cancel, secure the lid and position the steam valve to sealing. Pressure cook for 5 mins and release the pressure immediately.
- Cooking in a regular pot, bring the water to a rolling boil on a high heat, turn down the heat to low. Cover and cook until the water is absorbed and the jeera rice is fully cooked through. It takes me about 15 to 17 mins. Keep checking after 13 minutes. Turn off the stove and keep the pot covered for at least 10 mins.
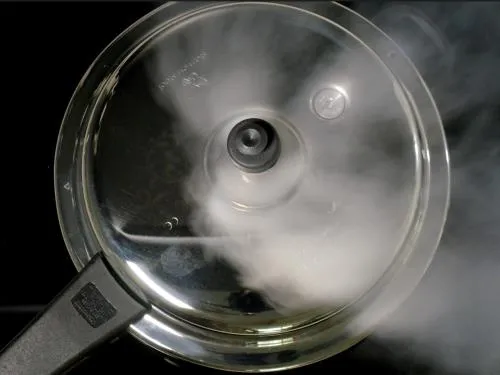
8. Open the lid and fluff up the jeera rice gently with a fork. You can also add a bit more of ghee if desired.
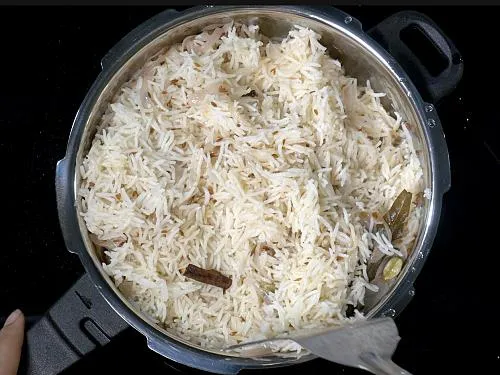
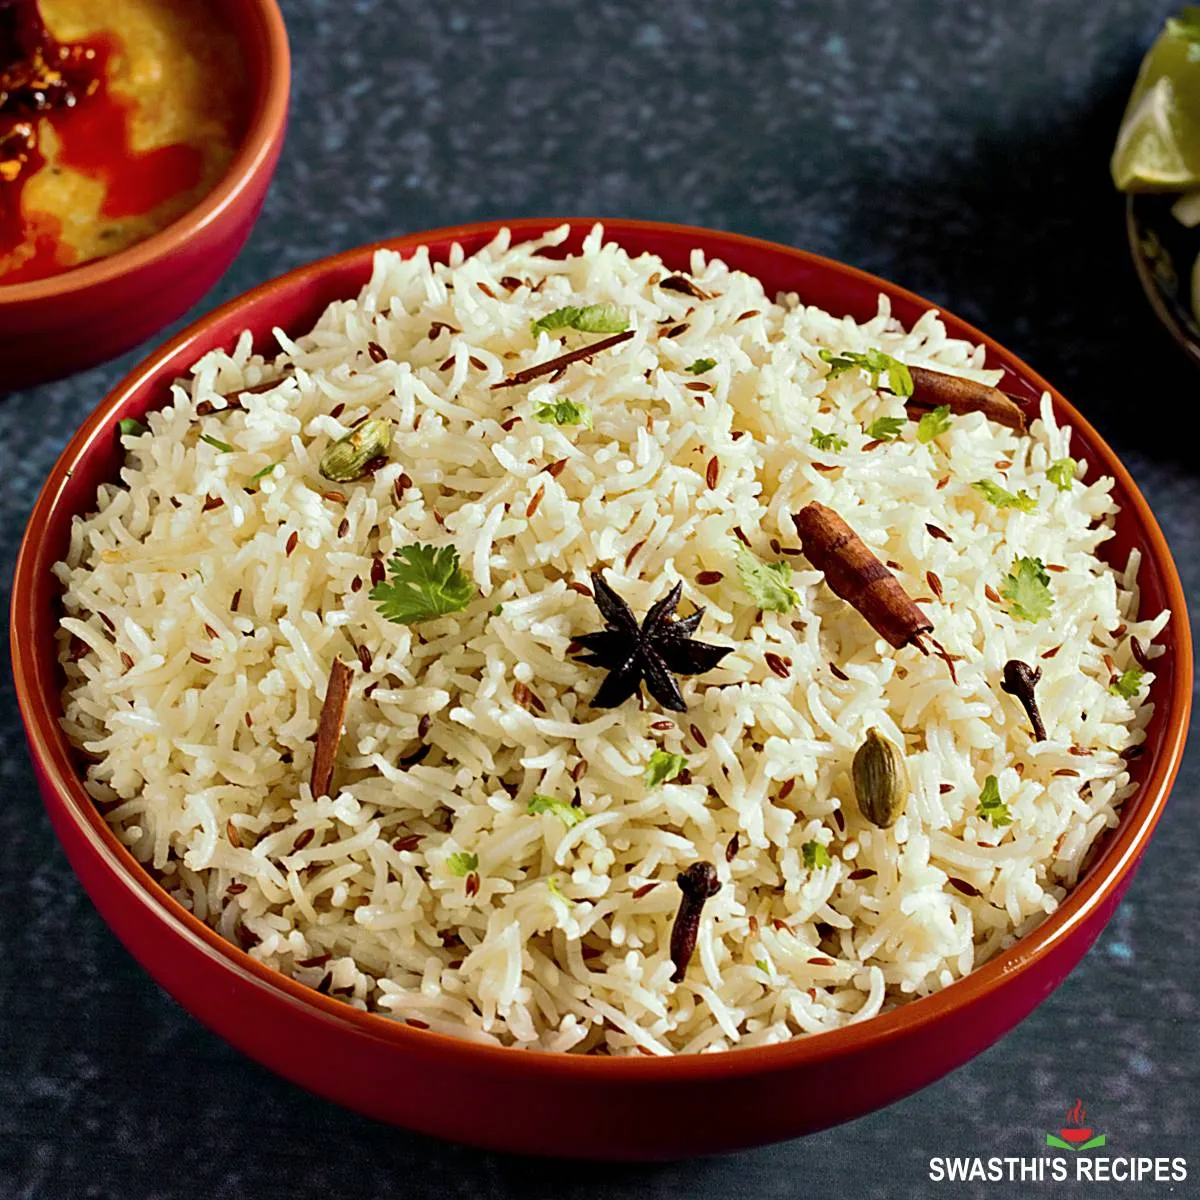
Serve it with your favorite curry or dal.
Expert Tips
Perfectly cooked jeera rice should be fluffy, non-sticky & aromatic. To make it the best do follow the tips given below:
1. Rice to Water Ratio: Here are my time-tested rice to water ratios. These ratios are for aged basmati rice. However if you are unsure of what kind of basmati you have, simply use the same amount you use to cook it plain. Also you may refer the package.
- 1:2 (Rice:water) ratio for cooking aged basmati rice in a pot.
- 1: 1½ cups + 2 tablespoons for cooking aged basmati rice (soaked) in a pressure cooker.
- 1: 1¾ cups for cooking aged basmati rice (unsoaked) in a pressure cooker.
2. Choosing rice: Always use the best quality aged basmati rice as it is the key to making fragrant jeera rice. Aged rice grains are less starchy so do not mush up after cooking. If you do not have basmati rice, you can use any other kind of rice that is less starchy. If using newly harvested rice, do not soak and reduce the amount of water.
3.Preparing rice: Rinse the rice well a few times in lot of water. I rinse it thrice. This helps to get rid of the excess starch from the rice grains & makes the rice non sticky. Avoid using the grains without thorough rinse even if they are organically grown.
4.Soaking rice: Soak the rice for at least 20 mins. Refer the package for soaking instructions & time. Well soaked basmati rice grains expand & cook up well to long fluffy grains.
5.Frying Jeera: Saute the Jeera well in ghee or butter along with other spices, on a low flame for 2 to 3 mins to bring out the aroma. This is another key step to make flavorful jeera rice.Frying the spices elevates the flavor & aroma of the entire dish.
6.Frying rice: To make jeera rice always fry the drained rice along with spices on a medium to high flame. While frying do not stir up much as the rice grains may break. This makes the cooked up jeera rice fragrant.
7.Onions: It is totally optional to use onion in the recipe. Yes they do add some flavor but can be skipped as this reduces the preparation & cooking time.
8.Spices: Jeera or cumin is the key in this recipe, but spices like cardamoms, bay leaf, cloves, cinnamon & mace do elevate the flavor of jeera rice to a considerable amount. So I always add these. If you do not have them you may avoid them and make.
Variations
I experiment a lot in my kitchen with various dishes as my little boys get bored eating the same dishes repeatedly. Though the following variations of jeera rice are very uncommon, they have always been a quick way to whip up dinner in no time.
These variations are more nutritious than a regular jeera rice plus they cut down the need to cook another side dish when you have no time. These ideas are my own and are not a part of jeera rice recipe.
If you are experimental like me in the kitchen then do try these variations:
1.You can follow the one pot method and make vegetable jeera rice. Add some mix veggies to the pot after frying the spices. This will be similar to a veg pulao but with milder aroma as there is no ginger garlic & mint used here. Plus the taste & flavor is totally different.
2. The second restaurant style jeera rice can be easily transformed to a roasted egg jeera rice. The same can be made with fish & prawns. To make this just fry eggs or marinated prawns or fish until golden. Set aside.
Then saute the spices until fragrant. Then add the rice and mix gently. I made this several times with all 3 of them & was surprised at how good this turns out.
Photo Guide
Restaurant style Jeera Rice (Stepwise Photos – recipe 2)
This method is more flavorful with the aroma of butter and cumin. This is good to make for occasions or when you have guests home since a good amount of butter goes into this. For this recipe, you can cook the rice in whatever way you like. The rice grains have to be fluffy and not mushy. In the instructions below I have shared how to cook rice perfectly in a pot.
You can also cook in a pressure cooker or instant pot.
Ingredients
- 1 cup basmati rice
- 2 to 3 tbsp ghee or oil
- 1 bay leaf
- 1 star anise
- 4 green cardamoms
- 2 tsps jeera or cumin
- 1 to 2 green chilies slit
- 4 cloves
- 1 strand of mace or javithri
- 3 to 4 tbsps fresh fine chopped coriander leaves
Instructions
1. Wash rice very well a few times. Drain and soak it for 20 mins. Drain the rice to a colander. Bring 4 cups of water to a boil. Then add some salt. When the water comes to a rolling boil, add the drained rice and cook on a medium high heat until the rice is just done. The rice has to be al dente meaning just cooked and not mushy. Then drain off the rice to a colander and keep it covered.
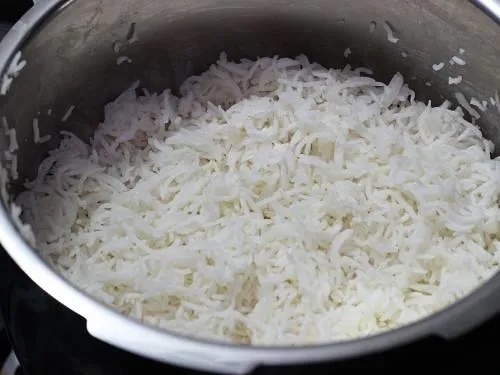
2. After 2 to 3 mins, fluff up the rice with a fork. You will have al dente cooked soft yet fluffy rice. Cool this completely.
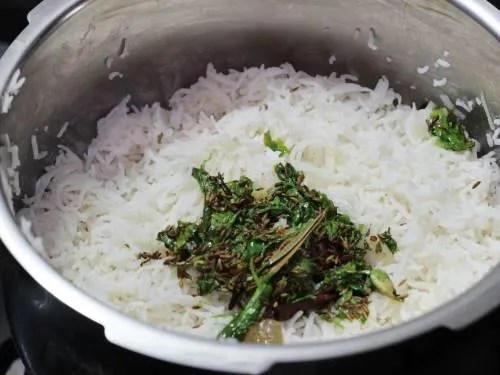
3. Add 1 tbsp butter to a hot pan. Next add star anise, mace, cloves, cinnamon, cardamom, bay leaf and green chili. Saute for 1 to 2 mins.
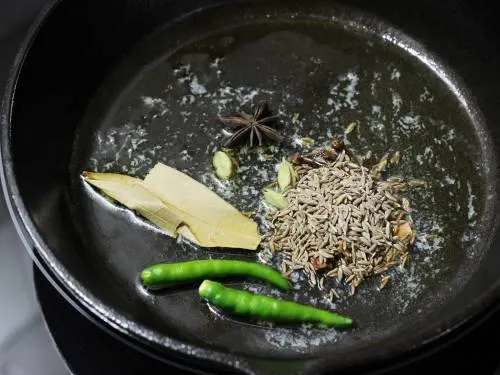
4. Lower the heat, add jeera.
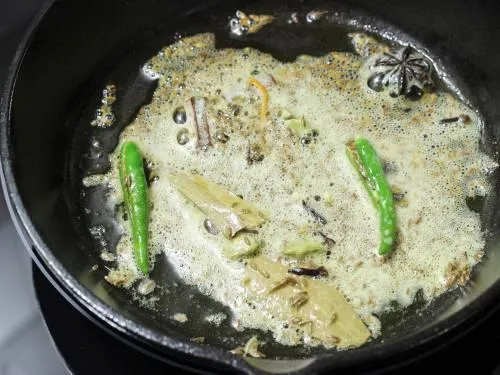
5. Saute until you begin to smell them good. It takes around 2 to 3 mins. Switch off the stove. If using butter it will froth up, you can just ignore it.
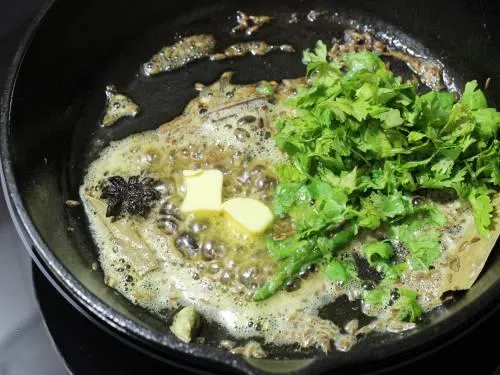
6. Add 1 tbsp more of butter along with finely chopped coriander leaves. If your rice isn’t got enough salt you can add a bit more to the pan.
7. Then add the tempering to the rice. Mix gently all the spices & herbs. Make sure the rice is cooled completely before mixing it otherwise it will clump up and turn mushy.
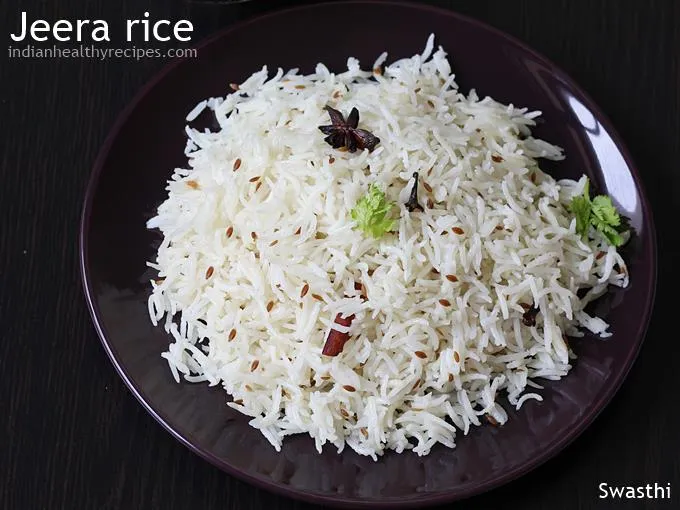
Serve jeera rice with any gravy, curry or dal.
Related Recipes
Recipe Card 1
Jeera Rice Recipe
For best results follow the step-by-step photos above the recipe card
Ingredients (US cup = 240ml )
- 1½ cups aged basmati rice (refer notes)
- 2 tablespoon ghee or oil or butter
- 1 green chili slit and deseeded (optional)
- 2½ cups water to pressure cook or (1¾ cups + 2 tbsps for instant pot) or (3 cups for regular pot, Cut down if not using aged rice)
- ½ to ¾ teaspoon salt as needed
Whole spices
- 2 teaspoons cumin seeds (jeera)
- 1 bay leaf (tej patta)
- 4 green cardamoms (elaichi)
- 2 inch cinnamon piece (dalchini)
- 4 cloves (laung)
- 1 strand mace (javitri) (optional)
Instructions
Preparation
- Rinse rice thrice and soak it in 3 cups water for 20 mins. Later drain to a colander.
Cook in pot or stovetop pressure cooker
- On a medium flame, heat ghee in a pot or pressure cooker. Add all the whole spices and let them sizzle for 2 mins, until aromatic.
- Stir in the green chili and rice. Fry on a high heat for 2 to 3 mins, without stirring vigorously.
- Pour water and add salt. Mix well and taste test the water to adjust salt. Bring to a rolling boil on a high heat.
- Option 1 – Jeera rice in a pot – Reduce the heat to low and cook covered until water is absorbed & the rice is cooked through. (takes me about 15 to 17 mins) Turn off and rest for 10 mins.
- Option 2 – Jeera rice in stovetop pressure cooker – Cover the pressure cooker with a lid. Cook on a high heat until you hear 1 whistle. For al dente rice, release the pressure carefully after 2 mins with the help of a wooden spatula. When the pressure drops completely, open the lid.
- Fluff up jeera rice with a fork before serving with curry or dal.
Instant pot Jeera Rice
- Press saute button and pour ghee to the inner pot of instant pot.
- Add all the spices & saute for 1 min until they turn fragrant. Add the drained rice and chilli. Saute for 2 mins stirring occasionally.
- Pour 1¾ cups plus 2 tbsps water and add salt. Stir and taste the water, to adjust salt.
- Secure the lid & position the steam release handle to sealing. Press the pressure cook button, set to high pressure. Set the timer for 5 mins.
- When done the instant pot beeps. Let the pressure release naturally for a min and release the rest manually with the help of a long spoon (moving the vent from sealing to venting).
- Fluff up the Jeera rice with a fork & add some coriander leaves if you want. Serve with dal or your favorite curry.
Notes
- Optionally you may add ¼ cup sliced onions after tempering the spices and saute for 5 to 6 mins, until golden.
- Jeera rice is made with aged basmati rice (premium quality only). To use newly harvested or other kinds of delicate rice, stovetop cooking in a pot is best (not pressure cooker). You may start with 1½ cups water and add more hot water as you cook or simply follow the instructions on the package.
- Avoid soaking if you are not using aged basmati rice.
- You can also make this dish by sautéing the spices in butter and then mixing with the precooked salted rice. For more details please check recipe 2 in step by step photos in the post.
- Instant pot Notes: This recipe has been tested in a 6 Qt & 3 Qt Instant Pot. You can only cook up to 4 cups rice in a 6qts IP. To double the recipe, I use the same cook time but increase the other ingredients proportionality including water. If you make a large batch (up to 4 cups), release the pressure immediately even if you want softer rice and transfer to a large tray. Wear mittens to handle this and you will also need help to hold the tray so it doesn’t move away.
Video
NUTRITION INFO (estimation only)
© Swasthi’s Recipes
About Swasthi
I’m Swasthi Shreekanth, the recipe developer, food photographer & food writer behind Swasthi’s Recipes. My aim is to help you cook great Indian food with my time-tested recipes. After 2 decades of experience in practical Indian cooking I started this blog to help people cook better & more often at home. Whether you are a novice or an experienced cook I am sure Swasthi’s Recipes will assist you to enhance your cooking skills. More about me
Follow Swasthi’s Recipes


Comments
According to servings do we really need to double triple or x4 or X5 the whole spices can I please explain how to add spices
Hi Khadija,
You need to adjust the spices to your preference. Example in recipe 1: You can use the same amount of spices (as written for 1x) upto 2 cups rice. Beyond that you need to x2,3,4 the whole spices. Similarly you need to adjust for recipe 2. Use the same amount of whole spices up to 2 cups except for cumin (which goes up accordingly). Hope this helps.
So simple and absolutely beautiful flavors! Before serving I removed the cardamon, cloves and cinnamon so not as to bite into one mid meal.
Thanks May. Glad you like it
Hi Swathi, I already tried this recipe twice and both the times it came out perfect. Guests loved it. Gonna do it again today for my game group.
I used India Gate brand Basmati rice – 2 years aged rice which I found in the Indian store in Sydney.
Thanks for your perfect instructions which were easy to follow.
easy to follow and delicious
Amazing. I changed some things based on what was in my pantry. I did the restaurant style recipe, but with precooked jasmine rice. I threw in 1/4 teaspoon each of garlic and onion powder, used a dash of nutmeg, and threw in a dash of tandoori masala (it contains mace and aniseed that I didn’t have on hand.) The black pepper it includes was welcome, too.
Thanks you Jon for sharing back. Love the way you made it. So happy to know the recipe helped.
New to Indian recipes. I’m prepping (getting the ingredients needed) to make your Chicken Curry and Jeera Rice. I have a jar of Rani Mace Whole (javitri whole), but what exactly is “1 strand”? Is it one whole piece, or do I slice one of the fingers off? Want to get it right.
Hi Paul,
Yes, break or slice off a single finger (strand). Hope you enjoy the dish
This is too much water for the amount of rice. The taste is good, but the consistency is too wet. Thank you for the recipe though. I will adjust as necessary.
Hi Verna,
The recipe calls for aged basmati rice and this kind of rice requires a minimum of what is mentioned in the recipe. Looks like your rice is not aged so please cut down as required. I have a separate expert tips section in the post which mentions to adjust the quantity of water if you don’t use aged rice.
Hello Swasthi,
Can you tell me what “aged” rice means? I use a a-quality basmati rice (tilda) but the package says nothing about aged or not aged.
Another question: In all my years of cooking rice I always used lots of water and pouring it out when the rice was cooked (then put on a lid and steaming it dry). So I’m a bit worried about using too much or not enough water with this method. So how can you adjust the amount of water when your rice wants more or less water? Can you lift the lid frequently to check without loosing too much water? Can you put in more water and stir it in?
How wil I see if it needs more or I’ve used to much.
Hello Misha,
Aged rice refers to the rice grains that have been harvested at least an year ago and stored properly to let them age naturally. This kind of rice gets better at aroma and texture during this aging process. It won’t turn mushy and requires at least 2 cups water for every one cup of rice. What you are doing is right (draining method) and that’s what we do for biryani and otherwise too a lot of people cook it that way to cut down the carbs.
Cook a small test batch to figure out by starting with 1.25 cups water per every cup of rice. You can cook it on a medium heat. When the water is almost absorbed, about 10 mins mark, open the lid, cool down a few grains and check. If you feel it requires more water, add 1/4 cup hot water (not cold) each time until the rice is cooked down. You may need anywhere from 1/4 to 3/4 cup more hot water and you can figure out that with this test batch.
FYI, I also have a restaurant style recipe of this jeera rice which requires precooked rice. You may check that in the second half of the post. Hope this helps.
I’ve made this twice now. This recipe works perfect in my instantpot! It’s nice to finally find a basmati rice recipe that tastes as good as, even better than, restaurant rice. The second time I did add a pinch of Ajwain seeds since I didn’t have enough cumin seeds on hand. It was just as fantastic! thank you! Thank you!
So glad to read that Lily. Thanks for sharing back
I think adding some more feedback about the measurements for cooking rice would be quite helpful. If I were to do a 2:1 water to rice ratio I would end up with rice soup. The Daawat brand that I use needs almost a 1:0.85 ratio when cooking in a pot on the stovetop. I think it’s important for people to be familiar with a brand and how it cooks. It’s not just this recipe, most rice brands I have purchased are quite off on their ratios they print on the back of the package.
Yes I agree about that. But for Indian recipes, it is good to start with aged rice and that’s the only way to get perfect rice. All brands of aged rice require 1:2 rice:water. I will try to update more if info as you suggested. Thank you
Hi Swasthi, I regularly follow your recipes. Just wanted to let you know that your measurements do not change when they are in brackets accordingly (like the measurements for instant pot). It becomes a hassle trying to calculate accordingly. Will be great if you can fix it 🙂 thanks for all the recipes!
Hi P R,
Thanks for trying the recipes. That’s a limitation from the recipe plugin and unfortunately there is no fix for the substitutes mentioned in the brackets. It requires a manual calculation at the user end. Hope this helps.
I have made this recipe and absolutely love it! I keep it on rotation and make plenty ahead of time which I then portion out and put in the freezer so I have jira rice anytime I want it. Thanks so much for this recipe!
Swathsi,
I cut the recipe in half using the exact ingredients and directions you have posted for a one pot stove top preparation, and this recipe turned out so tender and flavorful.
I did add the single pod of Star anise that I saw in your photo.
So delicious.
I am looking forward to exploring your recipes.
Thank you for sharing
I
Loved jeera rice n chook curry
Excellent flavor. Thank you!!
Wonderful recipe of Jeera Rice.Also the advises are really valuable n very clear.Even the Nutrition value is so much helping ..Thankyou so much for this message
Thank you for sharing this recipe! It was so good btw:)
This was my first time making jeera rice and it came out great. It was delicious and really added to the meal of aloo gobi. I very much appreciate the step by step photos
So glad to know Ana. Thank you for sharing back!
Awesome recipe and directions, (I FINALLY perfected my Chana masala as I could never get it as good as the restaurant but with the help of your directions yay!)
Anyway regarding the rice, my only
question is I see star anise in the photo but not listed in the recipe. I threw some in for good measure as I love it but wondered about that? Star anise or no?
Thanks Diana, so glad you like them. The star anise is from the second recipe in the post (not in recipe card). That’s a restaurant style version. But you can also add it in the version you made.
Very good ?
Thank you
You are the best Indian recipe site I have seen before, the recipes and straightforward and well explained… I am a Nigerian married to an Indian and I can’t tell you how much your website has helped me cooked delicious meal for my husband… THANK YOU SOOOO MUCH
Hi Titi,
That’s lovely! You are most welcome and so glad the recipes are helping you