Mathri Recipe (Mathiya)
Updated: August 5, 2023, By Swasthi
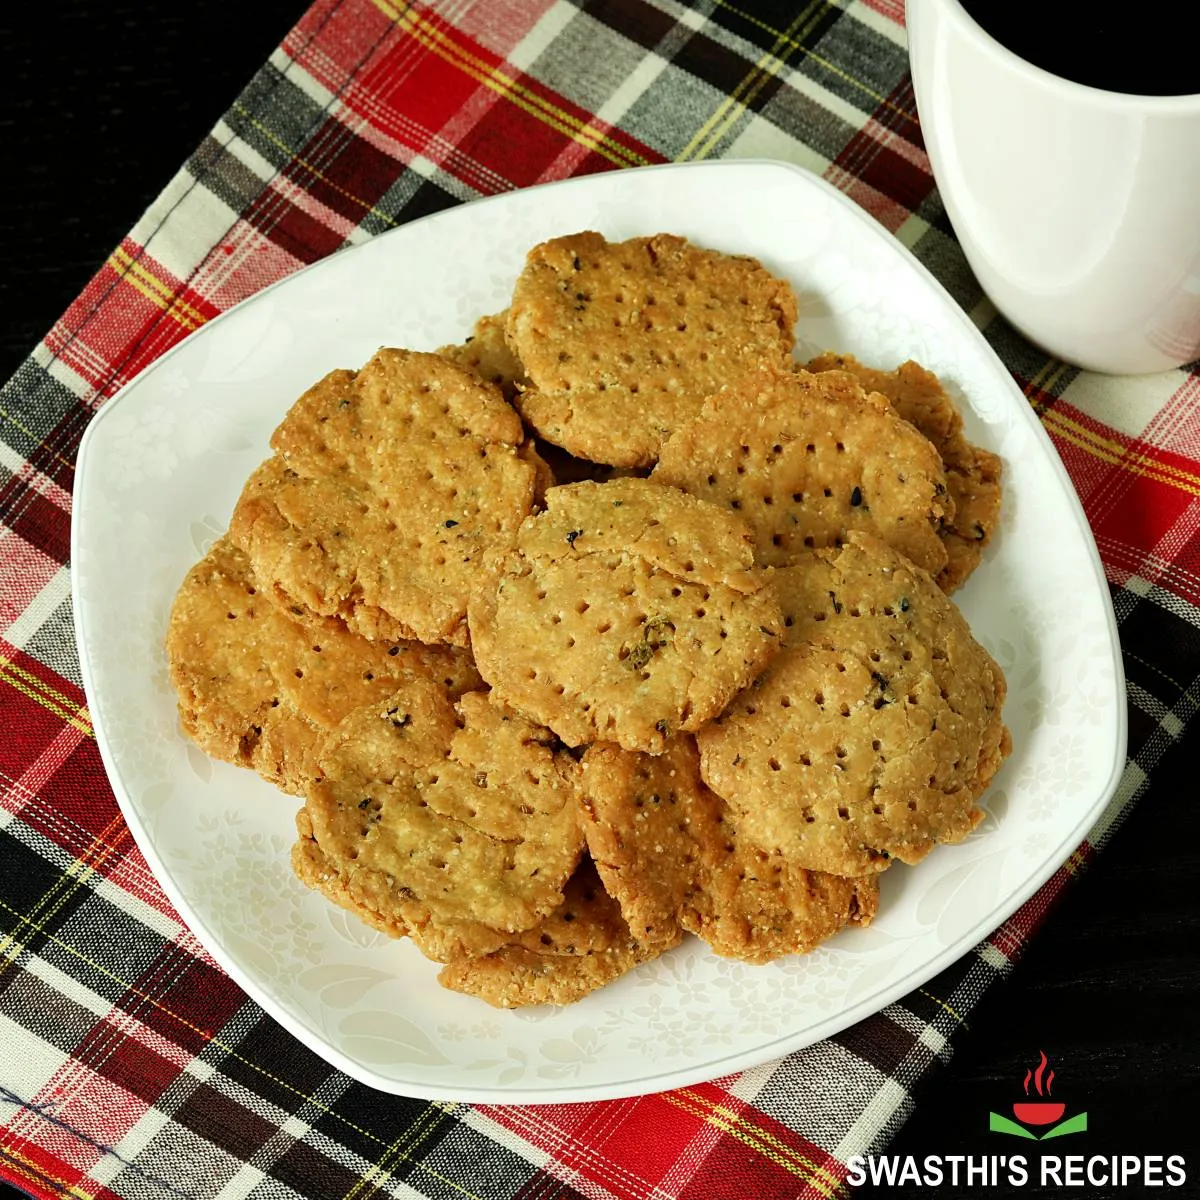
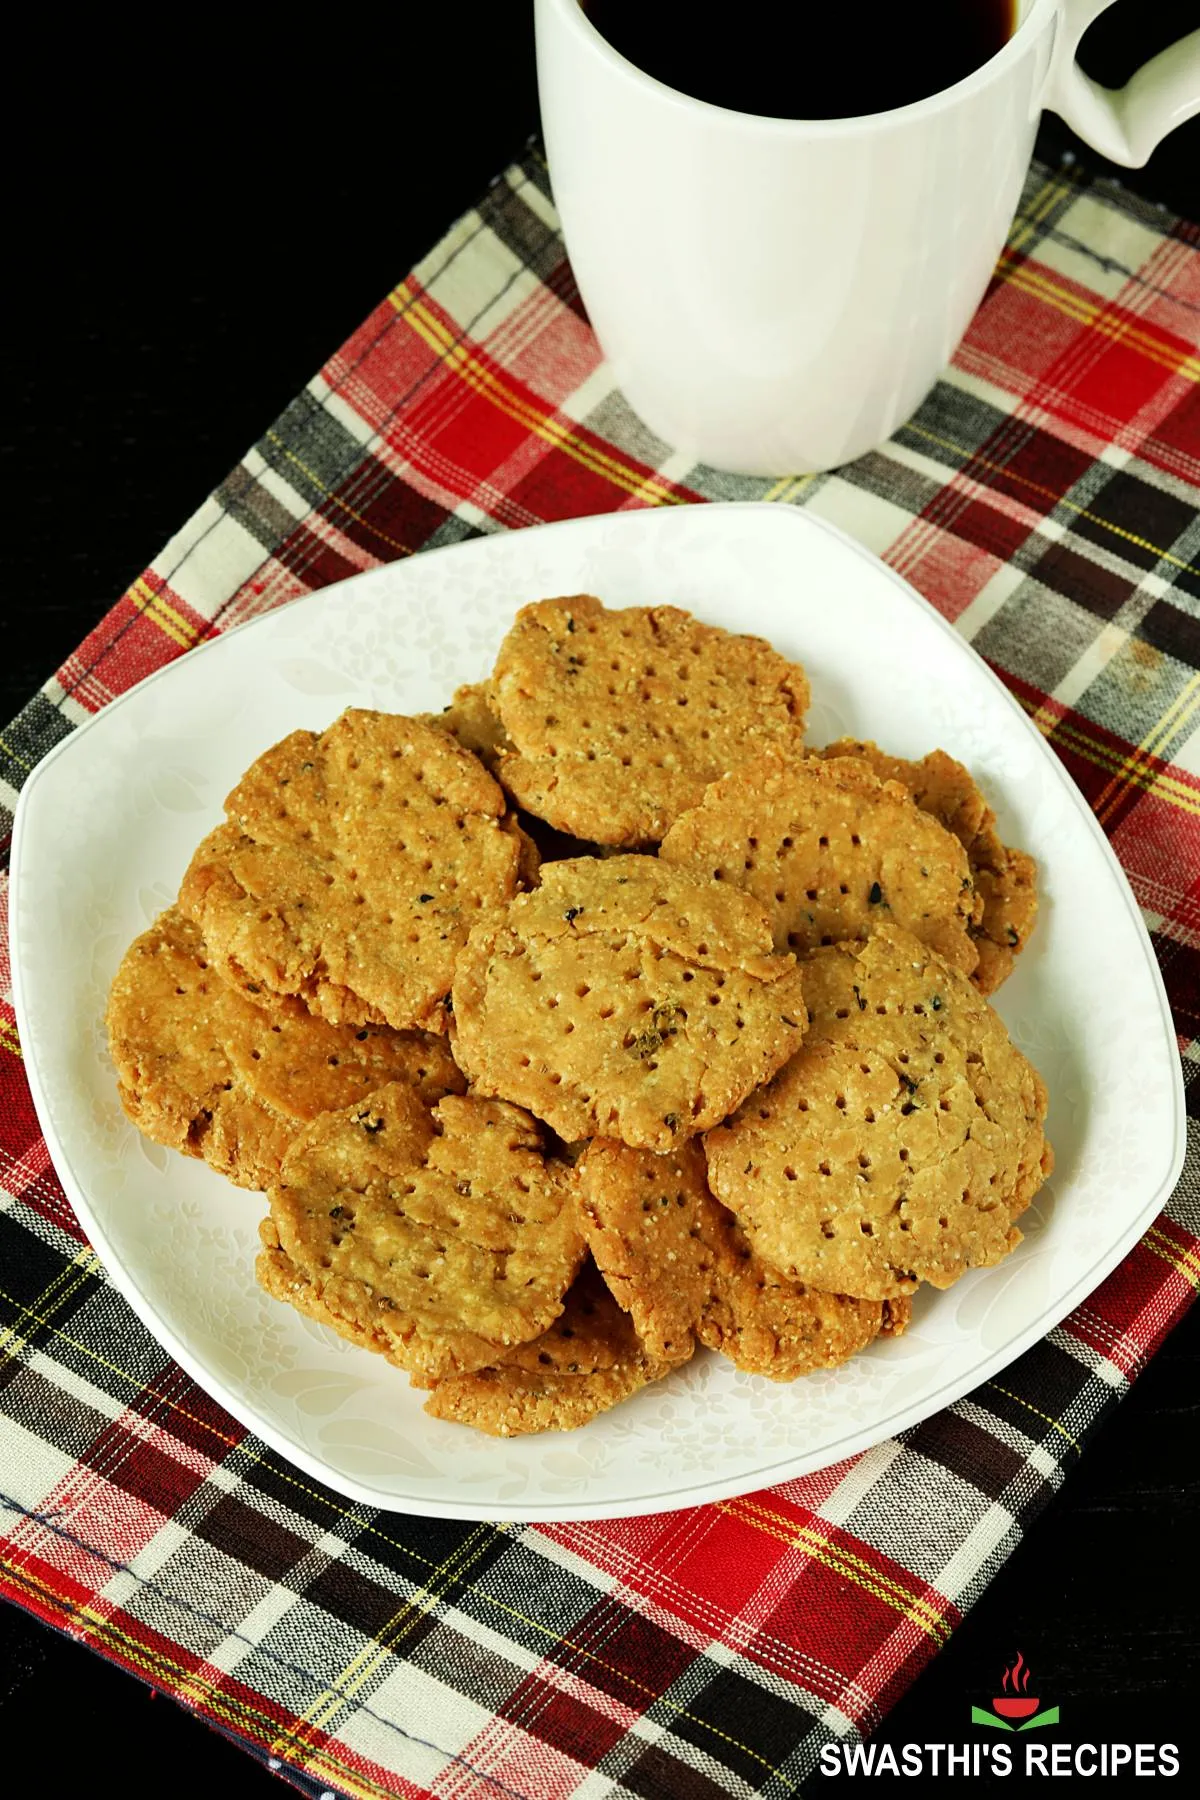
Mathri is a popular North Indian cracker like fried snack made with flour and a hint of spices and herbs. Flaky, crispy, delicious and addictive – that is how your guests will describe it. Mathri is generally served with tea or pickles. You can have it as an appetizer snack with yogurt, sauce, chutneys or dips. This stores well for up to a month making them great for snacking on the go.
This crunchy snack with lovely flavors makes a good finger food to serve at parties.
About Mathri
Mathri is a Rajasthani snack that is popular across North India and is prepared especially for festivals like Diwali, Holi, Karva chauth and Teej. It is also known as mathiya or mathari.
While it is traditionally made with refined flour (maida) and semolina, make it with wheat flour (like my recipe) or semolina flour. Various spices like cumin, carom seeds, kaloni, sesame seeds and fenugreek leaves are most commonly used to spice up and flavor the snack.
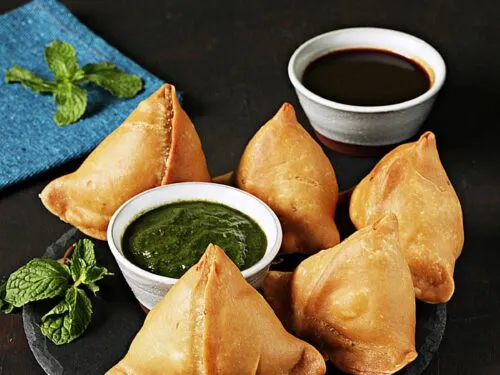
A well-done mathri is crisp, flaky, neither too hard nor soft but is perfect with the right crunch similar to the samosa crust. The method to make the dough is similar to the samosa dough and even the technique of frying matri is similar to frying samosa.
My boys love these mathri for the amazing flavors and the texture. To make these healthier I use whole wheat flour and sometimes air fry too. To reduce the nutty aroma of whole wheat I also add a bit of gram flour (besan) but you are free to skip that.
My recipe is simple and uses minimal ingredients. Make a big batch of this crispy snack when you’ve time as it stores well for weeks. If you want a healthy version, make it in the air fryer or bake it in the oven with my easy instructions below.
The main trick is ensuring your mathri is neither hard nor soft. Follow my detailed steps to get it right every time.
Photo Guide
How to Make Mathri (Stepwise photos)
Prepare the ingredients
1. Add these ingredients to a large mixing bowl:
2 cups of whole wheat flour,
¼ cup of besan (gram flour),
6 tablespoons semolina (I used whole wheat fine rava)
1 to 1¼ teaspoon salt
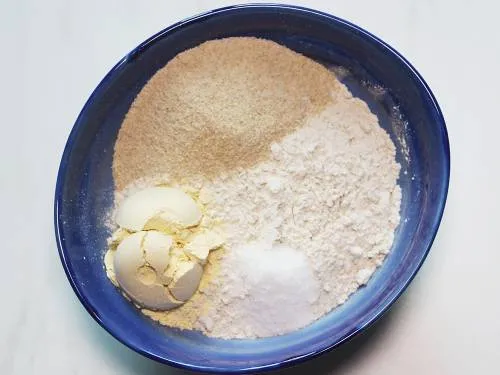
2. Next add the below mentioned ingredients to the flours in the bowl:
- Carom seeds/ajwain – 1 teaspoon
- Crushed kasuri methi (dried fenugreek leaves) – 1 tablespoon
- Kalonji (onion seeds, optional) – 1 teaspoon
- Black pepper crushed – 1 teaspoon (adjust to taste)
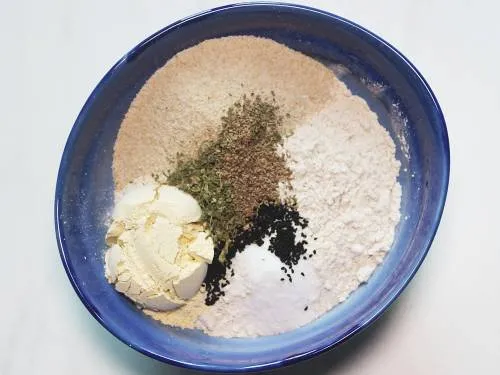
3. Mix well to combine. Now add 6 tablespoons (90 ml) of hot ghee or oil to the dry ingredients. You may heat the oil or ghee in a kadai which you will use for frying the mathri later.
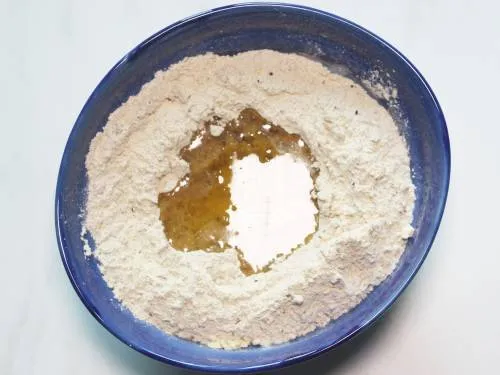
Make the dough
4. Avoid using your fingers at this stage and mix the oil into the flour first, since it is hot. Later rub well using both your hands. This helps the oil to mix in with the flour.
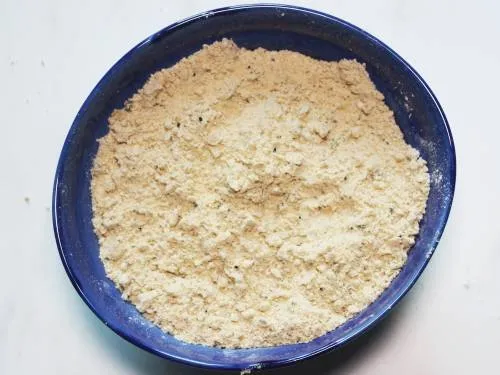
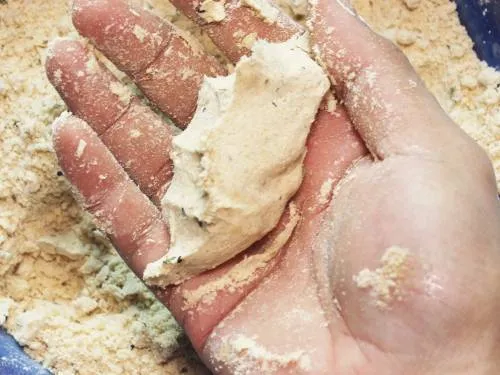
5. Take a handful of flour in your palm and press down.
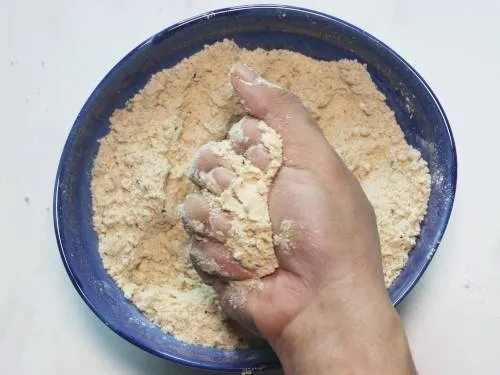
6. Flour should hold shape, meaning it has the right amount of oil required for the crust.
7. Make a well in the center of the flour mixture and pour ½ cup of warm water. Mix to form a tight dough.
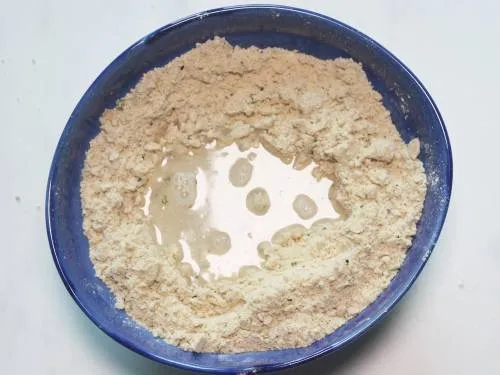
8. This is how the mixture looks. Sprinkle 2 to 4 tablespoons of water, only as required and make a dough. The dough has to be stiff and slightly hard, but not dry and crumbly.
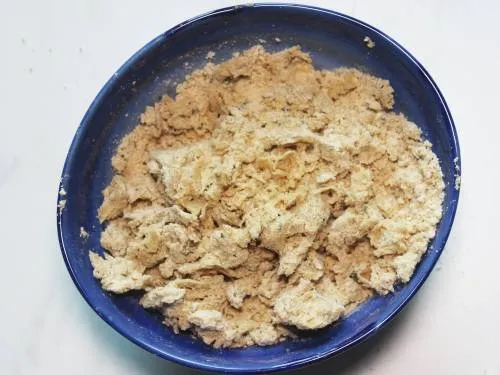
9. You don’t want a soft and smooth dough here.
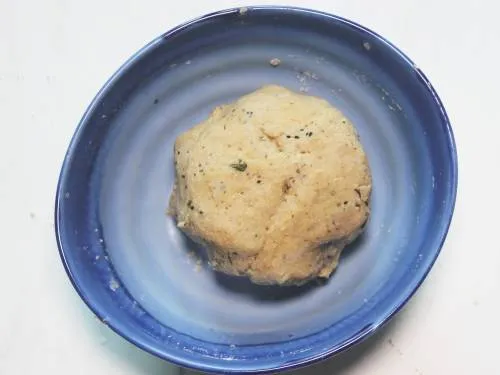
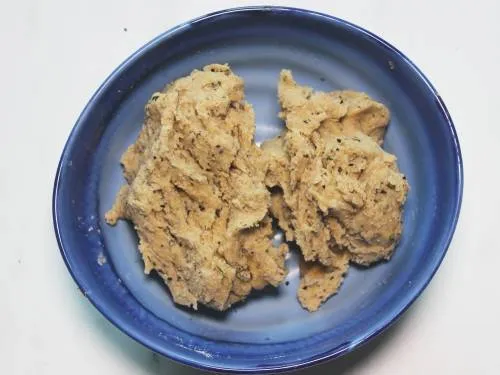
10. If you divide the dough into 2, the inside dough should be crumbly but not dry. Cover and rest it for 10 mins.
11. Divide dough into equal portions. Smoothen dough pieces and roll in small balls (size of a lemon) on your palms. Don’t worry about cracks in the dough as this is normal.
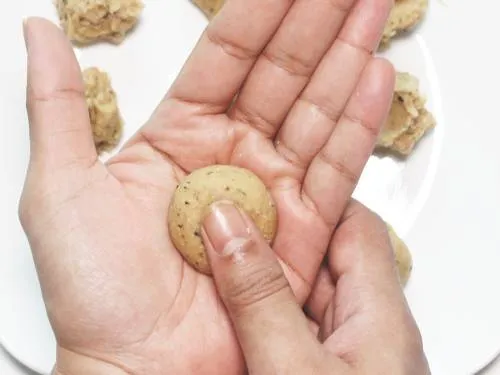
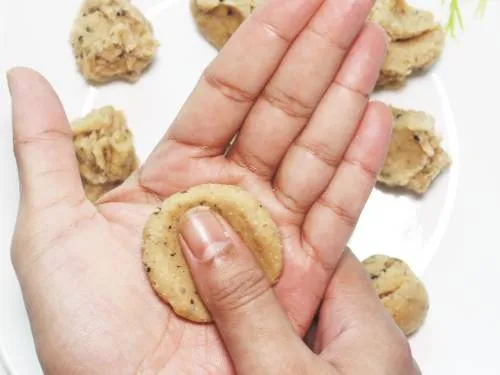
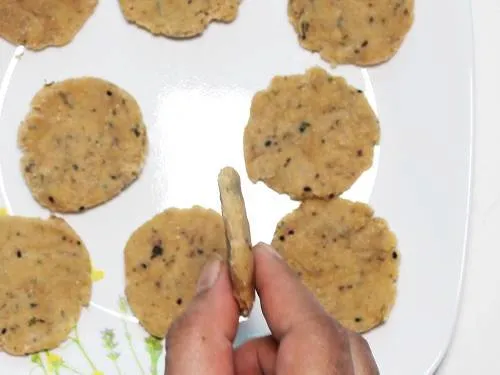
Flatten balls with your thumb. Start pressing from the center to the sides, to make discs. These shouldn’t be thick or thin. A good mathri will have cracks on the edges. Place the prepared mathri on a tray or plate.
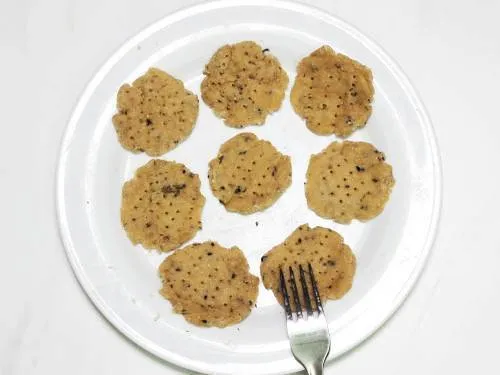
Heat 1½ to 2 cups of oil on medium-low in a large, thick bottomed pan or kadhi. The oil should be medium hot and not sizzling. To test, drop a miniscule piece dough in to the hot oil. If it sinsk and rises up slowly with few baubles, the oil is heated right enough (moderately hot).
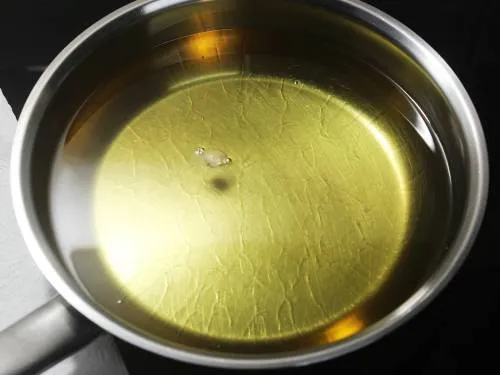
If the oil is very hot, the insides of the mathri will remain uncooked and won’t be crunchy. Gently slide each mathri into the oil, as many as your kadai can handle.
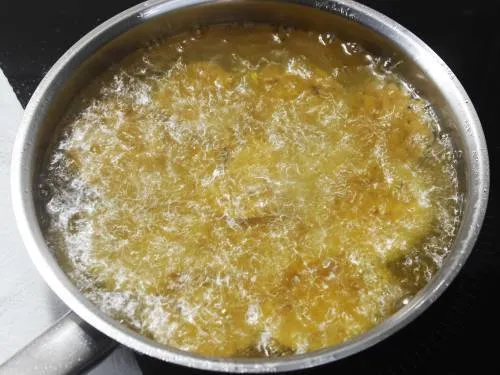
Reduce the flame to low and let the mathri fry slowly.
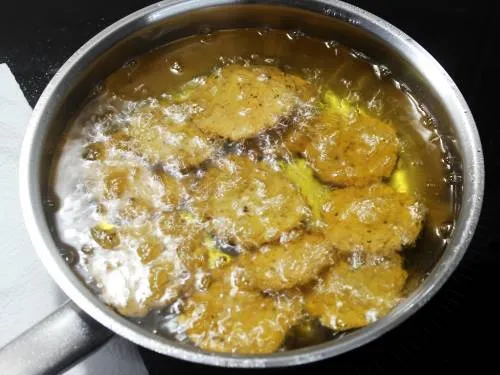
These take time to cook. Don’t be tempted to cook faster by increasing the heat. Fry until they turn golden brown and crispy. Remove to a colander and fry the remaining batches. Cool the mathri completely before you store in an airtight container.
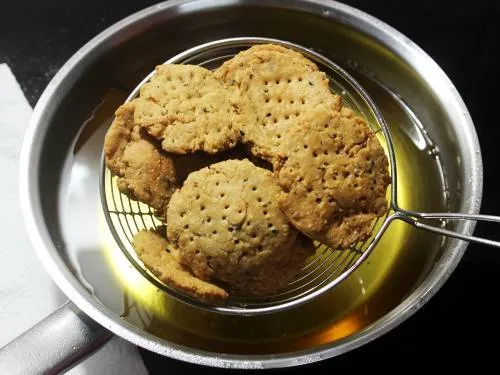
You can fry these in an airfryer at 190C for 10-15 minutes. Flip the mathri halfway through cooking. Check after 8 minutes as they start burning quickly.
Pro Tips
- Don’t skimp on the amount of oil used to mix the dough if you wan the perfect mathri dough.
- Make a tight and stiff dough, It should not be dry or soft.
- Don’t roll the dough too thin or too thick. This will affect the way the mathri cooks. It may be undercooked or burn easily.
- Fry the mathri on low heat to ensure it remains crispy and well-cooked inside.
Related Recipes
Recipe Card
Mathri Recipe (Mathiya)
For best results follow the step-by-step photos above the recipe card
Ingredients (US cup = 240ml )
- 2 cups wheat flour (atta)
- ¼ cup besan (optional, refer notes)
- 6 tablespoons semolina (fine rava)
- 1 to 1¼ teaspoon salt (adjust to taste)
- 1 teaspoon carom seeds (ajwain)
- 1 tablespoon kasuri methi (dried fenugreek leaves)
- 1 teaspoon onion seeds (kalonji, optional)
- 1 teaspoon pepper (crushed)
- 6 tablespoons oil (90 ml, I use peanut oil)
- ½ to ¾ cup water (I used ¾)
- 1½ to 2 cups oil for frying
Instructions
- Add wheat flour, gram flour, semolina and salt to a large mixing bowl.
- Next add carom seeds, kalonji, kasuri methi and pepper. Mix all of them well.
- Pour 6 tablespoons oil to a kadai and heat it until hot. Pour that and mix the flour with a spoon first and then with both your hands rubbing well so the oil is incorporated into the flour.
- Make a well in the center and pour half cup water. Begin to mix to form a tight dough sprinkle another 3 to 4 tbsps water.
- The dough has to be tight, stiff and kind of slightly hard but not dry and crumbly. We don't want a soft and smooth dough here. If you divide the dough to 2 parts you should see the dough being crumbly but not dry inside.
- Cover and rest for 10 mins. Later take small portions of the dough, the size of a small lemon.
- Smoothen the dough portions in your palm and make balls. You will get cracked dough, it is normal and okay.
How to Make Mathri
- Flatten the dough ball with your thumb starting from the center to the sides, to make discs that are not too thin or too thick. Refer my step by step pictures.
- A well done mathri will have cracks on the edges. Place the prepared mathri on a tray or plate.
- Meanwhile heat oil on a low to medium heat until slightly hot but not very hot. The oil should medium and not sizzling hot.
- To test, drop a small portion of dough to the oil. It has to sink first and then slowly come up with only a few bubbles, meaning the oil is moderately hot. We don't want the oil to be very hot otherwise the mathri will remain uncooked inside and won't come out crunchy.
- Gently slide the mathri to the oil, as many as you can, depending on the size of your kadai.
- Reduce the flame to low and let them fry until golden and crisp. They take sometime to cook and don't increase the flame.
- Remove them to a colander and continue with the next batch.
- Cool mathri completely and store in a air tight jar.
Notes
- If you skip besan reduce the oil to 60 ml or 4 tbsps.
- The technique of making the dough and frying the mathri is almost the same as Samosas.
- The oil has to be moderately hot and not cold or very hot.
- Frying on a low heat won’t make your mathri greasy but will make them crunchy and cook them well from inside. Since a good amount of oil is already added while making the dough, mathri won’t soak up oil even if you fry on a low heat.
- Do not reduce the quantity of oil for making the dough. It helps in giving the mathri the right texture.
NUTRITION INFO (estimation only)
© Swasthi’s Recipes
About Swasthi
I’m Swasthi Shreekanth, the recipe developer, food photographer & food writer behind Swasthi’s Recipes. My aim is to help you cook great Indian food with my time-tested recipes. After 2 decades of experience in practical Indian cooking I started this blog to help people cook better & more often at home. Whether you are a novice or an experienced cook I am sure Swasthi’s Recipes will assist you to enhance your cooking skills. More about me
Follow Swasthi’s Recipes

Comments
Can u please share recipe to air fryer mathris?
Your recipe is very nice and useful for my kids thanks alot
Hi, can you please share detailed instructions and temperatures for air frying and baking the Mathri instead of deep frying? I would like to try both these alternate methods. Thanks so much!
Thanks for the recipe. My MIL makes Mathris and there is so much hype around it in my family. I just didn’t know what the big deal was and tried making a batch for the first time. They turned out awesome! 100 times better than what my MIL makes.
Just a small note though. I added 1 cup water instead of 1/2 cup as it was not giving the right texture of the dough. So improvised a little 🙂
Also, do you think I can bake the dough next time, instead of deep frying?
Thanks again!
Hi Swasthi..can we add normal temperature oil..I added normal temp ghee but mathris were not too crispy.how dies heating make a difference?
Hi Manu,
I know room temperature oil won’t work for this recipe. Hot oil makes the mathri crunchy. In my case adding room temperature oil makes them softer the next day. Do you think the water content was more? Because your flour may not need the same amount of water as mine. Also resting the dough longer makes them soft.
We also make the Mathari with more or less similar ingredients but I think by following your standards, we’ll have better quality product. Tell one thing that for best result which oil would you suggest?
Thank you! I use peanut oil. It is mentioned in the recipe card.
Hi Swasthi, I really appreciated the detailed tips and pictures ( For e.g., showing the texture (inside) of the dough upon splitting). However, my mathris did not turn out well. The dough was too dry with 5 Tbs water. Initially, I added extra water (on top of the 5 tbs) by sprinkling some. The flour mixture continued to be too dry, so then I added a few more tbs. Upon resting, the dough became more moist than I expected. Upon frying, the mathis were not crisp. My mother said the moyan was too less. I wonder what were the errors, so I can fix them for next time. Also, what is the size of the cup you use for flour? I used a standard American measuring cup.
Hi Nidhi,
Actually the answer is in your own comment. ” Upon resting, the dough became more moist than I expected.” Moist dough will make softer mathris and in fact they may not cook well inside. Regarding the moyan, there is a standard measurement to follow – 2 tablespoons (30 ml) per cup of flour. It is the same even chefs follow. I use a 240 ML cup. IMO, even if you add more oil for your moyan, the mathris won’t turn crispy if you make the dough moist. You give another try, by being more careful with the water. All my recipes are tried and tested for years before they go online and I too use these recipes for my own use.
hi Swasthi, I just wanted to ask why the dough needs to be firm and crumbly on splitting? What difference does it make if its a softer dough?
Hi Ajeeta,
Crumbly dough makes crisp and light mathri.