Pesarattu recipe
Updated: August 27, 2022, By Swasthi
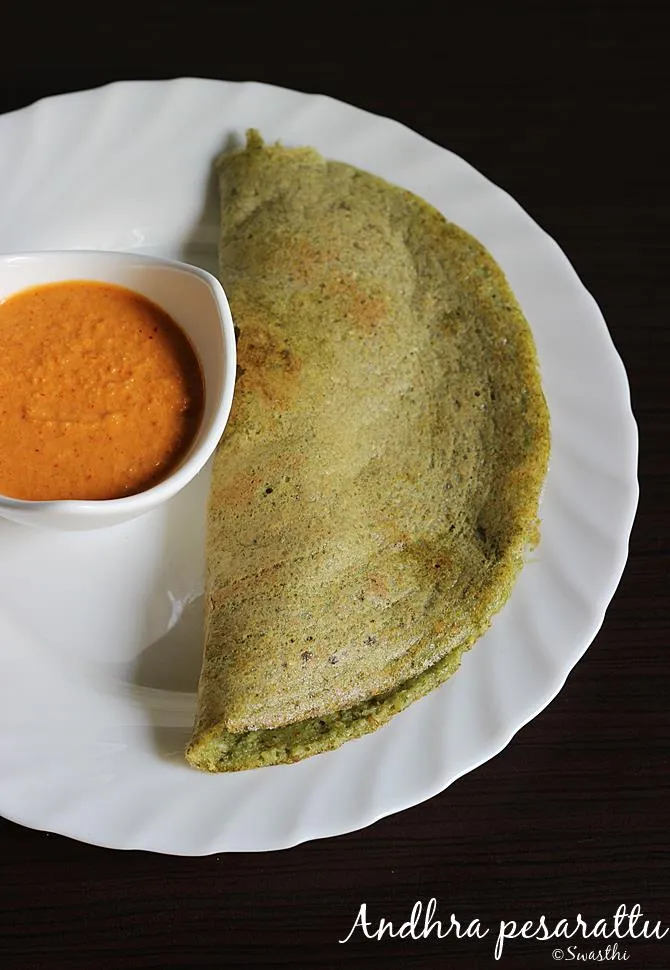
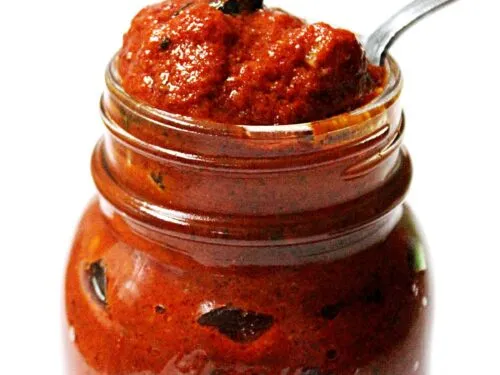
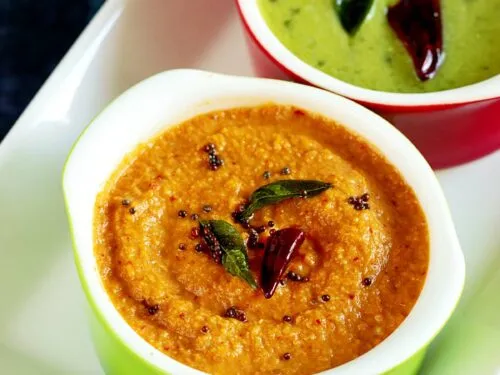
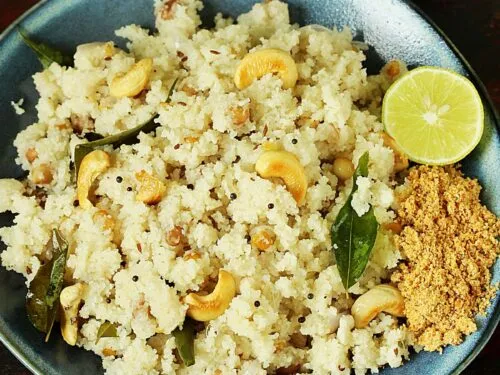
Pesarattu is a protein packed healthy breakfast made using whole green gram and spices. It is one of the most commonly eaten Breakfasts from Andhra cuisine. In most Telugu speaking traditional households, pesarattu is eaten with this allam pachadi. In Hotels & Andhra restaurants it is served with a ginger chutney alongside rava upma.
What is pesarattu? Pesarattu is a thin breakfast crepe made with green gram, ginger, cumin & chilies.
The term “pesarattu” is a blend of 2 Telugu words – pesara & attu. Pesalu or Pesara is the Telugu name for green gram & attu translates to dosa or crepe.
How is it made? To begin with whole mung is rinsed and soaked briefly for a few hours and then ground to a batter with spices. This batter is just spread on a hot griddle to make thin crepes.
Making a pesarattu that is crispy, thin and tasty is something which comes out of practice. My Mom makes the best ones so I got to learn all the tips from her which I have shared below in the tips section.
You can also make an instant version of these pesarattu by soaking skinned yellow moong dal just for 1 hour in slightly hot water.
You may also like these
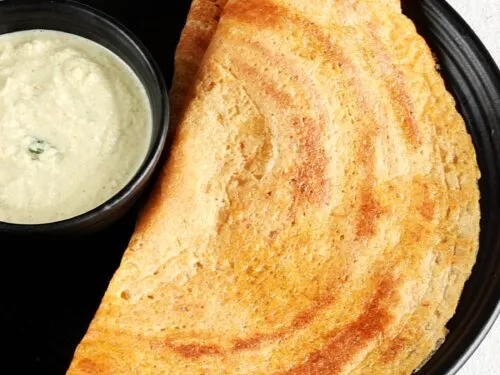
Instant moong dal dosa
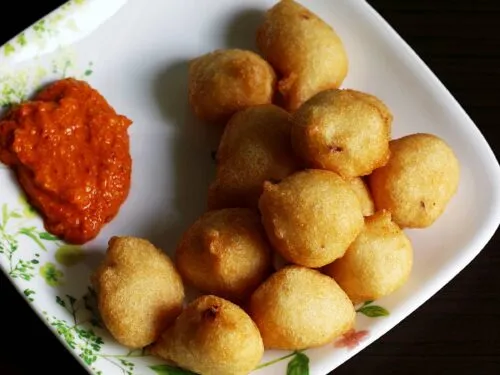
Punugulu
Dosa recipe
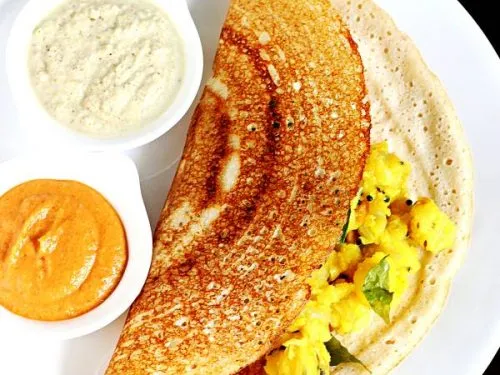
Dibba rotti
Photo Guide
Preparation
1. Clean and pick any stones from 1 cup green gram / mung beans. Add them to a large bowl.
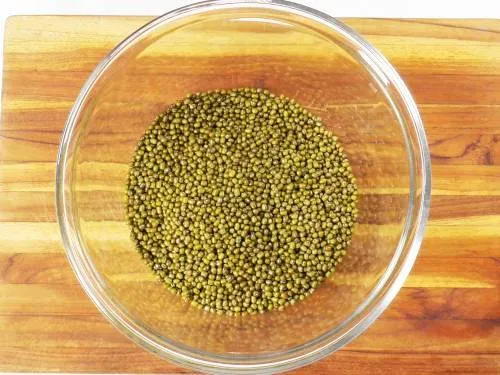
2. Rinse well a few times until the water runs clear.
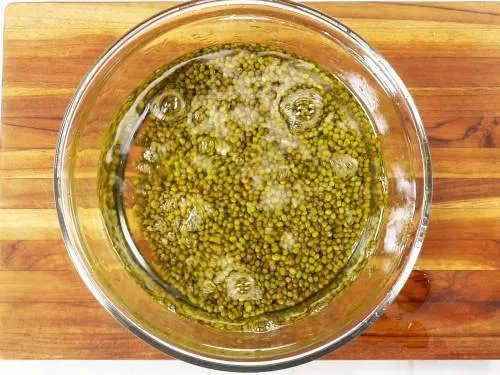
3. Pour fresh water and soak in enough water for about 4 to 6 hours. If using rice soak it along with dal. I don’t use rice most of the times.
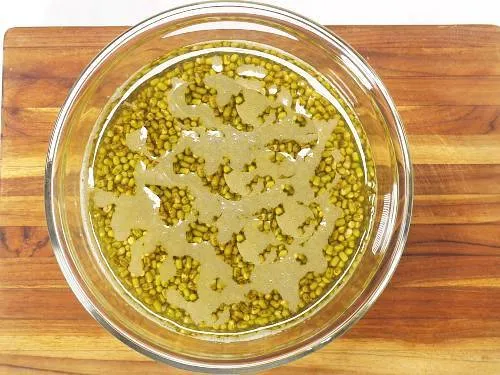
4. Once the green gram is soaked, rinse them well.
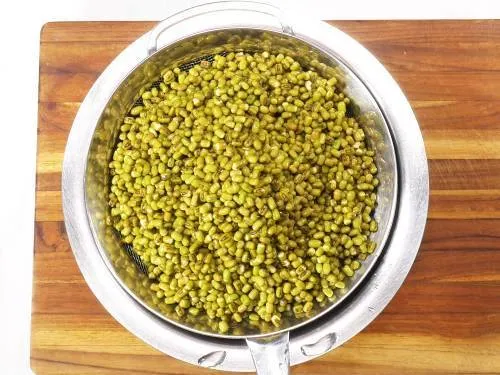
5. This is an optional step for onion pesarattu: Heat a pan with 1 tablespoon ghee or oil. Then add half teaspoon cumin, ¾ cup chopped onions and 1 to 2 chopped green chilies on a high flame till they turn transparent and slightly brown. Transfer to a plate and set aside. Top them as needed just before you serve.
6. Add to the drained green gram to a blender along with, ¾ inch ginger, ¼ teaspoon salt, 1 to 2 green chilies, and ¾ teaspoon cumin. Pour little water as well & blend to a smooth batter.
Tip: If you have over soaked the dal, I suggest adding little rice or flour.
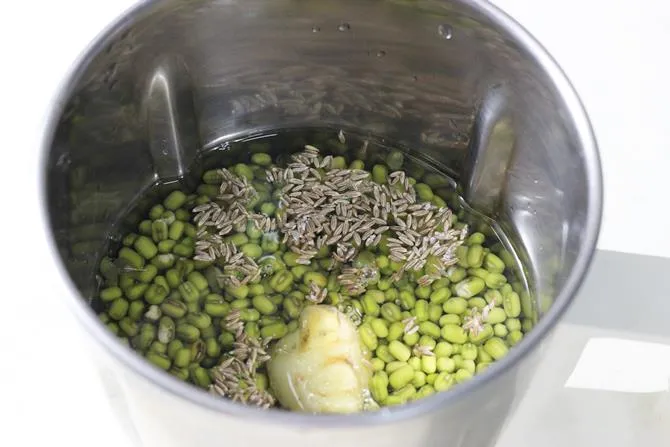
7. The batter must be smooth and the consistency similar to that of dosa batter. If you want it to be crispy, do not add water to the batter after you finish grinding. Bring it to the right consistency while you grind.
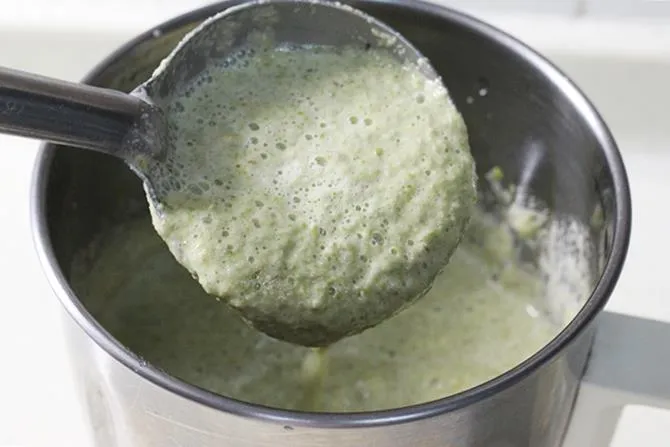
How to make pesarattu at home, crispy and thin
8. Next on a medium flame, heat a griddle or pan until hot. If using cast iron pan, drizzle few drops of oil and rub with a sliced onion. Wipe off the excess oil. Once the pan is hot enough, pour ½ to ¾ cup batter with a ladle in the center of the pan. Spread it to a thin round layer with the base of the ladle. Next add ½ to ¾ teaspoon ghee on the edges & all over.
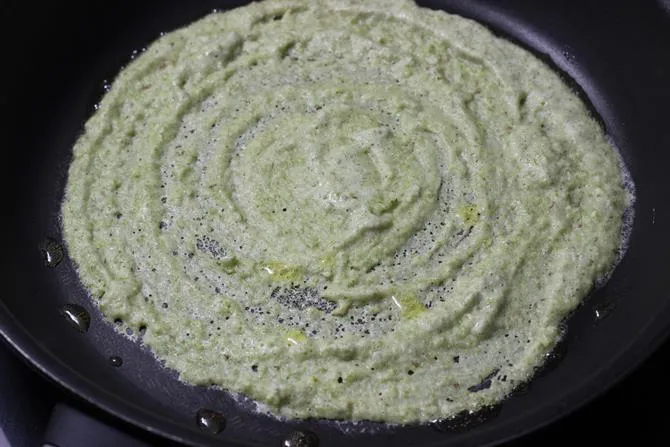
9. When the base of the pesarattu firms up, scrape off lightly the thick parts with a wooden spatula moving it to the thinner parts. You will actually get nothing if you make it thin while spreading.
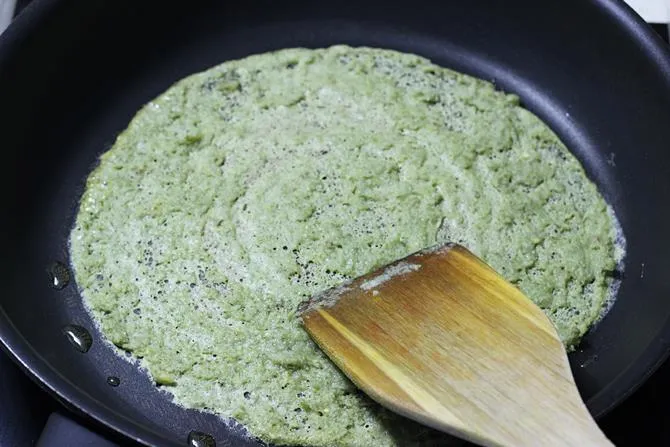
10. When it is roasted well, you get a thin crispy pesarattu. Little more ghee can be drizzled around if desired.
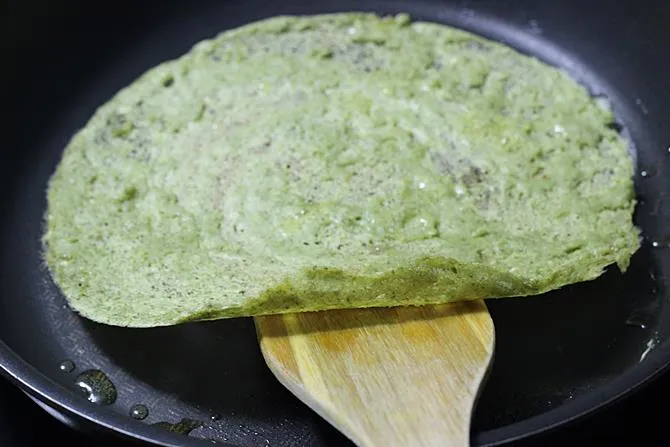
11. Usually it doesn’t need cooking on the other side if you make it thin. If the batter is moist, it need to be cooked on the other side as well. Flip it and fry to and fro as desired. Lastly if using onions, sprinkle fried onions and green chilies we made at step 2.
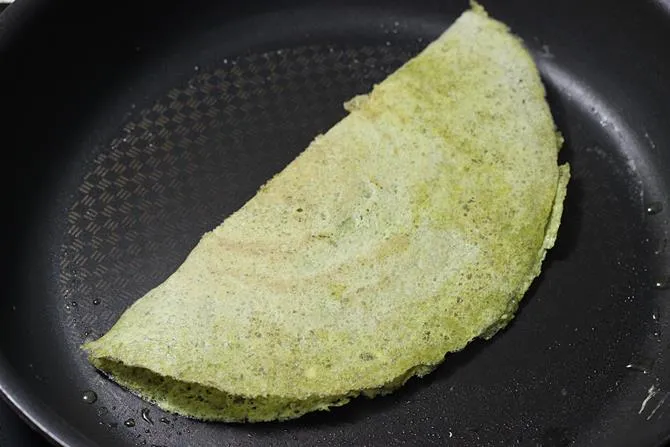
To make the next one, ensure the pan is not very hot. If it is too hot, reduce the flame or turn off the stove for a while and then make the next one.
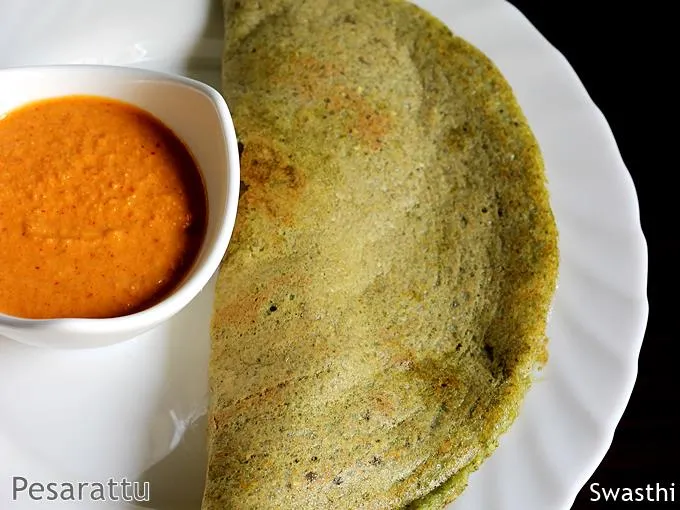
Serve pesarattu hot with ginger pickle or upma.
Tips
Soaking: To make thin, crisp and tasty pesarattu avoid over soaking the green gram. Over soaked green gram makes soft dosas. The lesser soaking time, the crispier and thin they turn out. An ideal time for soaking is 4 to 6 hours.
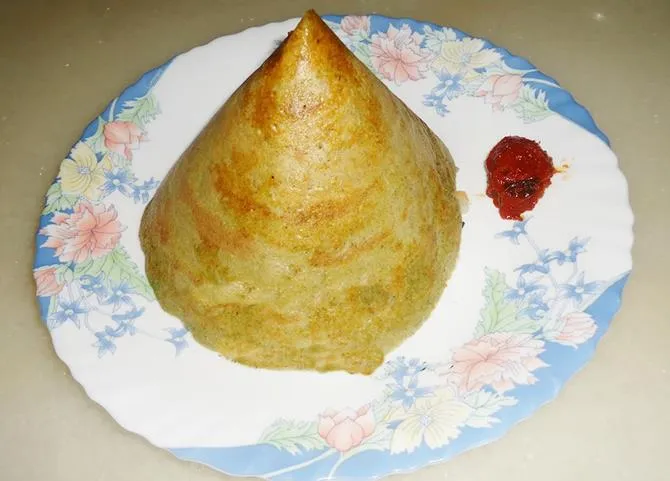
With the dal just soaked for 4 hours, you can even get a cone shaped pesarattu. I have shared a picture at the end of this post.
Consistency of the batter is the key to make awesome pesarattu. It has to be thick yet of spreading consistency.
If you are unable to spread the batter on the tawa it means the batter is very thick. Add back to the blender with little water and blend again. Adding water directly to the batter most times doesn’t yield me good ones.
Rice or rice flour: Traditionally rice or rice flour was not used to make pesarattu. Short soaking time and using the NON-GMO green gram was the secret to making delicious and crisp pesarattu. Since restaurants use the hybrid lentils, they add a small amount of raw rice to get that crisp texture.
Topping: My mom always topped our pesarattus with golden fried onions. I have shared the same unique method in the recipe card.
In restaurant and most households, they sprinkle the onions directly after spreading the batter. Growing up we never liked onions that way, so my mom would always fry them and top.
Faqs
Can I refrigerate the batter? For best results, use the ground batter right away. Using stored or refrigerated batter most times yields thick, brownish and tasteless pesarattu. They have never turned good for me that way.
However if you want to save your batter, you may store it and bring it to room temperature before using it.
How to avoid brown pesarattu? An overheated tawa yields brown pesarattu or keep the flame to medium high. Also runny batter makes brown pesarattu.
Related Recipes
Recipe card
Pesarattu recipe
For best results follow the step-by-step photos above the recipe card
Ingredients (US cup = 240ml )
- 1 cup whole moong beans (green gram)
- ¾ inch ginger piece
- 2 green chilies (reduce for kids)
- ½ to 1 teaspoon cumin seeds (or jeera)
- 1 to 2 tablespoon raw rice (optional, not authentic)
- ¼ teaspoon salt (adjust to taste)
- 2 tablespoons ghee (adjust to taste) (or oil)
toppings for pesarattu (optional)
- 1 tablespoon oil or ghee
- ½ teaspoon cumin seeds
- 2 medium onions (about ¾ cup chopped)
- 2 green chilies (chopped)
Instructions
Preparation
- Add green gram and rice (optional) to a large bowl and rinse them well a few times.
- Pour fresh water and soak them in for about 4 to 6 hours. Drain the water and rinse them well.
- Add moong dal, green chilies, cumin seeds, ginger and salt to a blender jar along with little water just enough to make a thick batter.
- Blend the ingredients to a slightly coarse or smooth batter to suit your liking. I usually blend to a coarse fine semolina texture.
- Pesarattu batter must be of pouring consistency yet thick & spreadable.
- If needed pour more water to bring the batter to a consistency. Do not make the batter runny as the pesarattu will not turn crispy.
- Optional – topping: heat 1 tablespoon ghee or oil in a pan. Add cumin seeds, onions and green chilies. Saute them on a medium high flame until transparent yet crunchy. This will bring out the sweet flavor from the onion. They should not turn soft. Cool these completely.
How to make pesarattu
- Heat a tawa or non-stick griddle on a medium flame.
- If using a cast iron pan, when it turns hot, drizzle few drops of oil or ghee and rub with a piece of sliced onion. Wipe off the excess. This prevents the pesarattu from sticking to the pan. If using non-stick pan you don't need to grease it.
- Test by sprinkling little water. Immediately water should sizzle rapidly. When the water evaporates, reduce the flame to medium heat.
- Pour ½ to ¾ cup of batter on the tawa. Then quickly spread it to a thin layer beginning from the center, moving towards the edges of the pan.
- On a low to medium heat let the pesarattu cook for a few minutes. Pour 1 teaspoon ghee around the edges and the center too.
- This step is optional for a thin pesarattu. Lightly scrape off the thick parts with a wooden spatula to the thinner parts making it even. (Check my step-by-step photos above)
- When the pesarattu is done, you will see the edges begin to leave the pan. It also cooks to golden color & crisp on the outside.
- Then flip and cook on the other side just for a minute or so. When you see the batter is no more raw, then flip back and roast just for a minute until crisp. Optional – Sprinkle 1 to 2 teaspoons of the fried onions here as much as you like.
- Fold it and remove to serving plate. Do not over cook until it browns or discolors as the taste will alter.
- To make the next pesarattu, ensure the pan is not too hot. Reduce the flame and cool down a bit. If using cast iron pan, you can rub it well with the onion and few drops of oil.
- Stir the batter well before making the next one and then use it.
- These pesarattu are best served hot with this ginger chutney. It is eaten alongside rava upma.
Notes
NUTRITION INFO (estimation only)
© Swasthi’s Recipes
About Swasthi
I’m Swasthi Shreekanth, the recipe developer, food photographer & food writer behind Swasthi’s Recipes. My aim is to help you cook great Indian food with my time-tested recipes. After 2 decades of experience in practical Indian cooking I started this blog to help people cook better & more often at home. Whether you are a novice or an experienced cook I am sure Swasthi’s Recipes will assist you to enhance your cooking skills. More about me
Follow Swasthi’s Recipes

Comments
I bought split moong by mistake. Can I use that? Do I need to adjust soaking time?
Hi,
Yes you can. If it is green split moong you can follow the same recipe and cut down the soaking time to 3 hours. If you have the yellow moong dal, follow this moong dal dosa recipe
I tried this recipe for the first time and loving the pesarattu. Brought back memories of my grandmother making these during our childhood. Thank you
Hi Swasthi,
I tried the recipe, turned out super tasty. One question about the nutrition facts. How much is one serving size?
Thanks Divya. 2 to 3 pesarattu is one serving, depending on the size.
Tried this…very tasty
Hi Swasthi,
Great recipe, tried and it was all gobbled up. However if possible remove the word ‘gram’ this is chana not moong. Since pesarattu uses green moong/mung and not green gram this inconsistency can get a bit confusing.
We love these even to the point of soaking the bean before work so we can make them when we get home. Just one question. What should the beans feel like after soaking – soft or still hard?
Hi Barry,
They need to be soft, but a little hard inside is just alright if you have a powerful blender. Hope you enjoy them
How can I store the excess batter? Do I need to use it straight away or can be in the fridge? Thank you
Hi,
you can store it in the refrigerator for 2 to 3 days. Bring closer to room temp before using it
Thank you, it was simple and nice!
Glad you like it Smita.
Hi there! So grateful for your recipes. My daughter has many allergies (dairy, egg, nuts, fish and sadly coconut). I am so excited to make this recipe. I just sprouted king beans per your other recipe, would it be ok to use those for this? Are there other recipes other than the soup and salad that where I can cook the mung beans for my daughter? Thank you so much!
Hi Fatima,
This recipe has not been tested with other kinds of sprouts. I guess it works, add a few tablespoons of rice flour to the batter. I have a green moong recipe here. You can also make these vadas with sprouts – dal vada. I have the no-fry version in the same post. You can also use them in khichdis and pulaos. Hope this helps.
good
This a 100% true pesarattu. All I have found is a lot of fake recipes with spinach, coriander, paneer and so many non-sense. Happy to have found a true authentic pesarattu. This brings back childhood memories of how my grandma made these crisp and thin. Thank you I will be trying this recipe.
Had difficulty spreading the batter on Tawas. Soaking and grinding was followed to the T as per your instructions, as also temperarure of tawa. As a result, I had to make thicker dosa’s and therfore each dosa took more than 5 min to cook, having to flip often, as the batter was uncooked unevenly at any given point in the process. Some turned brown and lost the taste of the sprouts.
Although delicious and protein rich, it seems to be something to be done with expertise.
Hi Sharmila,
Yes you are right! It needs practice. I guess the batter was a bit more thick than needed. That could be the reason for the dosas being thick. I would also suggest not to make a lot of these until you become an expert. Try making with only half cup & cut down the soaking time to 3 hours. I remember my Mom would wake up at 4:30 am only to soak the green gram and grind the batter by 7:30 am. Her pesarattu were the best because of less soak time. Also try adding a bit of rice flour or rice it that helps.
Excellent recipe. I paired this with your tomato chutney and it turned out great!
Glad you like it Sreya
Thank you
I thought i sprouted my mong beans correctly, but they barely sprouted.. So u r in rinced them and the green outer shell remained on most of the beans. Why? And do I cook them with this on them?
Hi Helen,
I think you left the comment on a wrong post. Yes you can cook the mung beans with the skin, they are edible.
Really nice recipe. Thank you.
Simple and healthy recipe. Thank you.
Thank you
Very nice presentation with exact measurements, thank you
Thanks Urmila
Delicious dosas. They came out perfect, thank you Swasthi, for your detailed and helpful explanation. I soaked the mung overnight but had no problem with consistency, did not add rice or rice flour. So tasty. And super healthy.
Thanks Devika
Glad they turned out good.
Pradeep Kumar
LOVED IT! I followed recipe to the “T” and it was perfect. I paired with your ginger chutney and its a perfect combo. Thank you
I prepare this for breakfast pretty regularly, with or without rice being added. Both turn out super tasty.
Thank you!