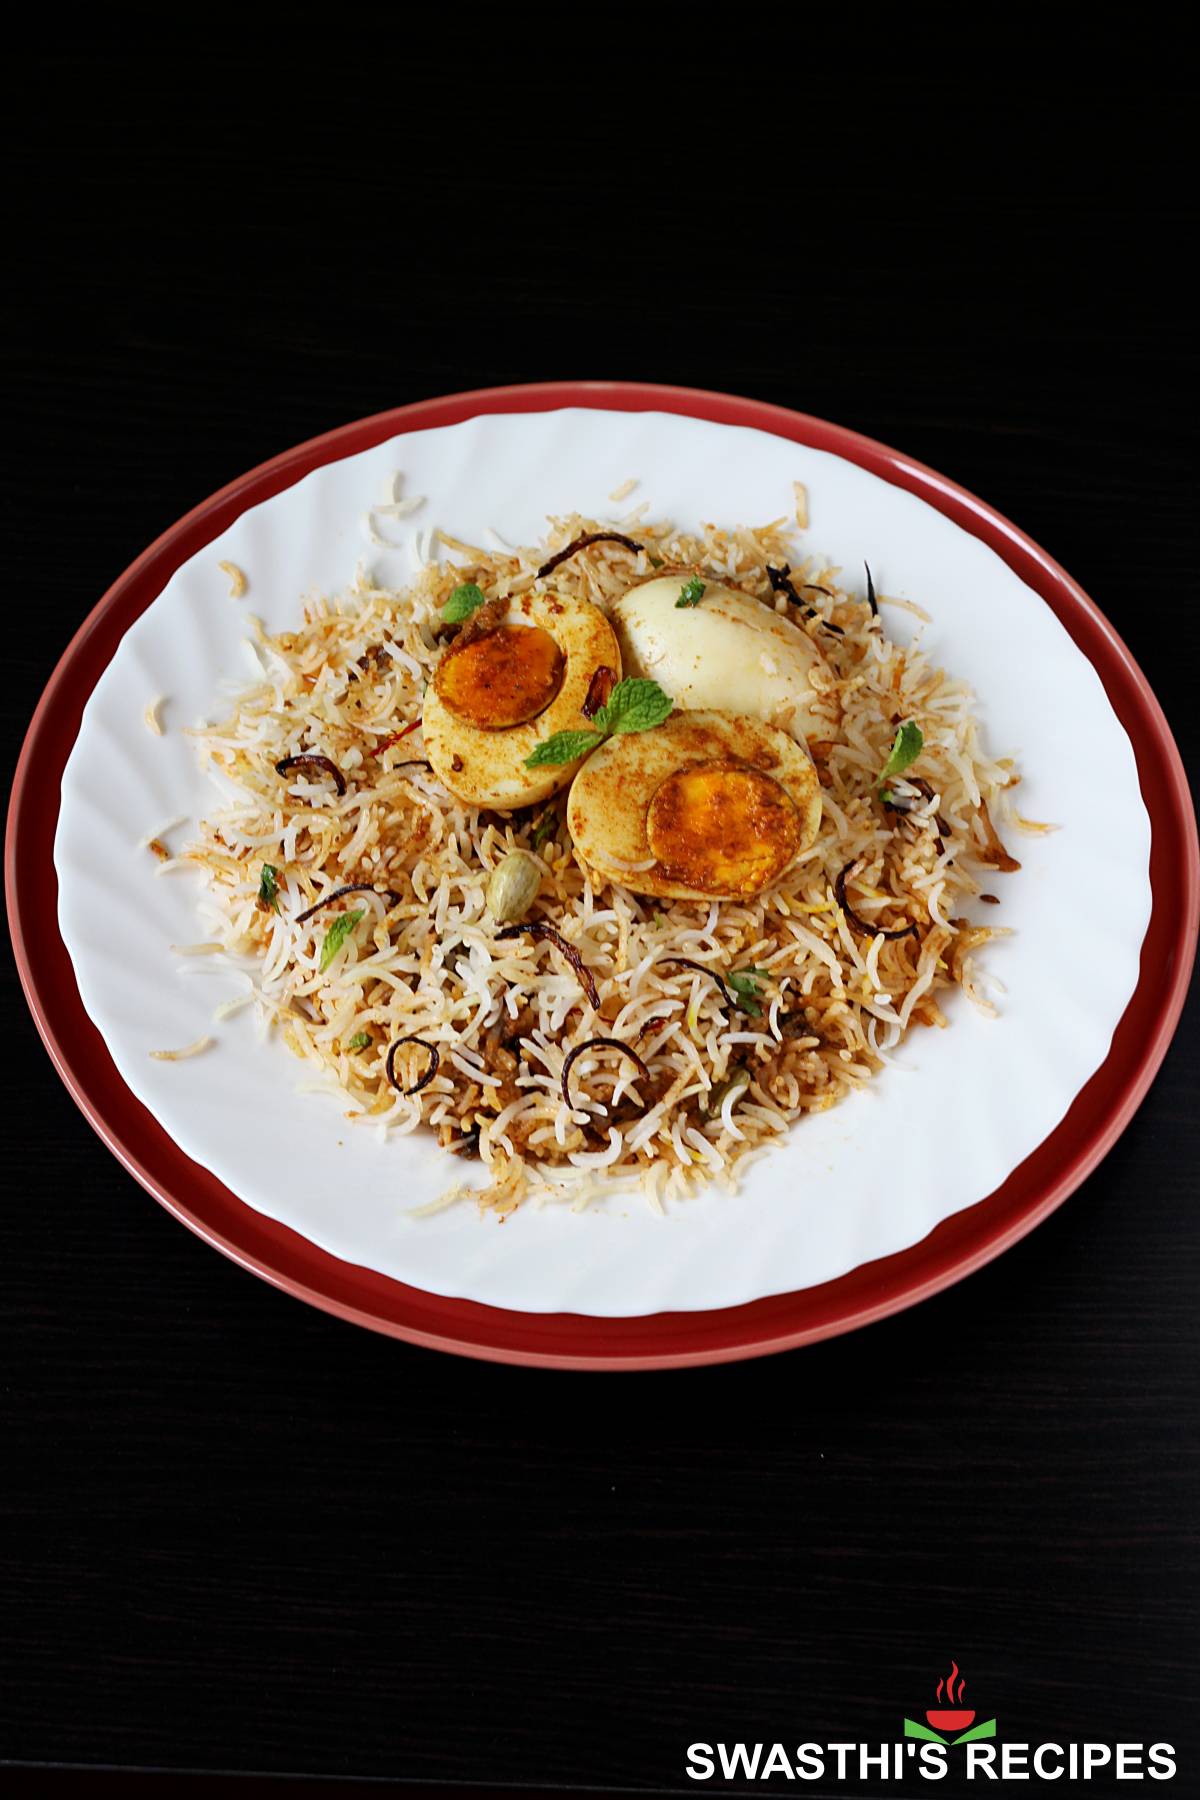
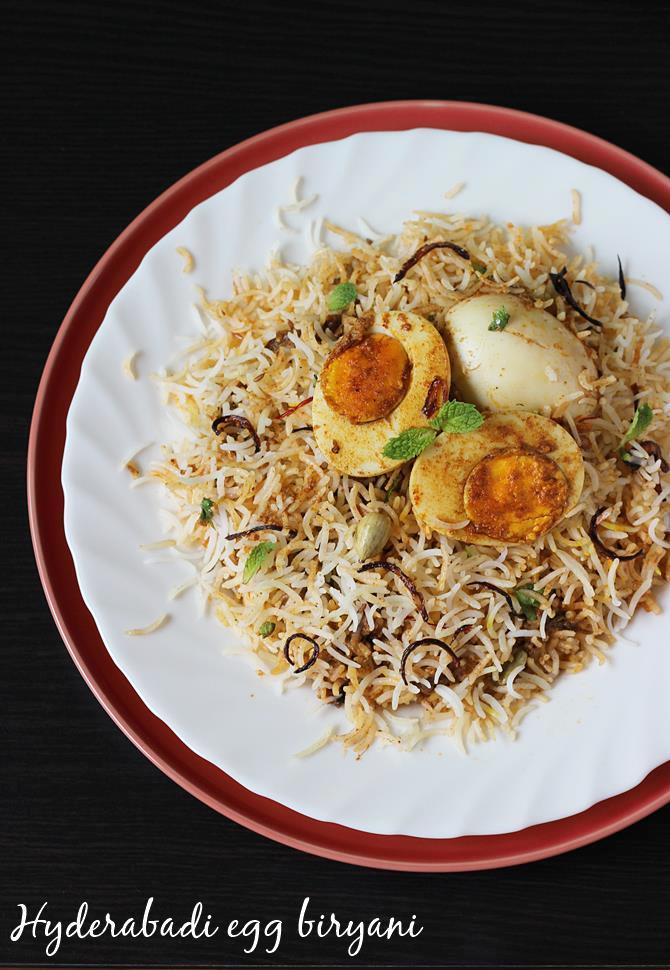
Hyderabadi Egg Dum Biryani (Anda Biryani)
Updated: August 2, 2022, By Swasthi Shreekanth
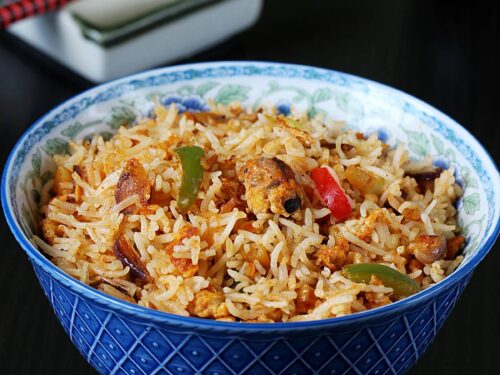
This Egg Dum Biryani is delicious, flavorsome and easy to make. Boiled eggs are simmered in a flavorsome biryani masala gravy and layered over parcooked basmati rice. It is finished off with another layer of spicy ghee fried eggs, saffron soaked milk, mint and coriander leaves. Lastly it is dum cooked (steamed) briefly on a low heat, for a blast of biryani flavors.
I know it sounds amazing and this recipe is easy enough for beginners to try out. Having said that, it is important to note making a great dum biryani takes time and it’s worth the effort. This is not a one pot biryani like this Classic Egg Biryani, so you need to prep up for the various components.
This recipe consists of 4 components – hard boil eggs, make the egg dum biryani gravy, parcook basmati rice and lastly assemble & dum cook. If you are a slow cook, you may make the first 2 components a day ahead and refrigerate. Cook the basmati rice and dum cook the day you want to serve.
Firstly you may wonder why an Egg Dum Biryani when you can make a one pot biryani. Both taste completely different and this one tastes more like an authentic dum biryani but without the meat flavors. I reserve this egg dum biryani for occasions when we really don’t want to eat the one pot/pressure cooker spicy biryani and the second reason is for being more kids’ friendly.
In the past when my boys couldn’t handle spice and heat I would make this more often than the one pot biryani. Because this is layered, I could serve the less spicier portions to the kids. That’s how this recipe made to the blog. The idea of topping with fried eggs was to increase the heat levels for my husband. So this recipe is great for occasions and when you have guests.
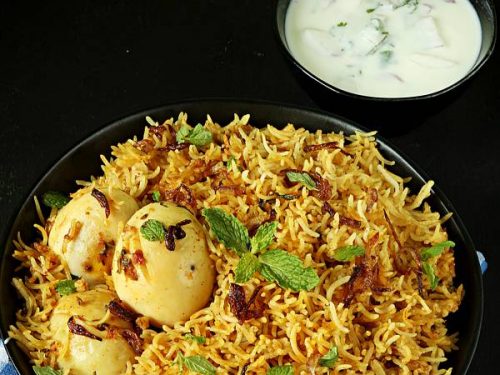
This Egg Dum Biryani is best served with a Raita and if you want you may try out this Biryani Shorba/gravy. On the side this onion salad, kachumber or Indian cucumber salad goes well.
Photo Guide
Step by step Photo Instructions
1. Hard boil eggs, remove the shells. Pierce with fork randomly or make incisions on 3 eggs. Set them aside.
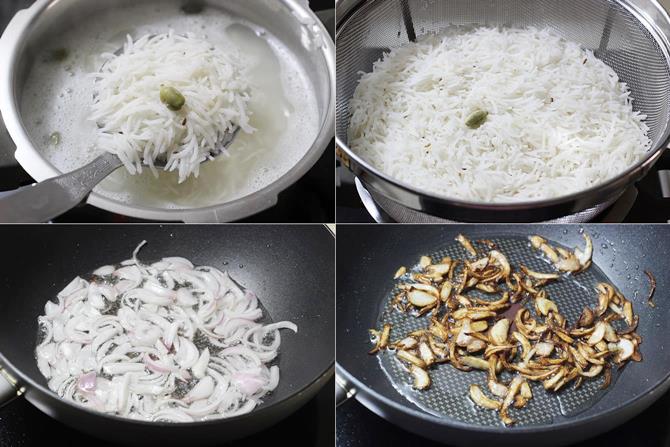
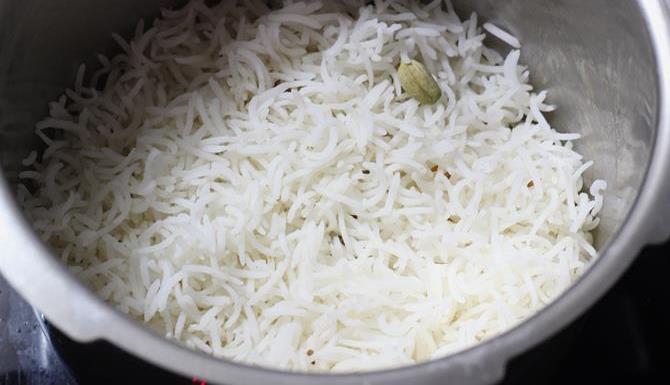
2. Wash and soak rice for about 20 to 25 minutes. Drain the water. Bring 5 cups of water to a boil, add few green cardamoms, half tsp. shahi jeera and rice to the boiling water. Cook till al dente. Fully cooked but grainy and firm. Under cooked rice doesn’t work well for this recipe, since eggs do not release any moisture like meat or veggies, rice doesn’t get cooked further during the dum process. Drain the rice to a colander. Set this aside.
3. You can skip this step if using store bought fried onions. Heat oil/ghee in a pan, add thinly sliced onions and fry until deep golden (avoid burning them). Set these aside to a plate. Also set aside half of the oil to a small bowl. Turn off the stove as the pan will be very hot now.
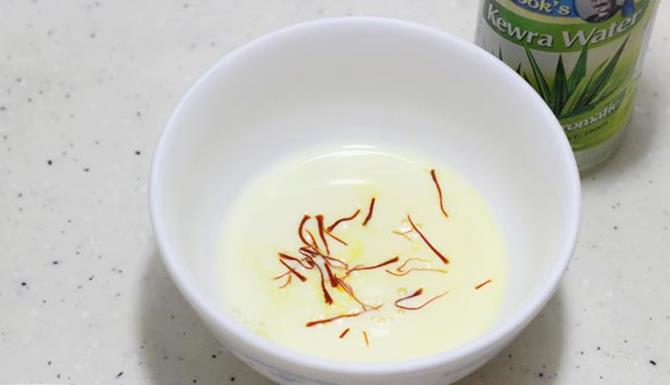
4. Soak a pinch of saffron in 3 tbsp. hot milk. Also set aside kewra water.
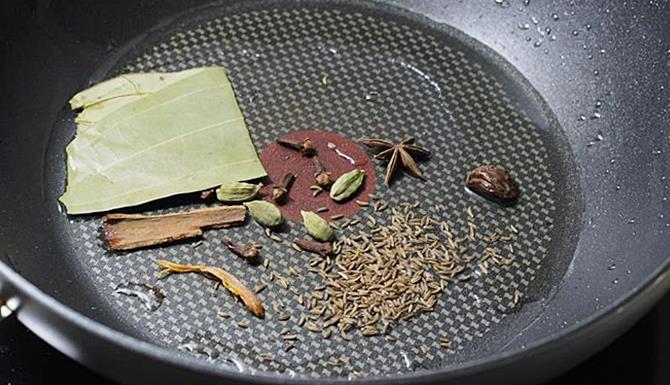
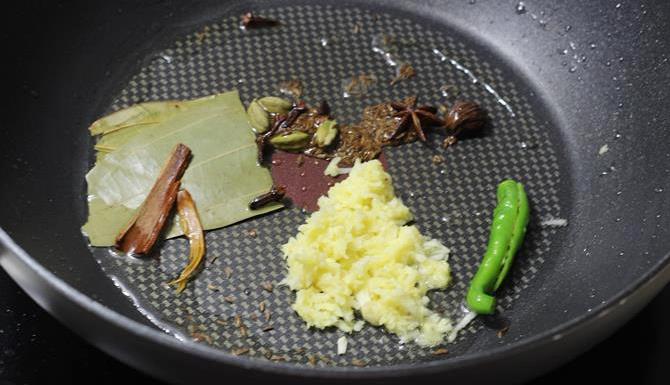
5. Turn on the stove. Add whole spices to the pan and let them sizzle.
6. Add ginger garlic paste, green chili and saute until the raw smell is gone, for about a minute.
7. Add red chili powder and biryani masala. Give a quick stir.
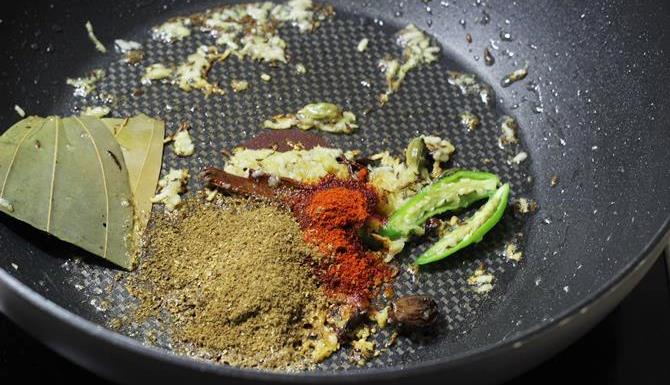
8. Add yogurt, salt and mint leaves. Stir and cook.
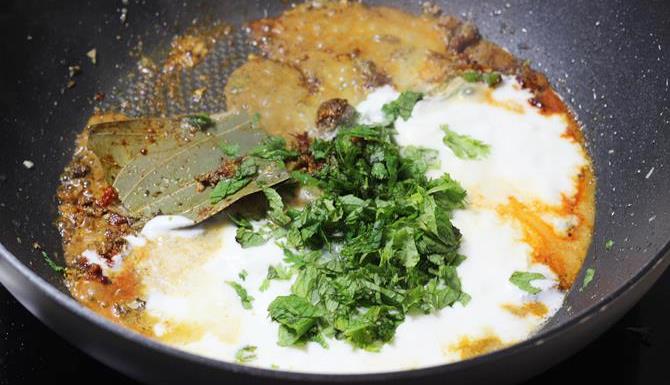
9. Add the eggs and 3/4 portion of the fried onions.
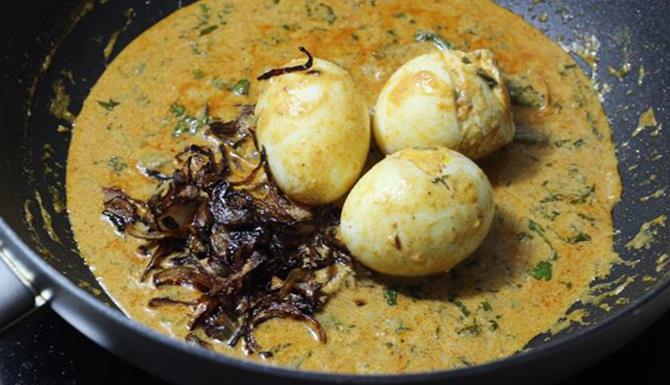
10. Stir and cook on a medium flame till the gravy turns thick. The gravy must look thick and uniform, of a flowing consistency. Switch off the stove and set the pan away from the burner else the gravy tends to get cooked further and reduce the quantity.

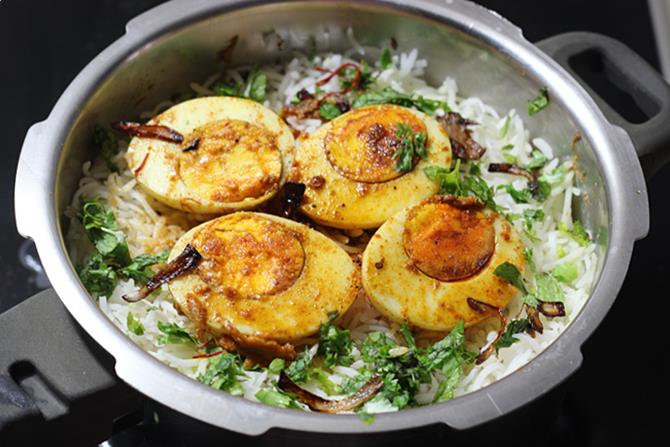
11. Grease a small pot generously. Spread some of the rice to a thin layer. We are making a small quantity here, so avoid a wide pan. I used a 3.5 liters pressure cooker here.
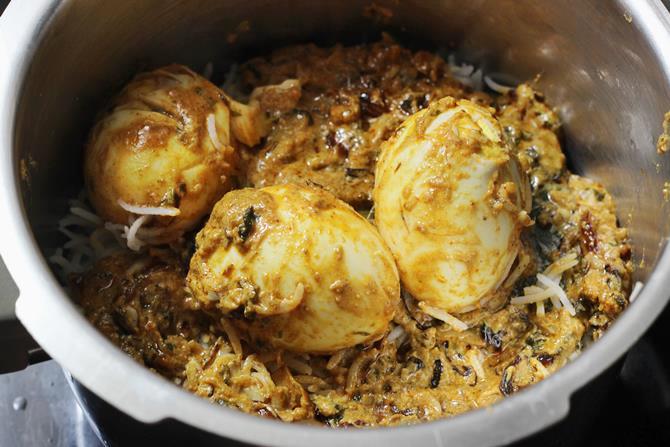
12. Pour the saffron milk over the rice. Evenly layer the egg mixture over the rice. The quantity is less, but try to spread it well evenly.
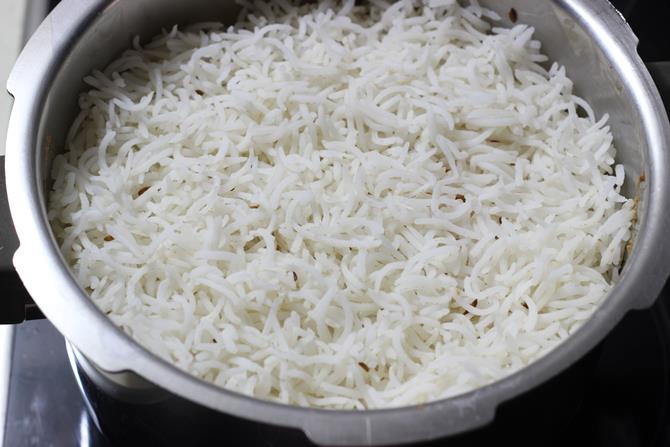
13. Layer with the remaining rice.
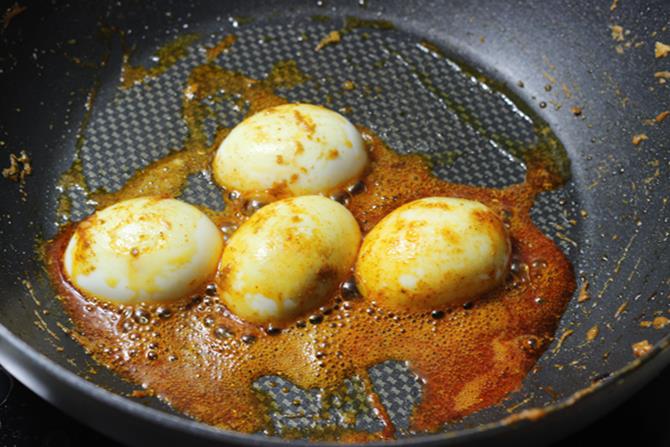
14. Put back the same pan on the stove and heat it with the oil/ghee we had set aside earlier. Fry the eggs lightly. Add red chili powder, a pinch of salt and biryani masala or garam masala.

15. Flip the eggs. Switch off the stove. Do not over fry.
16. Add the left over fried onions, few mint and coriander leaves. Transfer the eggs gently to the biryani, also pour the spiced oil/ghee from the pan. Pour the oil over the rice and not to the eggs.
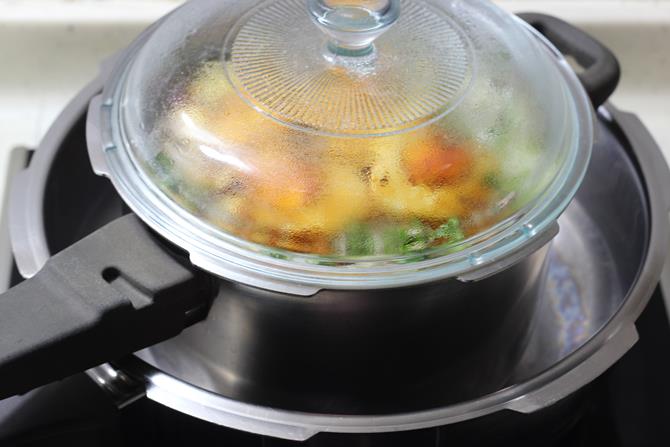
17. Cover the pot. You can use a aluminum foil to seal the pot or a moist cloth too works well. Place a lid over it. I just went ahead using a tight and heavy lid. Heat a tawa or a pan, When it turns hot, place this dum pot over the hot tawa and set the flame to very low.
Cook it this way for 10 minutes. Switch off and let rest for another 10 minutes. If you do not own a tawa, you can use any heavy bottom pan or pot. Any stainless steel or cast iron pans too work well. I have used stainless pressure pan. Do not use nonstick tawa as the coating gets damaged.
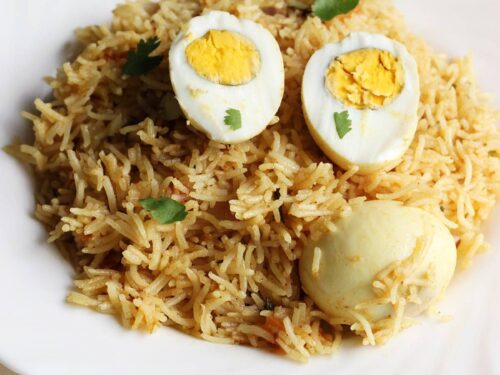
Serve with raita or shorba or hyderabadi mirchi ka salan.
Related Recipes


Recipe Card
Hyderabadi Egg Dum Biryani
Ingredients
- 3 green cardamoms
- ¼ to ½ teaspoon shahi jeera
- 1½ cups aged basmati rice
- 6 hard boiled eggs
- ¼ cup ghee or oil or a mix of both
- 1 cup onions thinly sliced , layers separated (1 medium)
- 1 tablespoon ginger garlic paste (or ½ tbsp each grated)
- 1 green chili slit
- 1 bay leaf
- 1 star anise
- ¼ teaspoon shahi jeera or cumin seeds
- 2 inch cinnamon stick
- 4 to 6 cloves
- 4 green cardamom
- 1 black cardamom (optional)
- 1 strand mace (optional)
- 1 teaspoon biryani masala powder or garam masala
- ¾ to 1¼ teaspoon red chili powder (use Kashmiri for low heat)
- ½ teaspoon sea salt (adjust to taste)
- ¾ cup yogurt plus 1 tbsp / curd
- ¼ cup mint leaves / pudina fine chopped
- ¼ cup coriander leaves /cilantro fine chopped
- 3 tablespoons milk
- 1 pinch saffron strands
- 1 teaspoon rose water (or kewra, optional)
- ½ teaspoon red chili powder
- 1 pinch biryani masala /garam masala
- 1 pinch salt
Method
- Prep up eggs: Boil eggs, remove the shells and make shallow slits on 4 eggs. Cut 2 other eggs to halves. Keep them aside.
- Cook Basmati Rice: Wash and soak rice for about 20 to 25 minutes. Rinse well. Bring 6 cups of water to a boil and cook rice along with cardamoms and shahi jeera on a medium high heat. When the rice is cooked al dente, drain it to a colander.
- Make the biryani gravy: Heat ghee/oil in a hot pan. Add sliced onions and fry until golden brown (do not burn). Remove them to a plate and also remove half of the left over ghee/oil.
- Add the rest of the whole spices. When they begin to sizzle, add ginger garlic paste, chili and saute for a minute, until the raw smell is gone.
- Stir in the chili powder and garam masala. Reduce the heat to low ands stir in the yogurt, salt, mint, coriander leaves, 4 eggs, ¾ portion of the fried onions. (reserve half of the mint and coriander for garnish)
- Stir and cook until the mixture become thick, yet of flowing consistency. Switch off the stove and remove the pan away from the stove. Taste test and adjust salt to taste.
- Layer the biryani: Grease a small pot generously and spread little rice to a thin layer (about an inch). Pour the saffron milk. Spread the prepared egg masala and layer the remaining rice.
- Now put back the pan on the stove, add the reserved ghee/oil and fry the halved eggs lightly. Add red chili powder, garam masala and little salt. Flip them towards the yolk and just fry for a minute.
- Place the eggs on the layered rice with the yolk side up. Pour the ghee all over the rice. Sprinkle the reserved mint, coriander leaves and the fried onions. Cover the pot with a tight lid or a aluminum foil and then a lid.
- Dum cook: Heat a tawa or cast iron pan, When the tawa turns hot, place the pot on it. Dum cook for 10 mins on a low flame. Turn off and let rest for another 10 mins
- Serve Hyderabadi egg dum biryani with a onion raita and shorba
Private Notes
Tried this recipe?
Mention @SwasthisRecipes or tag #swasthisrecipes!About Swasthi
I’m Swasthi Shreekanth, the recipe developer, food photographer & food writer behind Swasthi’s Recipes. My aim is to help you cook great Indian food with my time-tested recipes. After 2 decades of experience in practical Indian cooking I started this blog to help people cook better & more often at home. Whether you are a novice or an experienced cook I am sure Swasthi’s Recipes will assist you to enhance your cooking skills. More about me
Follow Swasthi’s Recipes
Comments
Thank you for such a simple yet delicious recipe ?, this is my go to recipe for egg biryani, awesome, thanks
Glad you like it Neeru. Thank you
This Egg Biryani reminded me about the Paradise Biryani from Hyderabad. Swasthi has made the recipe steps very easy to follow. It took me 45-50 minutes plus the dum time. But it was worth for the satisfaction of taste buds. No less than 5 stars ratings for this recipe.
Thanks Rishabh
So glad to know!
Your recipes are wonderful. Yummy and easy to follow. Thank you for sharing awesome recipes.
Welcome Sabeena
Thank you
Excellent and quite easy steps to follow, thanks for the recipe
You are welcome! Glad to know!
Thank you
Awsome egg biryani recipe Swasthi, I always use this since I found your recipe. It is spicy and flavourful as well as easy to follow. The step by step pictures are very useful. Thank you!!
Hi Neeru,
You are welcome. Glad you liked it! Thanks much!
🙂
Very excellent recipes??
Thanks Saba
Thank u swasti, it’s awesome !!!!!
Welcome Madhavi
Followed the instructions to the t and it came out really well! Thank you for sharing the recipe
Tried this recipe today and came out very well
Hi Swasthi…tried your hyderabadi egg biryani recipe along with your shorba recipe for lunch today. Enjoyed it to the hilt ..looking forward to devour the leftover for lunch tomorrow. Great recipe!!
May I share an easy trick to get perfect Al-Dente rice for biryani assembling…one that a chef passed on when I was a novice at cooking assembled biryani …fool proof way is when we soak the basmati grains for twenty odd minutes …we get the water seasoned wth dry garam masala to a rapid boil …then drop in the rice into it …at this point the water stops boiling due to the addition of rice grains …give it one or two stirs and continue on high flame till the water reaches a rapid boil stage again….this is the perfect time to check the grain for its Al dente stage and strain it in a colander n run tap water over it to stop it from being cooked further.
Hi Rachana
Thanks for trying the recipe and sharing the outcome. Happy to know biryani turned out good.
Thanks for sharing the tips to cook biryani rice, will be useful to the readers as well.
🙂
Today I tried Egg Biriyani It is very tasty..Thank you so much..
Welcome Raneesha
ossom recpie sweet and simple easy to cook love it ! thanks our family members like it very much …
Welcome Nazia
Happy to know you all liked
super….
i tried it today…. hubby nd kids njoyed it…. thanks a lot…
Welcome Sony
I tried this recipe yesterday and it turned out to be delicious! Everyone liked it and now I’ve another dish to make for parties. Thanks a lot for sharing such a wonderful detailed recipe.
Welcome Janhavi
Glad to know egg biryani turned out delicious. Thanks for trying
This is a very good like page then useful for tips …….
Thanks Priyanga
Helpful for tasty food
thanks
Awesome!!!!!!
Thank you
I made this last week and it tasted great! Thanks for the recipe. I have one question – in your list of dry spices you don’t mention any jeera, but in your picture it looks as if you have added jeera to the pan. Can you please confirm?
Thanks 🙂
Hi Heather wilson,
You are welcome. Glad to know you liked it. Thanks for the mention i did forget to mention jeera in the dry spices. You can use about 1/4 to 1/2 tsp .Will update it. Thanks again for the mention.
hello swathi I tried your recipe I loved it.. Thank you for sharing.
welcome pallavi
Happy to know it turned out good
Wow its good to see and thank u very much for telling and showing me step by step nicely
Welcome Salimdeviyuns
Very detailed steps.Good
Thanks Sumathi