Methi Paratha Recipe (Methi Roti)
Updated: August 30, 2022, By Swasthi
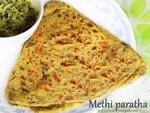
Methi Paratha are Indian flatbreads made with whole wheat flour, spices and fenugreek leaves aka methi leaves. These healthy, delicious & flavorful parathas are iron rich & make for a great breakfast or any time meal. “Methi” is a Hindi word for “fenugreek and “Paratha” is a word for “flatbreads”. So methi paratha are simply flatbreads with fenugreek leaves in them. While methi mean both fenugreek leaves and seeds, here in this recipe it is the leaves.
They are eaten with a chutney, pickle or curd for breakfast or a meal. We personally love these with a raita or just eat plain with some lassi on the side.
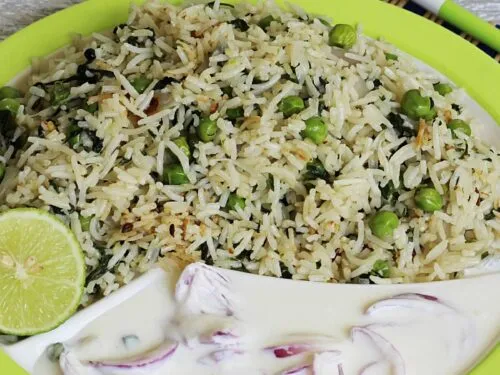
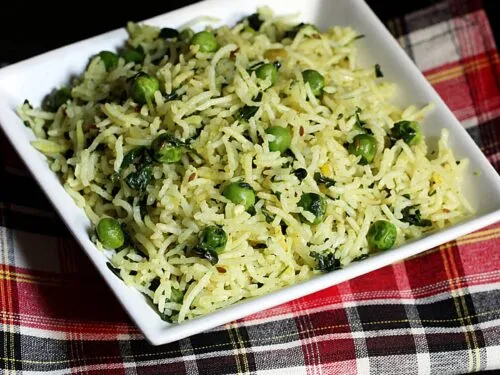
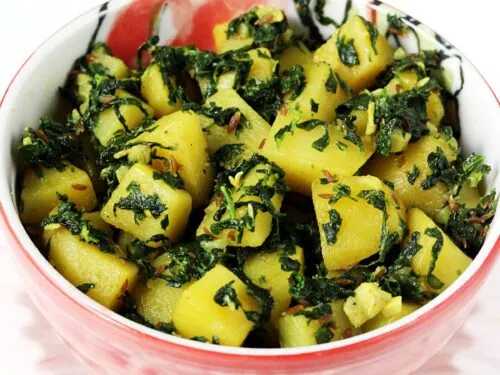
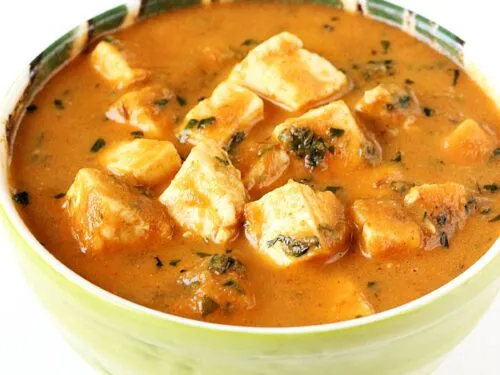
Fenugreek leaves apart from being nutritious, are also believed to help in the control of blood sugars and get rid of constipation. So it is ideal to include them in our diet regularly. In Indian cuisine we make plenty of dishes using these leaves like methi rice, methi pulao, aloo methi and methi thepla.
About Methi Paratha
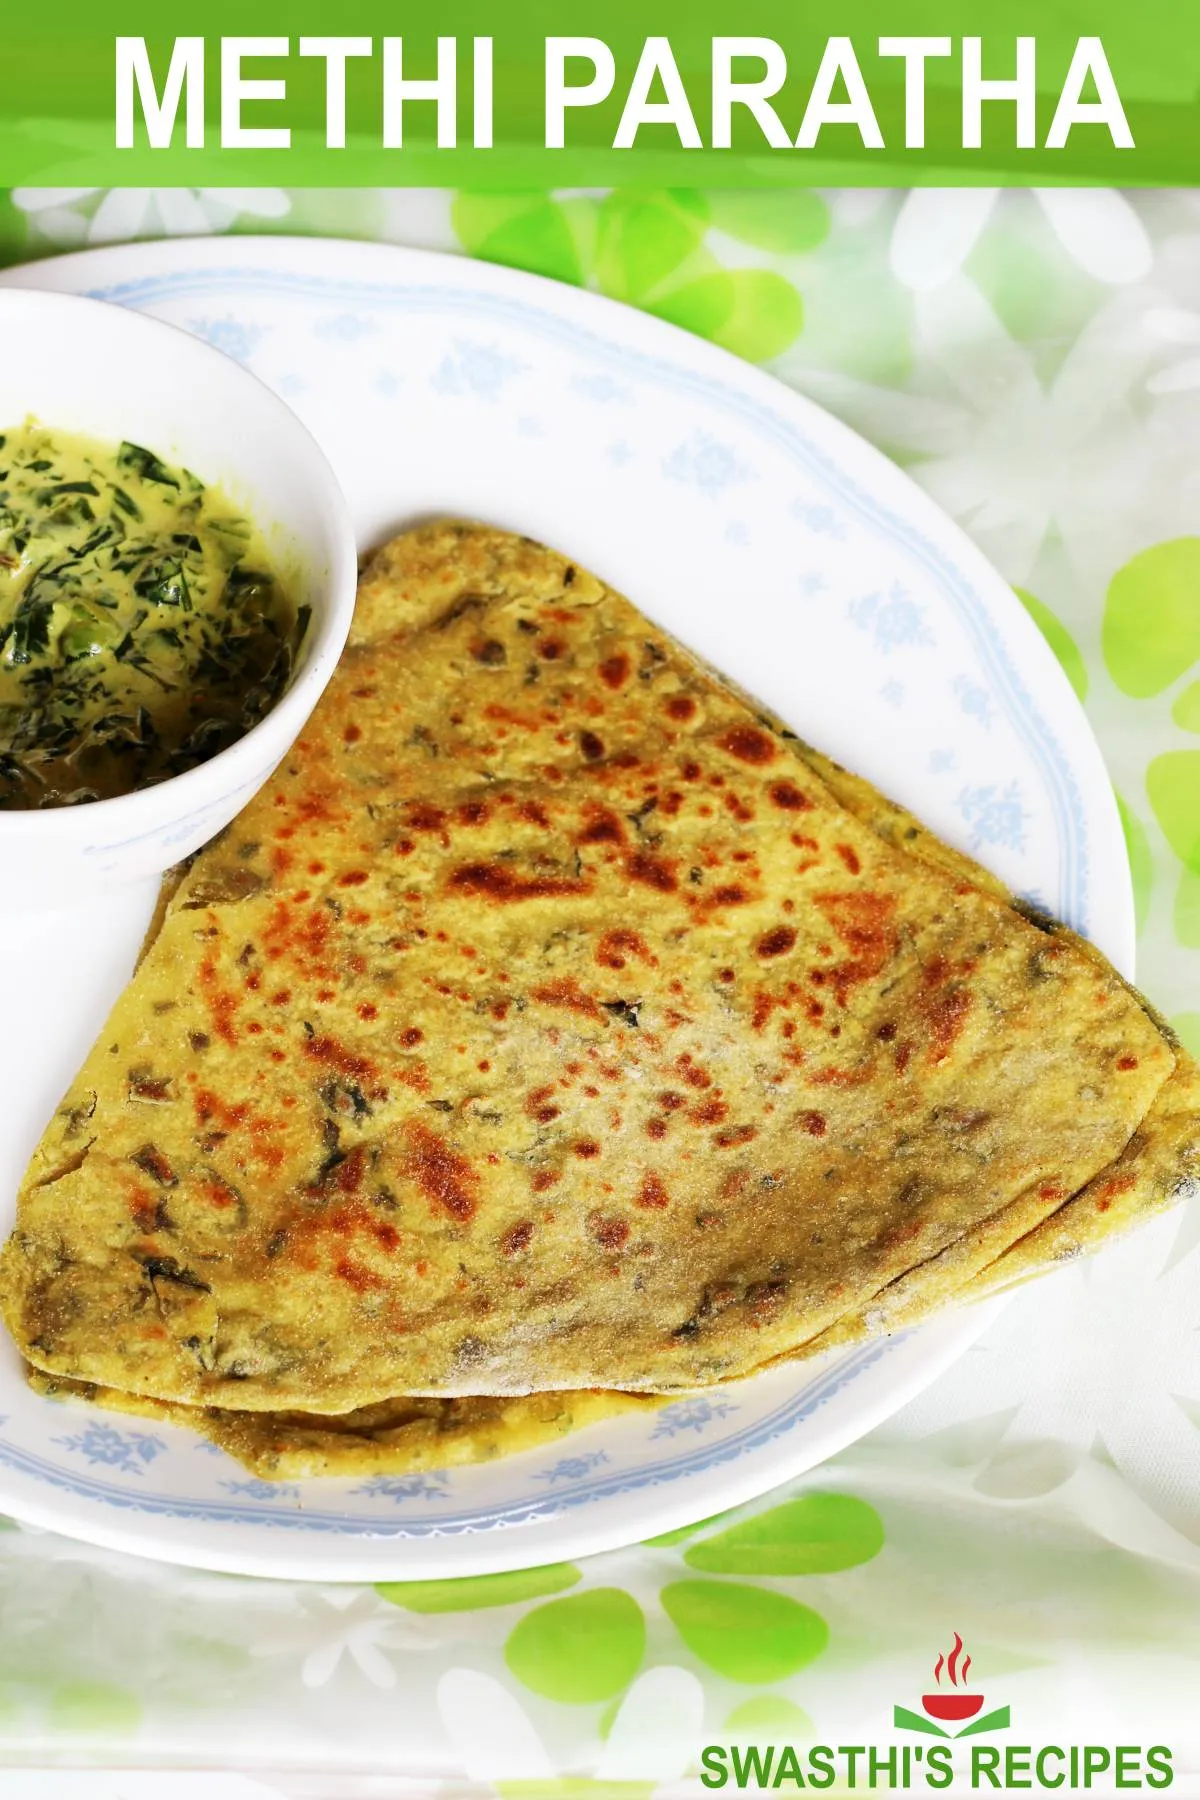
These Methi Paratha are wholesome & nutritious wheat flour flatbreads, flavored with fresh fenugreek leaves, spices and salt. With the freshest flavor and a perfect soft yet flaky texture, these homemade methi parathas are the absolute best!! Skip the store-bought frozen parathas and whip up the fastest and freshest recipe for these homemade leafy goodness.
In India, we make many different kinds of flatbreads for our everyday meal, among which parathas are a common kind. These are made in various ways, either stuffed, layered or plain.
Know This Recipe
These methi parathas are usually made plain and not layered. However my mom always made layered methi parathas for us so I make the same way as my kids too love them. In this post I have shown how to make the layered parathas as well the methi roti.
The main difference is in the way they are rolled. Also making the layered parathas takes a bit more time than the plain roti. If pressed for time I make the methi roti as they are super quick. Sometimes I roll these with jeera aloo to make rolls for my kids’ school. They love them that way.
More Paratha recipes
Aloo Paratha
Paneer paratha
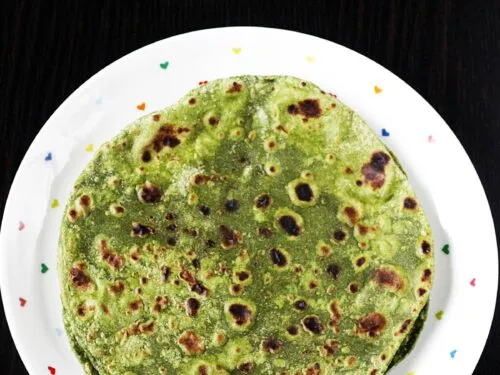
Palak paratha
Vegetable paratha
These methi parathas taste great on their own as they are mildly spiced. They also go well with plain curd, raita, pickle, chutney, dal or any curry. If you have toddlers or young kids home, serve them with raita or lassi on the side.
For more Methi recipes, you can check
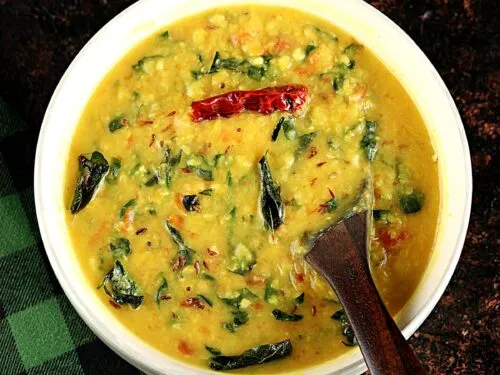
Methi Dal
Simple methi pulao
Methi rice
Aloo methi
Easy methi paneer
Photo Guide
How to Make Methi Paratha (stepwise photos)
Clean & Prepare Methi Leaves
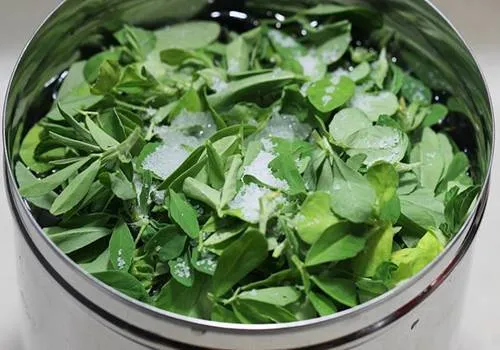
Pluck only the leaves from the stalks of methi. Tender stalks are fine. Spray some vinegar and sprinkle some salt. Leave them for 5 minutes and rinse them well. This helps to get rid of the pesticide residue if any on the methi leaves. Discard the water and then repeat the rinse well a few times. Leave them in the colander and shake off gently so the excess water drains completely. You will need half cup fresh methi leaves for every cup of atta. You can use more if you prefer.
Make dough
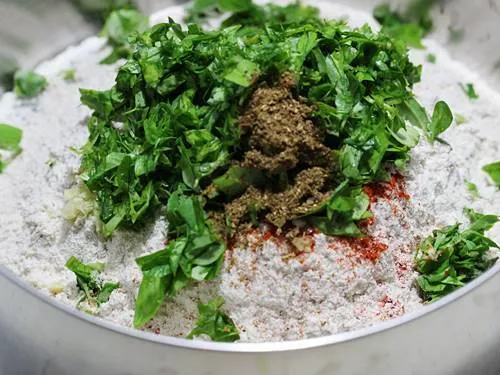
1. To a mixing bowl, add
- 2 cup wheat flour/ atta
- 1½ teaspoon grated garlic
- ¼ teaspoon red chili powder or 1 chopped green chili
- ¼ to ½ teaspoon garam masala powder or ajwain powder
- 1 cup finely chopped methi leaves, chopping this helps to bring out the flavors in fenugreek leaves
- 2 to 3 tbsps fresh yogurt/curd (optional)
2. Knead the dough with just enough warm water. Start with 1/3 cup and add more if required. Add 1 teaspoon oil.
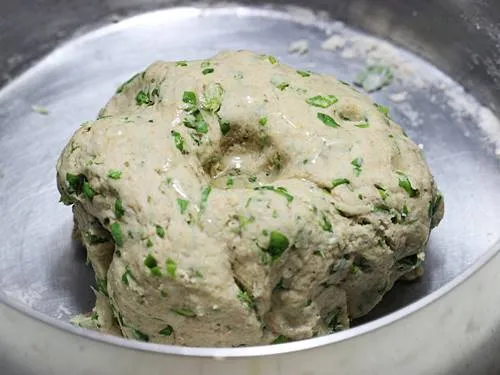
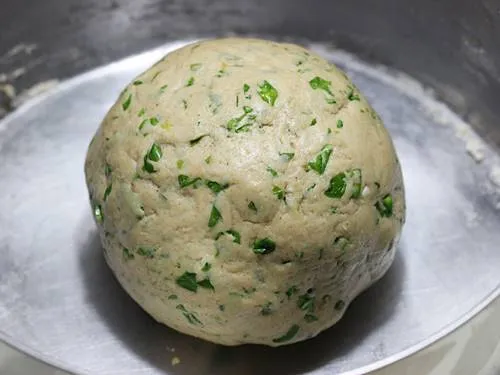
3. Knead to a pliable dough. Set aside for about 30 minutes. Resting helps to digest the parathas easily. If you do not have time, make them right away.
Roll Methi Paratha
4. Divide the dough to 8 to 9 equal sized balls. Roll them to balls.
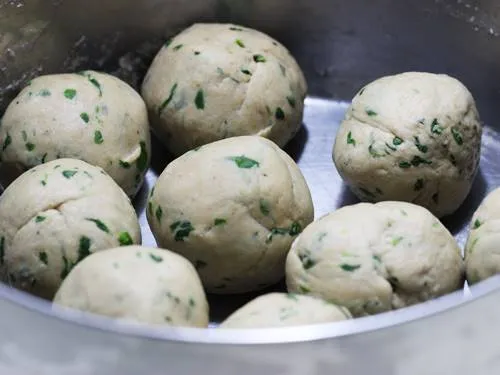
5. Flour the rolling area. Sprinkle flour over the balls.
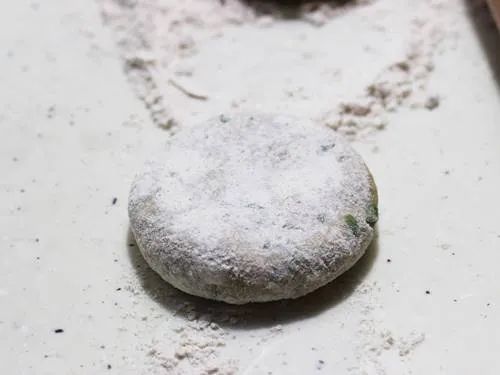
Layered triangle Methi Paratha
6. For making layered paratha, smear half teaspoon oil or melted ghee on the roti.
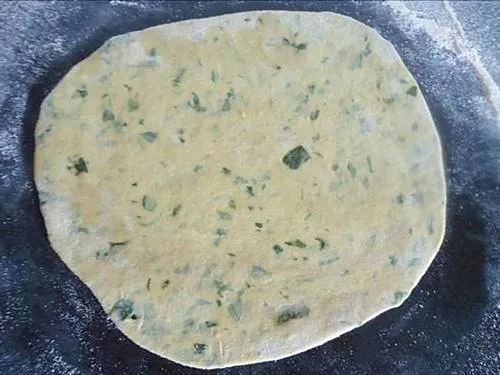
7. Fold it to half. Smear more oil or melted ghee again.
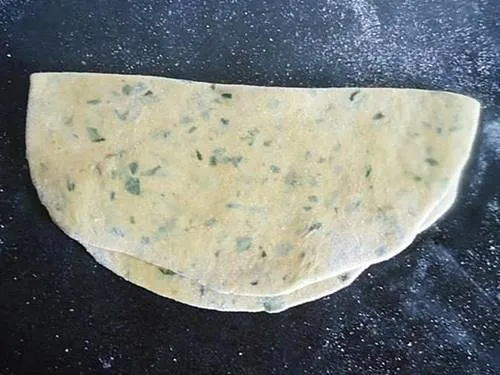
8. Next fold it again to make a triangle.
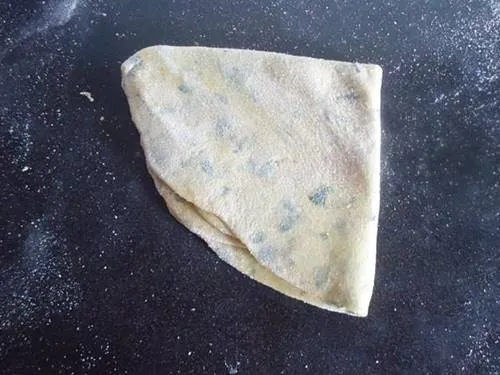
9. Roll it slightly to make a thick layered methi paratha.
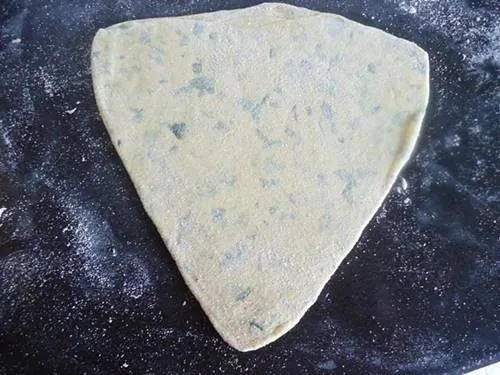
Toast
10. Toast them on a hot tawa on a medium high flame. When you see tiny bubbles flip the methi paratha. Press it with the wooden spoon or with a kitchen tissue to puff it well.
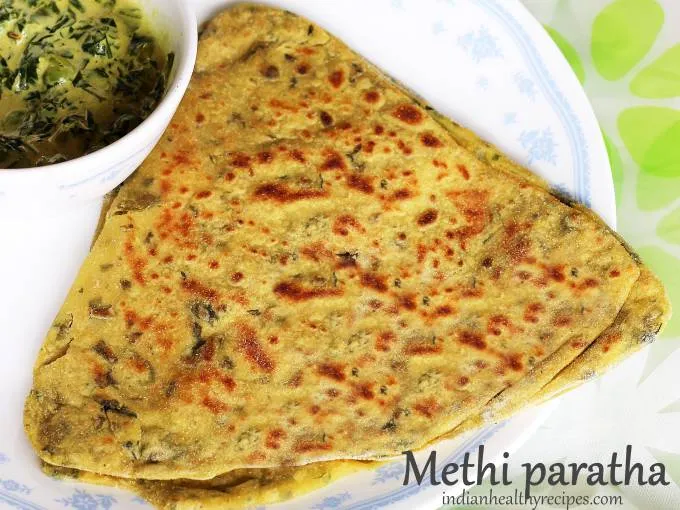
Toast it on both the sides until lightly brown spots appear. Do not over cook they turn hard. Drizzle some ghee or oil. Stack the parathas one over the other to keep them soft. Also keep them covered until you serve.
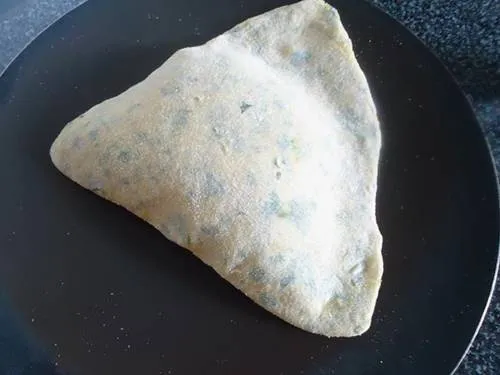
11. Sprinkle some ghee or butter. Serve methi paratha hot with any curry or dal or chutney.
12. Roll it to a even sized paratha, slightly thicker than roti. Finish making all the parathas. Place them aside on a dry place.
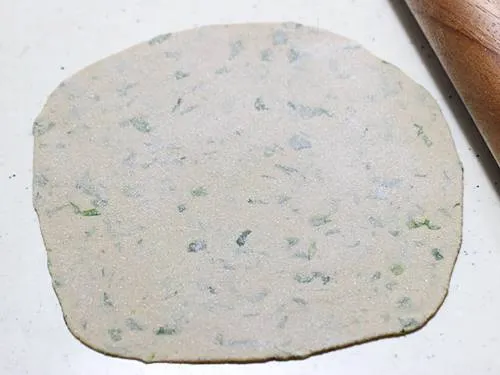
Toast Methi Roti
13. Heat a tawa, when hot, place the paratha and allow to cook. When you see the bubbles, flip it to the other side and cook.
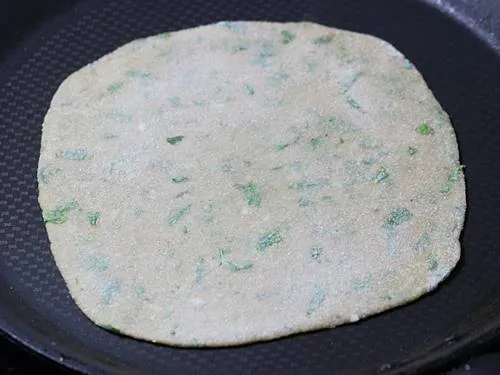
14. Smear ghee over the methi paratha.
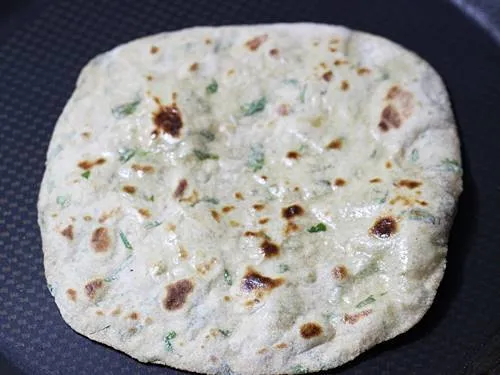
Stack to keep them soft.
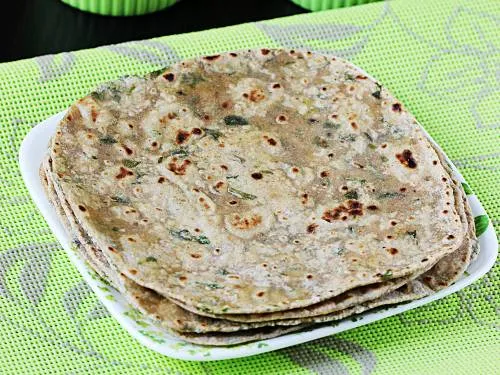
Pro Tips
- Resting the dough for atleast 30 minutes makes super soft methi parathas. Also they are easier to digest as it works on the gluten too. However you can easily skip if you do not have so much time.
- Using a small amount of yogurt not only enhances the flavour of the methi parathas but also cuts down the bitter taste of the methi leaves and makes them more softer. However it is optional.
- Spices – use spices as per your choice. You can also add ginger in place or garlic. Green chilli in place of red chilli powder. Using spices is all optional and they still taste good if you serve with a curry, pickle or chutney.
- I usually pluck the methi leaves the same day I buy them and store them in a glass box lined with kitchen tissues. This helps them to remain super fresh if they are not moist and not in contact with water. This saves a lot of time on the day you make the methi parathas.

Related Recipes
Recipe Card
Methi Paratha Recipe
For best results follow the step-by-step photos above the recipe card
Ingredients (US cup = 240ml )
- 2 cup whole wheat flour (atta)
- 1 cup methi leaves (tightly packed, fenugreek leaves)
- ¼ teaspoon salt (adjust to taste)
- ¼ to ½ teaspoon garam masala or ajwain (carom seeds)
- 1½ teaspoon grated garlic
- ¼ teaspoon chilli powder or 1 green chili chopped
- 1 teaspoon oil for kneading
- 2 to 3 tablespoons ghee or oil for greasing layers
- ⅓ cup water (adjust as needed)
optional
- 2 to 3 tablespoons yogurt (curd) (optional)
Instructions
Preparation
- Pluck methi leaves from the stems. Spray some vinegar and sprinkle salt all over and leave them for 5 minutes. Later rinse them well in a pot of water. Repeat rinsing a few times. Drain them to a colander and shake off so the excess water drains off.
- Chop the methi leaves and grate the garlic. If using green chilies fine chop them.
- In a bowl mix together, atta, salt, finely chopped methi leaves, curd (optional), garam masala, chili powder or green chilies and garlic.
- Begin to knead, adding water little by little to make a soft pliable non-sticky dough.
- Pour 1 tsp oil & knead again for a min or 2 until soft. You may rest the dough for 30 minutes if you have time. Resting also helps in getting softer parathas.
- Divide the dough to 8 portions. Roll them to smooth balls. Set aside.
How to make Methi Paratha
- Flour the rolling area, place a ball of dough on the flour. Dust it with flour evenly on both the sides.
- Roll the ball to round shape parathas that are not very thin or thick.
- To make layered methi paratha, smear half teaspoon ghee or oil all over the paratha. Fold it to half. Then repeat smearing ghee. Fold to a triangle. Roll this to a paratha of triangle shape. Refer stepwise pictures for understanding.
- This way make 3 to 4 parathas and set aside.
- Heat a tawa till hot on a medium high flame. Dust off the excess flour from the paratha. Transfer the methi paratha on the tawa.
- Soon you will see tiny bubbles on the paratha, then flip it. Press down with a wooden spatula to help in puffing.
- Drizzle some oil or ghee all over the methi paratha.
- Flip it to the other side, repeat to press and cook till they are slightly browned and done thoroughly. Stack them one over the other to keep them soft.
- Clean up the flour on the griddle with a kitchen towel before you proceed to toast the next one.
- Serve methi paratha with yogurt, chutney, dal or pickle.
Notes
NUTRITION INFO (estimation only)
© Swasthi’s Recipes
About Swasthi
I’m Swasthi Shreekanth, the recipe developer, food photographer & food writer behind Swasthi’s Recipes. My aim is to help you cook great Indian food with my time-tested recipes. After 2 decades of experience in practical Indian cooking I started this blog to help people cook better & more often at home. Whether you are a novice or an experienced cook I am sure Swasthi’s Recipes will assist you to enhance your cooking skills. More about me
Follow Swasthi’s Recipes

Comments
Fantastic methi parathas. I made these and they were amazing. I’m learning to cook good Indian food and I know I need to learn from Swasthi’s for best results. Next time I will double the spices so I can have them without any chutney. Thank you
You made my day Lavanya. Thank you for trying the recipes and sharing back
Hi Swasth… started following ur page for South Indian recipes ( Idly/ Dosas etc) quite some time back but gradually keep coming for many other recipes. Hv tried few recipes along with this Methi Paratha… would say… it came out delicious like other recipes i hv tried from ur site. Your page is quite elaborate( with recipe details, pics, tips )Great work. Thanks for being the guiding star for the new, beginners or for the people who like to cook and try new recipes. ????
Hi Srishty,
Glad to know the recipe are helpful! That makes me happy. Thank you so much for the kind words.
This is a great recipe, definitely worth trying. I’ve made Roti successfully in the past but this was my first time with paratha. I wanted to play it safe so I made the round version, not the folded version. I’m sure the folded is very good too so I will try it in the future now that I feel more confident about what I’m doing. I can never find fresh Methi in my area but I can find frozen and I would say that this probably works just as well. Sort of the same concept as spinach where it cooks down so much. If you can, use the Atta flour and a good quality yogurt. All of these items are inexpensive and I think that they improved my experience with the recipe. The cast iron skillet I used worked perfectly well.
Thank you Swasthi! I love your recipes.
Hi Veronica,
Yes the round version is easier and finishes much faster than the folded. Glad the recipe worked well with frozen methi. Thank you so much!
Made methi paratha with this recipe and they tasted awesome. I particularly love the folded parathas. Do you think adding yogurt cuts down the bitterness?
Thanks for trying Debjani. Yes yogurt cuts down the bitterness in the leaves and also make the parathas softer.
Love these methi parathas. I have been making them since 2 years following this recipe and my methi leaves are never bitter. I never do the soaking and squeezing tasks to get rid of the bitterness which a lot of people suggest. I guess it is the natural growing conditions and the soil profile. My homegrown methi leaves are very delicious and aromatic. I fry these parathas in ghee and my house smells wonderful. Thank you
Thank you so much Kate for trying. Yes I agree it depends on many factors and also there are different kinds of methi. I guess the hybrid ones are not bitter. Glad you like the parathas.
I don’t have access to fresh methi. Can I use dried? If so, what quantity would you recommend in place of the fresh?
1/4 to 1/3 cup should be fine
Hi Swathi your recipes are very good.
Hi Karuna
Thank you so much!
Hi swa
Great recipe
Thank you
Good recipe tasted very good
Thank you
Very nice
Bhut sunder mam good going
Very tasty methi parantha, Family loved it. Thank you.
Very Good, Nicely explained
Thank you
Thank you so much . I tried the methi Paratha it was superb
Sayfanız harika?? bayıldım ??ellerinize sağlık tüm bu muhteşem yemekler için ?♥️?
Thank you so much!
I made these methi paratha. They turned out delicious. I also added some kasuri methi and paneer. Thank you
Glad to know Meera
Thank you
Tried the receipe. Tasty and easy.
Thank you Megha
very easy and simple method.
Really easy recipes. Your website for indian cuisine is my favourite. I am new to Mumbai so this is very handy for me. I did the panneer spinach and my daughter and husband loves it.
Thanks for such an easy to follow website
Regards
Aruna Dixit
Hello Aruna,
You are welcome. Glad to know! Thank you so much. Hope you enjoy more recipes from here.
🙂
Hi, is the dried up leaves/fenugreek still good to use as an alternative? I’m still new to indian cuisines
Hi Vivien
Yes they are still edible. They can be used to make paratha too. If they are completely dried and dehydrated you can add a teaspoon of this to any Indian curries. They add a lot of flavor. We call this as kasuri methi.